In this article, we'll explain how to install Openfire XMPP Server on Ubuntu 20.04.
Openfire is a powerful instant messaging (IM) and chat server that implements the XMPP protocol. It is a real time collaboration (RTC) server licensed under the Open Source Apache License. This guide will help you to install Openfire XMPP Server on Ubuntu 20.04 server.
Prerequisites
- A Ubuntu installed dedicated server or KVM VPS.
- A root user access or normal user with administrative privileges.
Install Openfire XMPP Server on Ubuntu
Step 1 - Keep the server updated
# apt update -y && apt upgrade -y
Step 2 - Install Java
As a Java applet, Openfire requires Java Runtime Environment 1.7 or later. Following command Install OpenJDK 11 Java Runtime Environment openjdk-11-jre:
# apt install openjdk-11-jre -y
We need to setup the JAVA_HOME environment variable:
# echo "JAVA_HOME=$(readlink -f /usr/bin/java | sed "s:bin/java::")" | sudo tee -a /etc/profile
# source /etc/profile
Step 3 - Install latest Openfire
To install Openfire we need to download Debian package from official page. On the official Openfire download page, find the direct download URL pointing to the latest stable release of the Openfire Debian package.
First download Debian package using following command:
# cd /tmp

# wget -O openfire_4.6.2_all.deb https://www.igniterealtime.org/downloadServlet?filename=openfire/openfire_4.6.2_all.deb
Now, install Openfire using following command:
# apt install /tmp/openfire_4.6.2_all.deb -y
Openfire will be installed in the /var/lib/openfire directory.
Step 4 - Install MariaDB database for Openfire
This is a optional step. Openfire has a embedded database but for better performance we can install MariaDB database and use it.
# curl -sS https://downloads.mariadb.com/MariaDB/mariadb_repo_setup | sudo bash
# sudo apt install mariadb-server mariadb-client -y
Secure the installation of MariaDB:
# mysql_secure_installation
When prompted, answer the questions as follows:
- Enter current password for root (enter for none): Just press ENTER
- Set root password? [Y/n]: Y
- New password: your-MariaDB-root-password
- Re-enter new password: your-MariaDB-root-password
- Remove anonymous users? [Y/n]: Y
- Disallow root login remotely? [Y/n]: Y
- Remove test database and access to it? [Y/n]: Y
- Reload privilege tables now? [Y/n]: Y
Create a dedicated database for Openfire using the MySQL shell:
# mysql -u root -p
In the MySQL shell, use the following commands to create a database, openfire.
CREATE DATABASE openfire;
CREATE USER 'openfireuser'@'localhost' IDENTIFIED BY 'yourpassword';
GRANT ALL PRIVILEGES ON openfire.* TO 'openfireuser'@'localhost' IDENTIFIED BY 'yourpassword' WITH GRANT OPTION;
FLUSH PRIVILEGES;
EXIT;
Note: replace openfireuser and youpassword with you choice.
Configure firewall
Assuming that you are using UFW as a firewall. Use following command to add Openfire port:
# ufw allow 9090
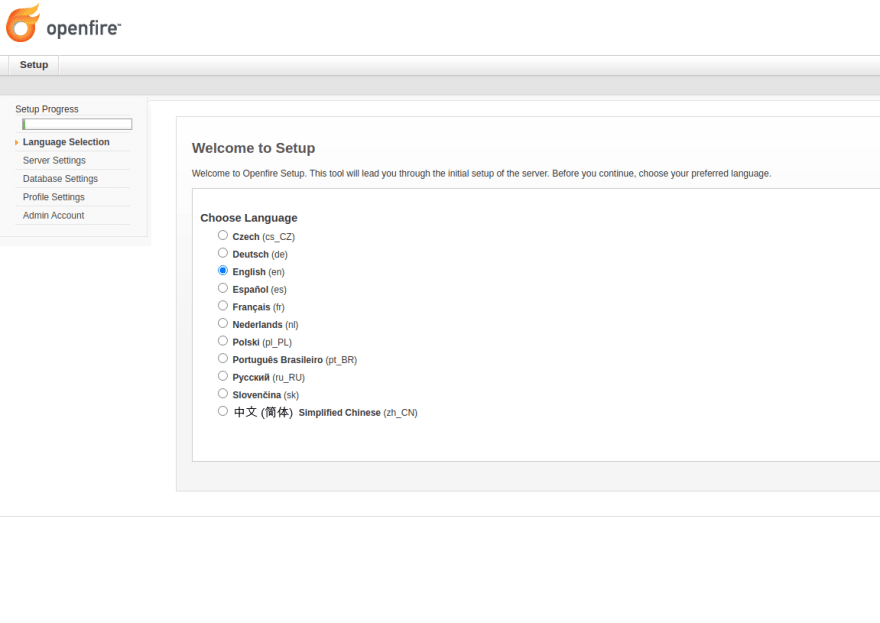
Next, navigate to your browser and open http://[server_IP]:9090 to start the setup process.
Follow the setup wizard and on Database Settings, select Standard Connection leaving other options untouched, and then click the "Continue" button.
Database Driver Presets: MySQL
JDBC Driver Class: com.mysql.jdbc.Driver
Database URL: jdbc:mysql://localhost:3306/openfire?rewriteBatchedStatements=true
Username: openfireuser
Password: yourpassword
Note: Replace openfireuser and youpassword with your credentials.
On the "Administrator Account" page, input the admin email address admin@example.com and a new password twice, and then click the "Continue" button. If you click the "Skip This Step" button, you will have to use the default password admin.
That's it. The installation has been completed successfully.


Top comments (0)