In the previous article, I added unit tests for Blazor Client. I know I should have done for server side as well, but I go ahead to configure CI/CD first.
*Note: Don't directly push changes to master branch
In this article, I push all the changes into master branch directly which triggers CI/CD pipeline. I do this to simplify the article. Don't do it in any real projects. You should follow the best practices for git workflow.
Always create new branch for the task and create PR to review, validate build and merge.
Create Web App
I simply create Azure App Service in Azure to host the application. Use globally unique name for WebApp.
az group create --location EastUS --name DevOpsBlazorRG
az appservice plan create --name DevOpsBlazorPlan -g DevOpsBlazorRG --sku FREE
az webapp create --name DevOpsBlazor-Test -g DevOpsBlazorRG --plan DevOpsBlazorPlan
Create DevOps Project
Let's add Azure DevOps project and check-in the current solution.
1. Go to DevOps portal and create new project.

2. Go to Repos and find git address.
3. Back to Visual Studio and enable source control.

4. Select "Remote URL" and enter the address.
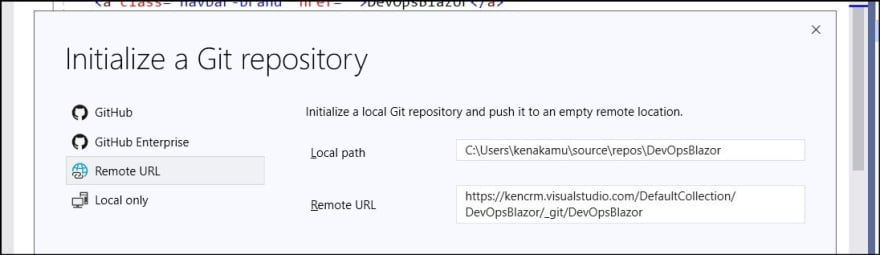
5. Back to Azure DevOps and refresh the page. Confirm all the files are checked-in.

Create a CI/CD pipeline
Now I have source code in DevOps, let's create CI pipeline. This time, I use multi stage pipeline to separate build and deploy. As it's preview feature yet, refer to Enable preview features to make sure the feature is turned on.
Create build stage
Start from adding build stage.
1. Go to Pipelines and create New Pipeline.

2. Select Azure Repos Git and created repository
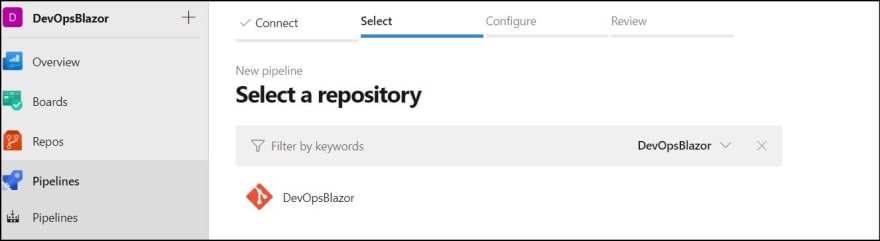
3. Click "Show more" and select "ASP.NET Core".

4. To avoid automatic trigger when yml check-in, update trigger. See CI triggers for more options how to trigger the pipeline.
trigger:
  branches:
    include:
    - master
  paths:
    exclude:
    - azure-pipelines.yml
5. Update yaml so that it uses stages. Pools and jobs need to be moved inside stage. I also added vmImageName variable for pool.
variables:
  buildConfiguration: 'Release'
  vmImageName: 'ubuntu-latest'

stages:
- stage: Build
  displayName: Build stage

  jobs:
  - job: Build
    displayName: Build

    pool:
      vmImage: $(vmImageName)

    steps:
6. Expand "show assistant" and select ".NET Core".
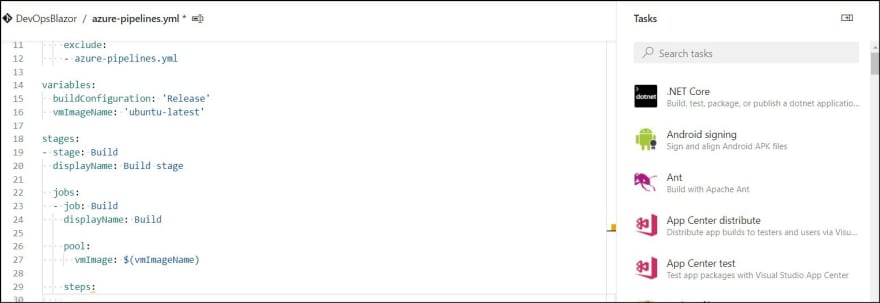
7. Select Build and specify server project. The server project has references to Client and Shared, so I don't need to separately specify them.

8. Add another .NET Core task for test. Specify the test project.
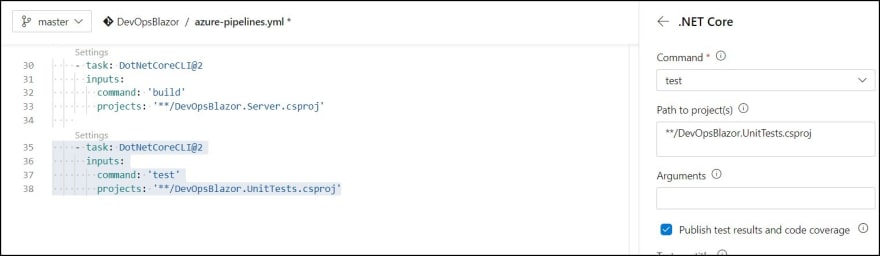
9. I added display name for each task. The final yml looks like below.
# ASP.NET Core
# Build and test ASP.NET Core projects targeting .NET Core.
# Add steps that run tests, create a NuGet package, deploy, and more:
# https://docs.microsoft.com/azure/devops/pipelines/languages/dotnet-core

trigger:
  branches:
    include:
    - master
  paths:
    exclude:
    - azure-pipelines.yml

variables:
  buildConfiguration: 'Release'
  vmImageName: 'ubuntu-latest'

stages:
- stage: Build
  displayName: Build stage

  jobs:
  - job: Build
    displayName: Build

    pool:
      vmImage: $(vmImageName)

    steps:
    - task: DotNetCoreCLI@2
      displayName: Build Server
      inputs:
        command: 'build'
        projects: '**/DevOpsBlazor.Server.csproj'

    - task: DotNetCoreCLI@2
      displayName: Run Unit Tests
      inputs:
        command: 'test'
        projects: '**/DevOpsBlazor.UnitTests.csproj'
10. Click "Save and run". I directly committed the yml file to master branch. Once the pipeline completed, I can see build result as well as test result.
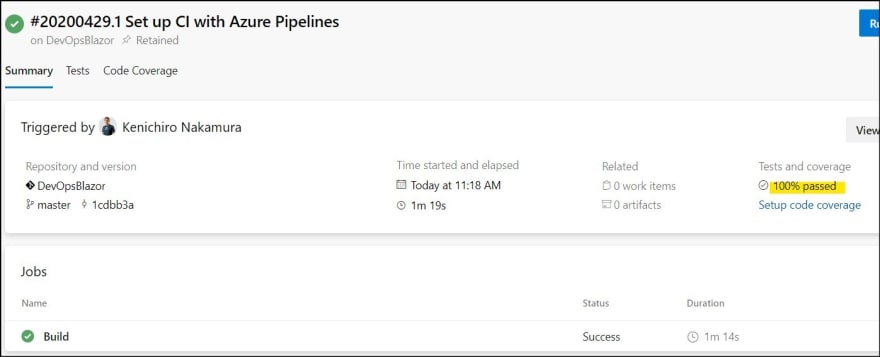
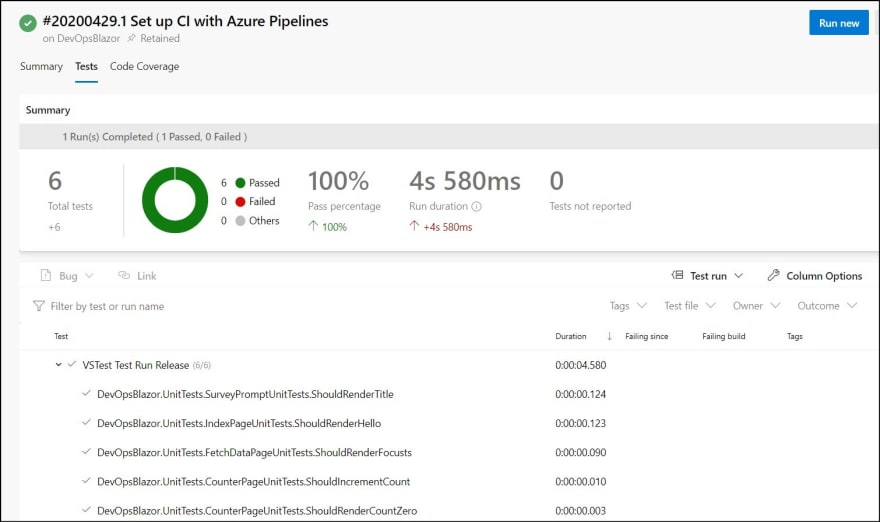
11. See the test results as well.
Add release stage
Next, add release stage for the pipeline.
1. Add new stage for release.
- stage: Release
  displayName: Release stage

  jobs:
  - job: Release
    displayName: Release to Azure

    pool:
      vmImage: $(vmImageName)

    steps:
2. Add .NET Core task and select publish.

3. From Tasks pane, select "Azure App Service deploy"

4. Follow the wizard to authorize Azure Subscription and select created App Service.
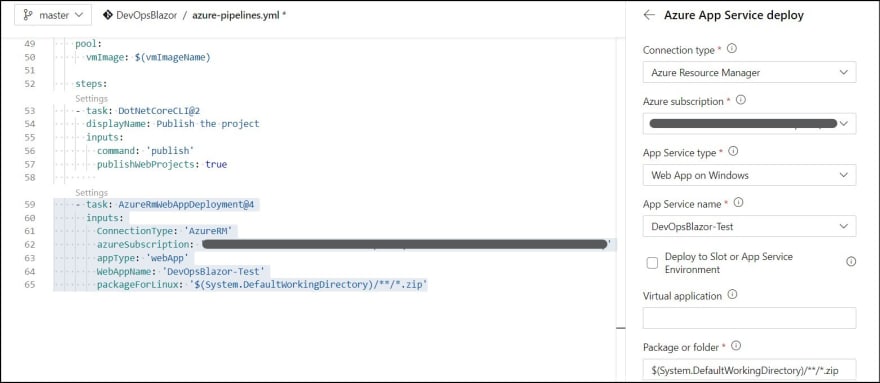
Final yaml looks like this:
trigger:
  branches:
    include:
    - master
  paths:
    exclude:
    - azure-pipelines.yml

variables:
  buildConfiguration: 'Release'
  vmImageName: 'ubuntu-latest'

stages:
- stage: Build
  displayName: Build stage

  jobs:
  - job: Build
    displayName: Build

    pool:
      vmImage: $(vmImageName)

    steps:
    - task: DotNetCoreCLI@2
      displayName: Build Server
      inputs:
        command: 'build'
        projects: '**/DevOpsBlazor.Server.csproj'

    - task: DotNetCoreCLI@2
      displayName: Run Unit Tests
      inputs:
        command: 'test'
        projects: '**/DevOpsBlazor.UnitTests.csproj'

- stage: Release
  displayName: Release stage

  jobs:
  - job: Release
    displayName: Release to Azure

    pool:
      vmImage: $(vmImageName)

    steps:
    - task: DotNetCoreCLI@2
      displayName: Publish the project
      inputs:
        command: 'publish'
        publishWebProjects: true

    - task: AzureRmWebAppDeployment@4
      inputs:
        ConnectionType: 'AzureRM'
        azureSubscription: '<your subscription info>'
        appType: 'webApp'
        WebAppName: 'DevOpsBlazor-Test'
        packageForLinux: '$(System.DefaultWorkingDirectory)/**/*.zip'
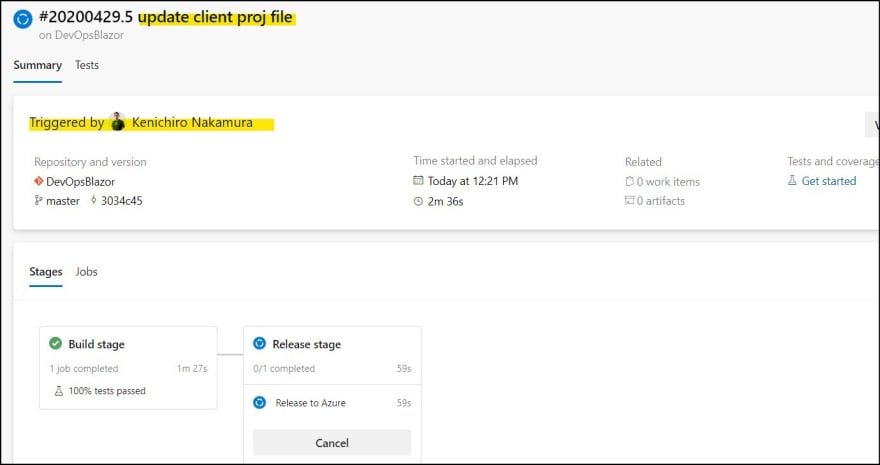
5. Save the change and run the pipeline. Now I see two stages.
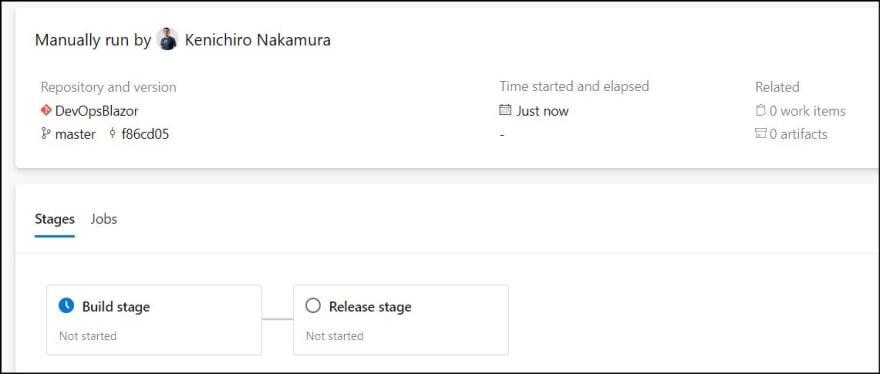
6. Wait until all stages complete.

7. Once release completed, access to the site. Well.. it seems something went wrong.

After I debug, I found solution here. This is good opportunity to test CI/CD.
Test CI/CD
Let's change the code and try CI/CD at the same time.
1. Open DevOpsBlazor.Client.csproj and add following in Property group.
<BlazorCacheBootResources>false</BlazorCacheBootResources>
2. From solution explorer, commit the change. I can commit and sync at the same time.

3. Go back to Azure DevOps and confirm the pipeline is triggered.
4. Once the pipeline complete, check the website.

Summary
In this article, I configure CI/CD pipeline by using multi-stage with yaml file. I will add end to end UI testing in the next article.

Oldest comments (0)