Table of Content | Read Next: Part 4 - Securely connect Node.js server to Elastic Cloud
Resources
Would you rather watch a video to learn this content? Click on the link below!
Create an Elastic Cloud deployment
Elastic Cloud hosts Elastic's products. It handles the heavy lifting of provisioning the host, managing security, data and much more with just a few clicks on the UI!
I find that for beginners, it is easier and faster to get started with Elastic Cloud.
In this blog series, we will be connecting our server to Elasticsearch and Kibana hosted on Elastic Cloud.
To do so, we must create an Elastic Cloud account.
Step 1: Go to the Elastic Cloud Free Trial Page
Click on the Free Elastic Cloud Trial Link.
This page will give you access to a longer trial period(30 vs 14 days) for Elastic Cloud!
There is no credit card required and the trial will expire on its own.
Step 2: Click on the Start free trial option(red box)
Step 3: Create an Elastic Cloud account
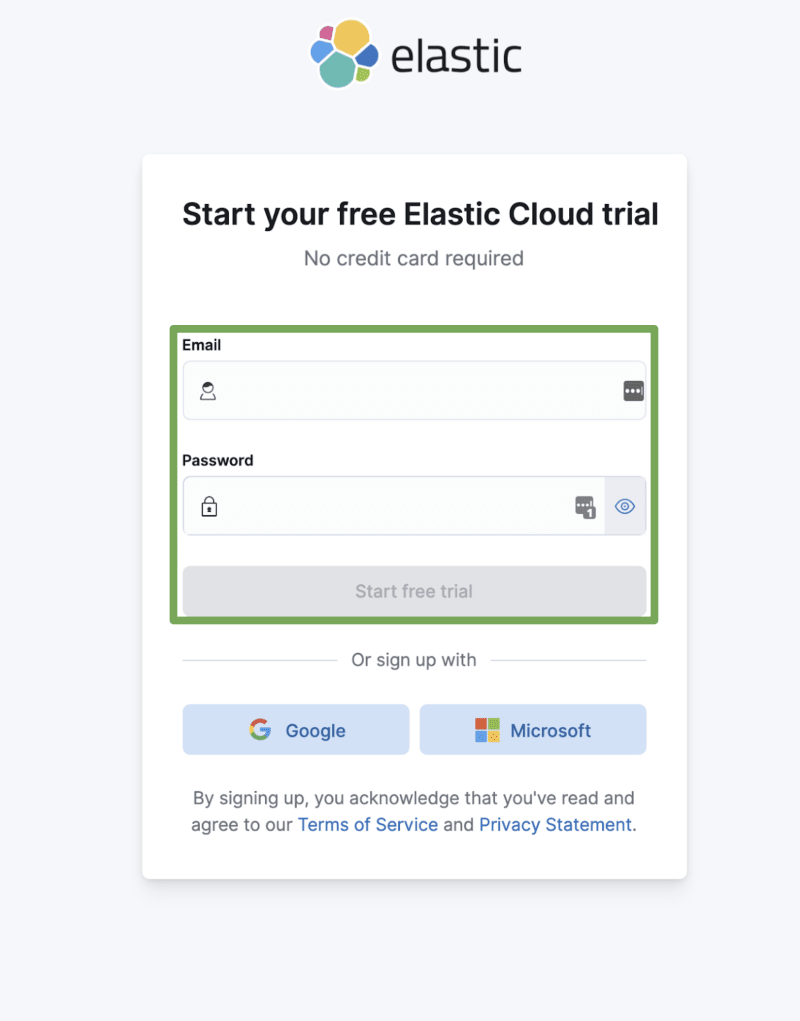
If you don't have an Elastic Cloud account, enter your email and password to create an account(green box).
Step 4: Click on the Start your free trial option(red box)

Step 5: Create an Elastic Cloud deployment
Upon login, you will see the following on your screen.
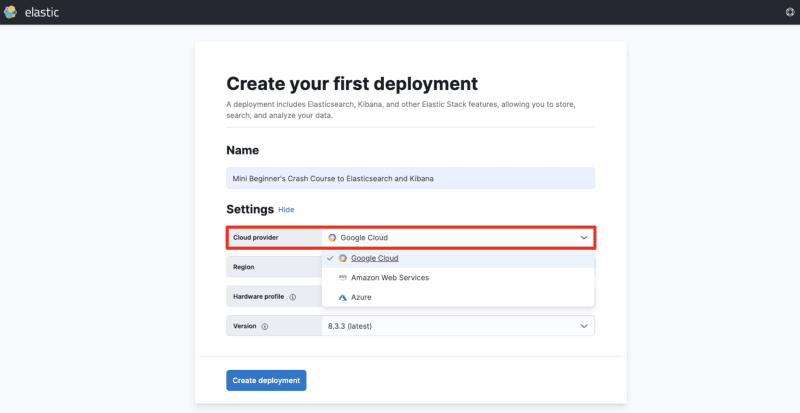
Name your deployment to whatever it makes sense to you(green box)!
I named mine Mini Beginner's Crash Course to Elasticsearch and Kibana.
Then, click on the Edit settings option(purple box).
You should see the following options.
First, choose the Cloud provider of your choice(red box).
Let’s say you have an app and you want to connect it to Elasticsearch.
But if your app is running on Google Cloud, you don’t want Elasticsearch running in a different Cloud provider because that will cause latency issues.
But for what we are about to do, it doesn’t matter which one you choose. Just select one.
Select the region closest to you(orange box).
Select your hardware profile(yellow box).
Elasticsearch offers several deployment templates for different use cases and workload.
Each template selects the appropriate cloud hardware configuration for different needs. But if you are just getting started or don’t quite know your needs yet, then go with the storage optimized option.
Select the latest version of the Elastic Stack(at the time of blog creation, the latest version was 8.3.3).
Once you have configured your setting, click on the Create deployment option(purple box).
Creation of deployment should take about 5 min. Meanwhile, it will display the deployment credentials.
We will be using these to connect our server to Elastic Cloud.
Download the credentials(yellow box) somewhere as these are shown only once.
We will be using these credentials to connect our server to Elastic Cloud!
Once your deployment is ready, click on the continue button(orange box).
Click on the Explore on my own option(pink box).
You will see the Kibana home page.
We successfully created an Elastic Cloud deployment.
Move on to Part 4 to securely connect Elastic Cloud to Node.js server!


Latest comments (0)