Introduction
Hello Friends, When developing Node.js applications that require configuration variables to be kept separate from the code, developers often create a .env file to store these variables. Traditionally, the popular approach has been to use the dotenv package to load these configuration variables. However, with the release of Node.js v20.6.0, the Node.js team has introduced built-in support for loading .env files, eliminating the need for a third-party package.
The dotenv is a great package which helped the developers to load configuration variables from .env file in many years but now the NodeJs team decided to support loading .env files as a build in feature and good news is this is released in Node.js v20.6.0.
In this blog post we will see how we used to load .env files using dotenv package and then we will learn new way of loading .env file in NodeJs without installing any third party package.
How to Load .env Files with dotenv (Traditional Method):
Lets us create a Node.js Project.
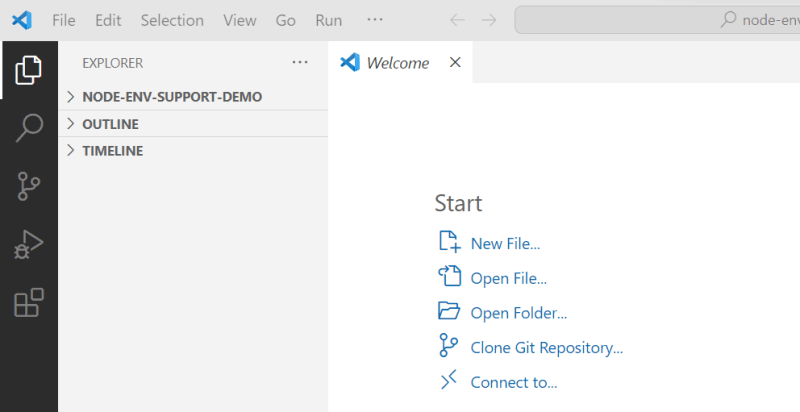
Create an folder and open that on VSCode as below
In terminal run npm init command as below, it give you couple of prompt, just press enter

At the end a package.json file should be created for you.
Create a new file index.js in the same folder.

Create any .env file with some configuration for this demo I have created a .env file and named it “.env” at the root of the project. add a example cofiguration key.

You can keep actual configuration in this file in your real Node.js Projects.
Now to explore old way of loading .env file, Lets us install the dotenv package using below command.
npm install dotenv
once done, you should see similar terminal output as below.

Create a index.js file just to see if we are able to read the configuration or not. The code is as below.
require('dotenv').config()
console.log("Running...")
console.log("DATABASE_SERVER_NAME", process.env.DATABASE_SERVER_NAME)
Now run the application and you should see the output in console as below.

You can see in above output that we are able to read the configuration value. This is how we used to load the env file till date.
How to Load .env Files in Node.js Without dotenv (New Method):
Now Lets us see the new way which is the loading the .env file in NodeJs without any third party package. Here the the steps.
Make sure you are on Node.js v20.6.0 or latest. If not install the latest Node.js. If you manage the multiple Node.js version too using node version manager(nvm) , follow this post if you do not know how to install and use multiple nodeJs on same machine.
How to use nvm to install multiple nodeJS versions on windows? – CodeLila
Now switch to Node.js v20.6.0.
remove the dotenv config line from the index.js as below.
console.log("Running...")
console.log("DATABASE_SERVER_NAME", process.env.DATABASE_SERVER_NAME)
run the application using below line.
node --env-file .env index.js
you should see the below output.
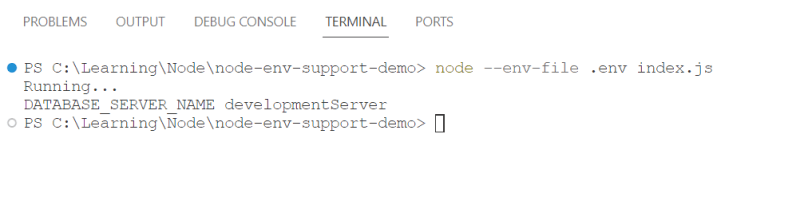
You can see this output is same as when we loaded the .env file with dotenv packge.
You can read more about this release here: https://nodejs.org/en/blog/release/v20.6.0
Conclusion:
Node.js v20.6.0 introduced a new built-in way to load .env files, eliminating the need for the dotenv package. This simplifies the process of managing configuration variables in Node.js applications. Developers can now choose between the traditional method and the new built-in approach based on their project’s requirements.
The post Load .env Files in Node.js: The Old and New built-in Way appeared first on CodeLila.

Top comments (0)