
About a week ago I received the One Year Club badge from dev.to . I've been a registered member for a year now.
I've not written any articles yet but I guess it's now time to give back to community because I've read so many articles that have really helped me through my dev journey.
I'll be starting a django series where I go through the process of creating an accounts app to manage user authentication for most of the projects you will create using django.
This is the first part we will talk about, project setup, creating accounts app and then finally login.
Prerequisites
This is somewhat a beginner series but I expect you to know some basic django and Python.
Let's get started already😊
Open your terminal and change into the directory where you want your project to reside in. Create a new directory/folder and call it ausers or any name you want to use.
mkdir ausers
Change into this directory and then create a virtual environment where we will install django and other packages
We will create a virtual environment called env. Once it has been created we will activate our virtual environment
virtualenv env

source env/bin/activate
We will then install django using pip.
pip install django
Once that has been installed, we will create a django project called ausers this is the same name we gave to our directory earlier so at the end of the command we add a period to tell django to create the files in the current directory and no create a new one. If you want a different name for your project you can go ahead and specify the name instead of the period.
django-admin startproject ausers .
You can now open the directory in your favorite text editor.
We are now going to create accounts app which will be used for user authentication
./manage.py startapp accounts
Open settings.py and Register the accounts app, take not it is at the top of all other apps
Django comes with a built in authentication framework to handle user authentication, session , permissions and groups.
Django comes with several class based views to handle authentication. We will deal with only two in this article
- LoginView : handles login form and logs in a user
- LogoutView : logs out a user
All we need right now is to add these views to our urls.py file
In the accounts app/directory, create a new file called urls.py and add these few lines on code
We will now edit the urls.py file in the ausers directory to include the urls of the accounts app
Okay we have done most of the part , let's do a quick check if our project is running.
First, we make migrations then start the server
./manage.py migrate && ./manage.py runserver
If you open this address http://127.0.0.1:8000/ in your browser you will get Page Not Found(404) error. It's ok no need to freak out we got this.
So we are receiving that error because we do not have any urls pointing to that address, we will come back to that.
Lets create templates for the views we included in our urls file earlier.
In the accounts folder create this directory templates/registration and templates/registration.
In the same directory create this directory static/accounts
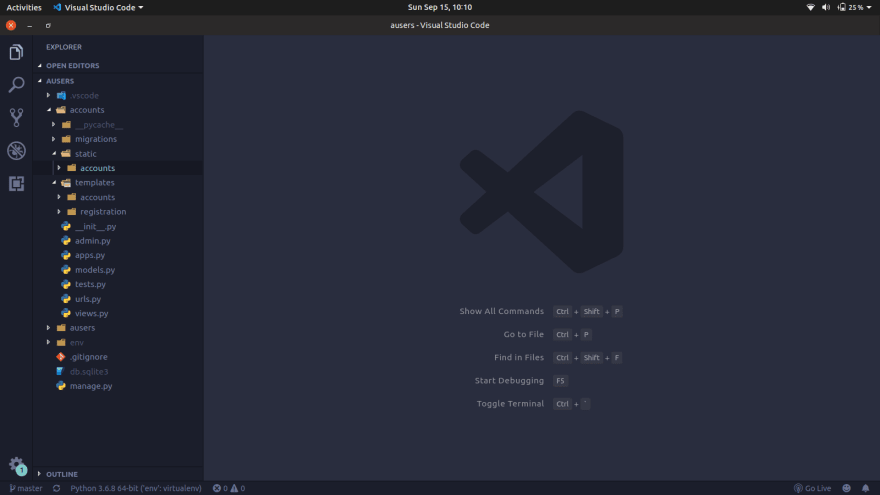
Your folder structure should look like this
For simplicity I'm going to use this login template from colorlib. Go ahead and download it to your computer.
Extract the files and open the folder. We will move all the static files(images, css, vendor, js) to the static/accounts directory.
We will create a base.html file in the templates/accounts directory. You can have a look at the file here
Basically we get all the common parts of the index.html page from the folder we downloaded and add it to the base.html file
let's create the login.html template in templates/registration.
The login form uses the default AuthenticationForm which is located at django.contrib.auth.forms
This forms tries to authenticate users and raises a validation if login was unsuccessful
You notice we added a hidden input field with a variable called next. This parameter has to be a url . If this parameter is given django login view will redirect the user to the given url if login is successful.
let's create the logged_out.html template templates/registration.
Django will display this template when a user has logged out.
We are going to create a new view to display a template when a user logs in.
Open views.py in the accounts app.
We use the LoginRequiredMixin which will redirect users to the login page if they are not authenticated.
Add this url to the urls.py file in the accounts directory
path('', views.DashboardView.as_view(), name='dashboard'),
Create a dashboard.html template in templates/accounts.
Add the following to your settings file
LOGIN_URL = 'login'

LOGOUT_URL = 'logout'

LOGIN_REDIRECT_URL = 'dashboard'
We are using the url names instead of the relative paths.
Once that is all set we are going to create a superuser to test our login
./manage.py createsuperuser
Fill in your details and then start the server.
Open your browser and go to this url
http://127.0.0.1:8000/accounts/
If you're not logged in, you will be redirected to the login page. And that's it mainly for this article.
Well done, phew that was something. Let's have a recup
- used django's built in classes to add authentication
- created custom templates for our views
- configured settings
Congratulations, you now have a working login. We will be building more on this so keep follow me so you don't miss out.
Feel free to reach out to me if anything didn't make sense or if you found an easier way. And if you found any mistake feel free to let me know in the comments.
Finally, this is my first article here but I have a couple on my linkedIn. Feel free to connect with me.

Top comments (0)