Summary
This article describes how to create a trial account and generate the API Key in MessageBird and configuring an account in the webMethods.io workflow.
Prerequisites
- The User must have access to https://www.messagebird.com/en/.
- Working webMethods.io tenant.
Contents
- Create a trial account in MessageBird.com.
- Generate the API Key.
- Configuring a MessageBird account in webMethods.io
Steps
- To create a new trial account in the MessageBird application, open the link
https://www.messagebird.com/en/.
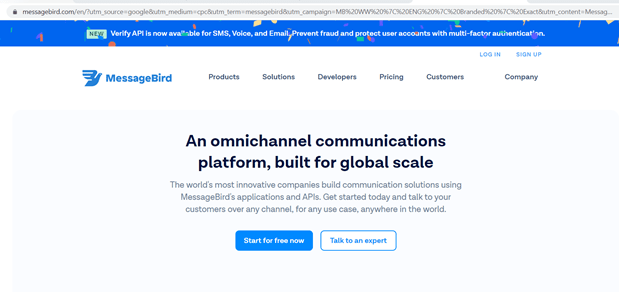 After clicking on the “Start for free now” option we get the following screen.
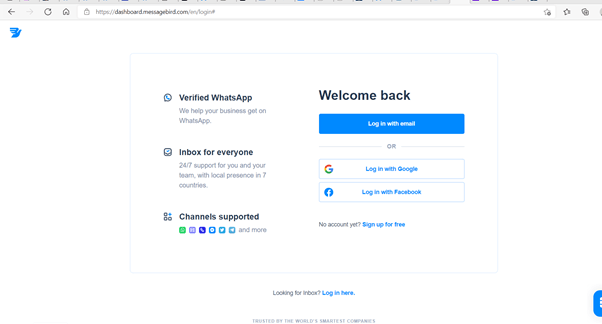 Click on the “Log in with email” option.
 - Enter the Email id and Password details and click the “Create Account” button.

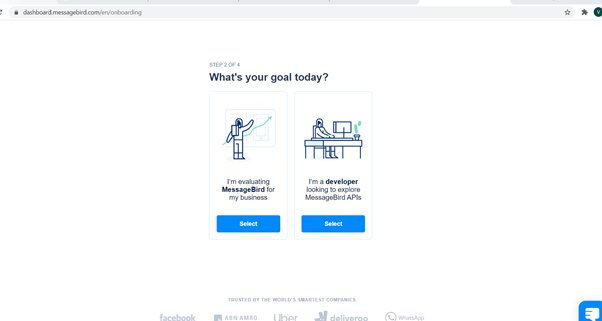
- Click on the “Select” button for the developer option
- A confirmation message is sent to the mail id.

- Click on the link sent to activate the account

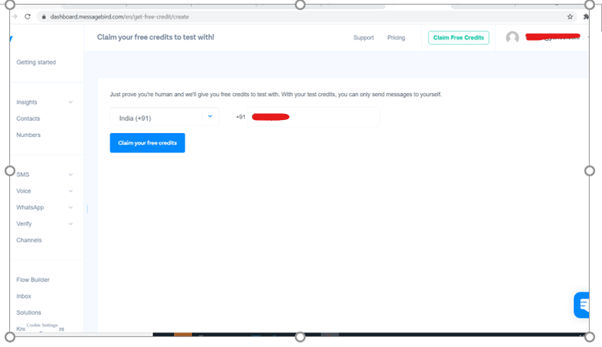
- Press on the “Claim Free Credits” option.

- Press the “Claim you free credits” button after entering the mobile no. to be registered.
- Enter the verification code, which is sent to the registered mobile no. Click on the “Verify” button.

- After the successful verification we get the following screen

- Click on the “SMS – API Getting Started” option present in the left side panel, the following screen is displayed:
 Click on the “Manage API Keys” link as marked in the screenshot or click the link
Welcome back! - MessageBird
Click on the “Manage API Keys” link as marked in the screenshot or click the link
Welcome back! - MessageBird
- Click on the “API access” option.

- The API access keys are displayed as shown in the below screen:

- After clicking on the “Show Key” option the Live API Key and Test API Key are revealed.
 There are 2 keys Live API Key and Test API Key. Live API Key can be used for live testing till the credits last. The Test API Key can be used anytime, it can be used for dummy testing.
 - Log in to webmethods.io Integration.
- Create a new project or choose an existing project if required.
- Click on the workflows tab and add a new workflow.
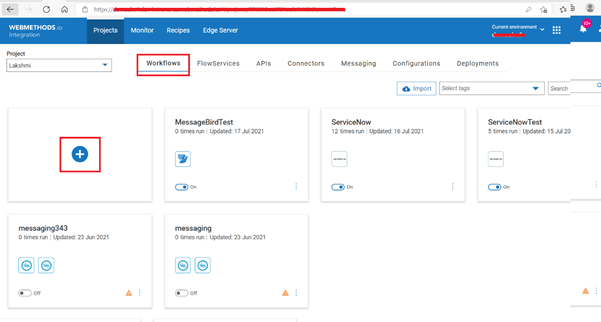
- Name your workflow and then Drag and drop MessageBird from the connector pallet and double click on MessageBird connector to configure the account.

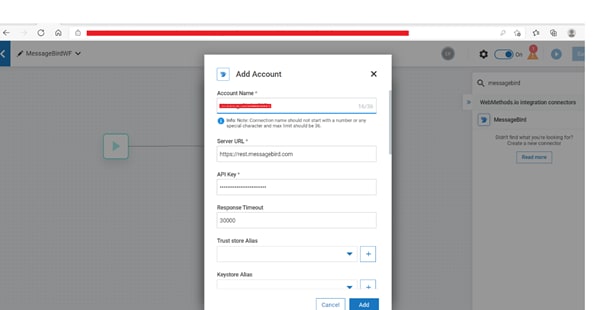
- Select action and click on (+) to add an account.

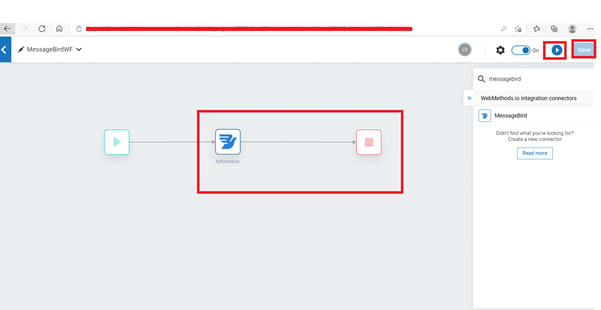
- Fill in the required data. Enter the Server URL -https://rest.messagebird.com, API Key as shown in the screen below. Press Add button. A connector for MessageBird is generated.
- Connect the connector to stop and save the workflow and click on run to run the entire workflow.


Top comments (0)