
Introduction
All apps need a solid, automated notifications system. Whether it’s reminders, updates, or alerts, some notifications can be urgent and time-sensitive, in which case SMS is the most effective communication channel.
Let’s take a moment to talk about what that means for you as a developer. You need to:
- store data on how each individual user is interacting with your app,
- design personalized messages that inform your users based on different activities,
- respect your user’s communication preferences to avoid notification fatigue,
- and view logs in a centralized location for efficient debugging.
Realistically, building this feature from scratch can be time-consuming and complicated. You risk wasting time on simple tasks like integrating with SMS providers, managing message delivery, and scaling your system to handle increased message volume.
To simplify this process, we will use Courier, which provides a layer of abstraction over multiple SMS providers, making integration easier. It includes:
- CDP integrations to send automated messages based on user activity
- message delivery tracking and retry mechanisms, which can help ensure reliable message delivery
- scalable architecture, which can handle increased message volume as your application grows.
This tutorial will cover everything you need to know to set up an effective and efficient automated SMS notification system using Courier. Let’s begin.
Send with SMS
The following is a simple API call that sends SMS messages with Courier, adapted from the Node.js quick start:
const { CourierClient } = require("@trycourier/courier");

const courier = CourierClient({ authorizationToken: "<auth_token>" });

async function sendSMS() {

    const { requestId } = await courier.send({

        message: {

            to: {

                phone_number: "123-456-7890",

            },

            content: {

                title: "Welcome!",

                body: "Thanks for signing up, {{name}}",

            },

            data: {

                name: "Peter Parker",

            },

            routing: {

                method: "single",

                channels: ["sms"],

            },

            },

    });

}

sendSMS();
Integrate SMS API
You can use Twilio or any of the following providers based on your preference.
** Step 1: Sign up for Twilio**
** Step 2: Set up your preferred SMS API in channels**
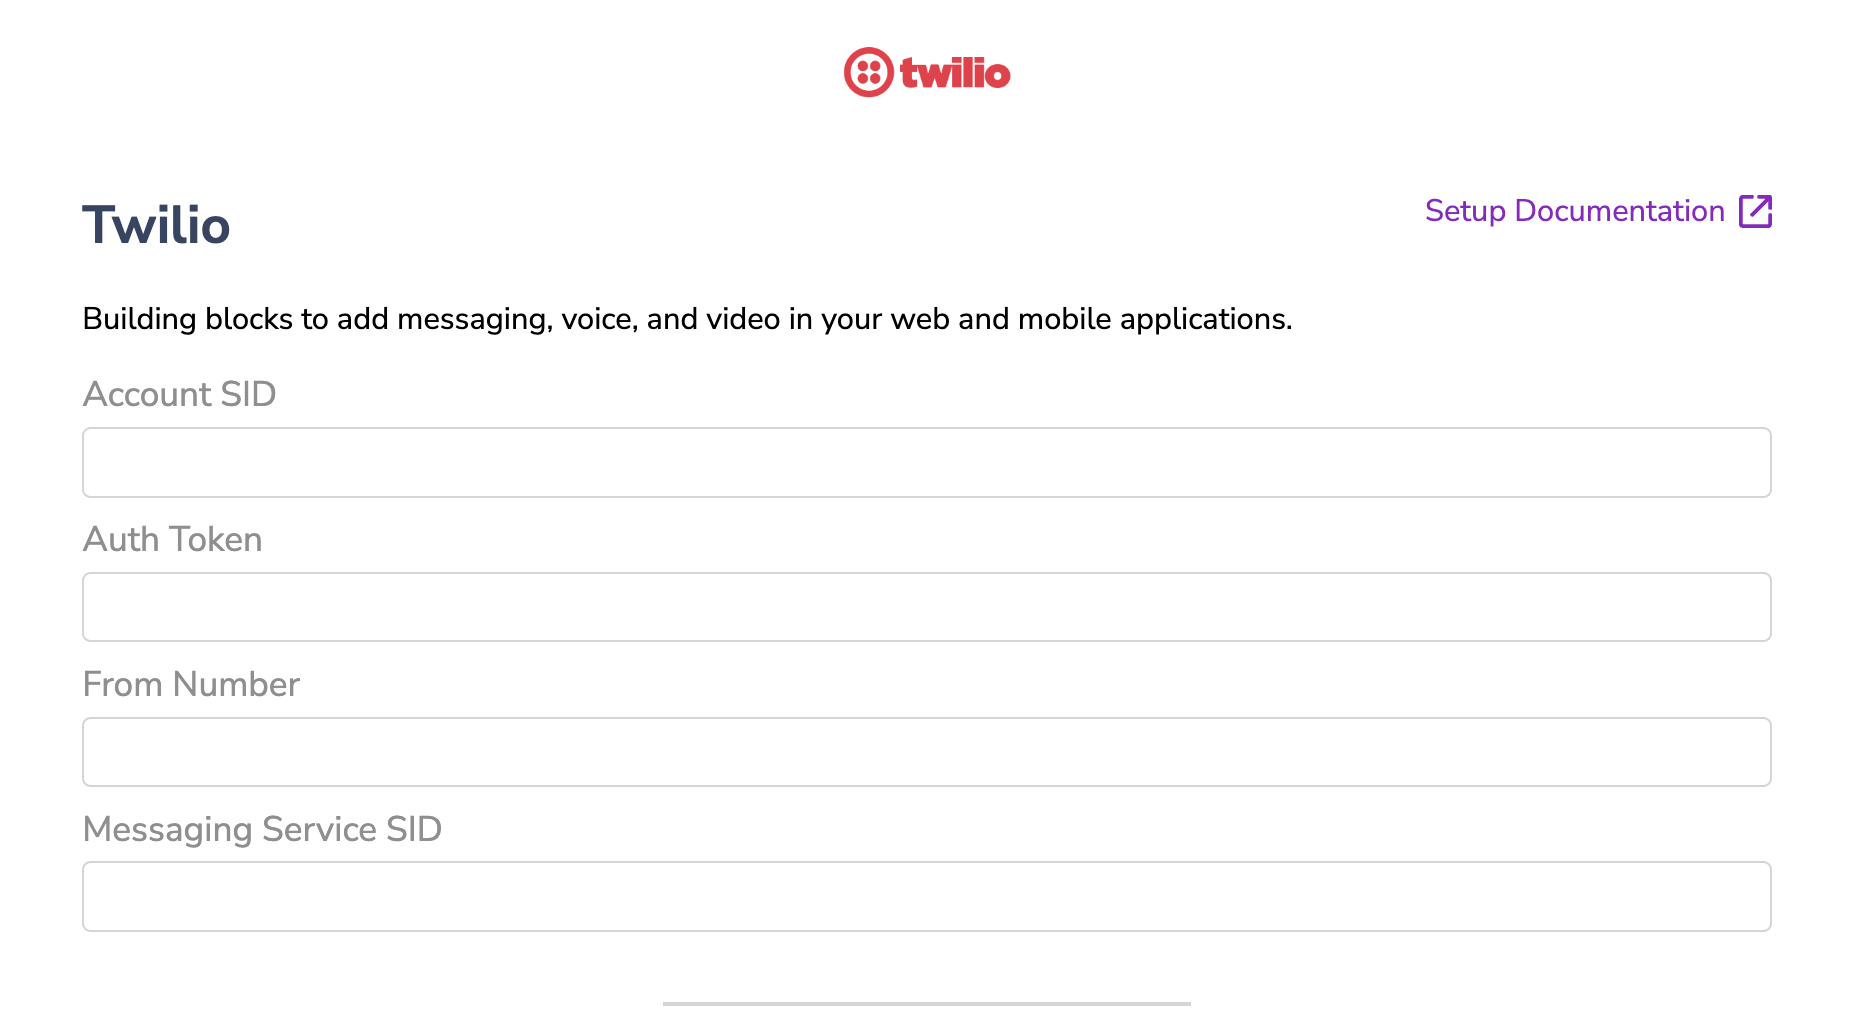
Each Courier Integration needs specific information based on the Integration provider's requirements (check the Provider Documentation section on the left sidebar for each Integration's needs).
For Twilio, you will need to provide an Account SID, an Auth Token, and a Messaging Service SID, which you will get directly from Twilio. If you don’t have a Messaging Service SID from Twilio, you can add a From Number instead.
After you sign in to Twilio, click the house icon on the sidebar to go to the Dashboard. On this page, you'll see a section called Project Info, which shows your Account SID and Auth Token. Copy these and paste them into the matching fields on Courier's Twilio Integration page.

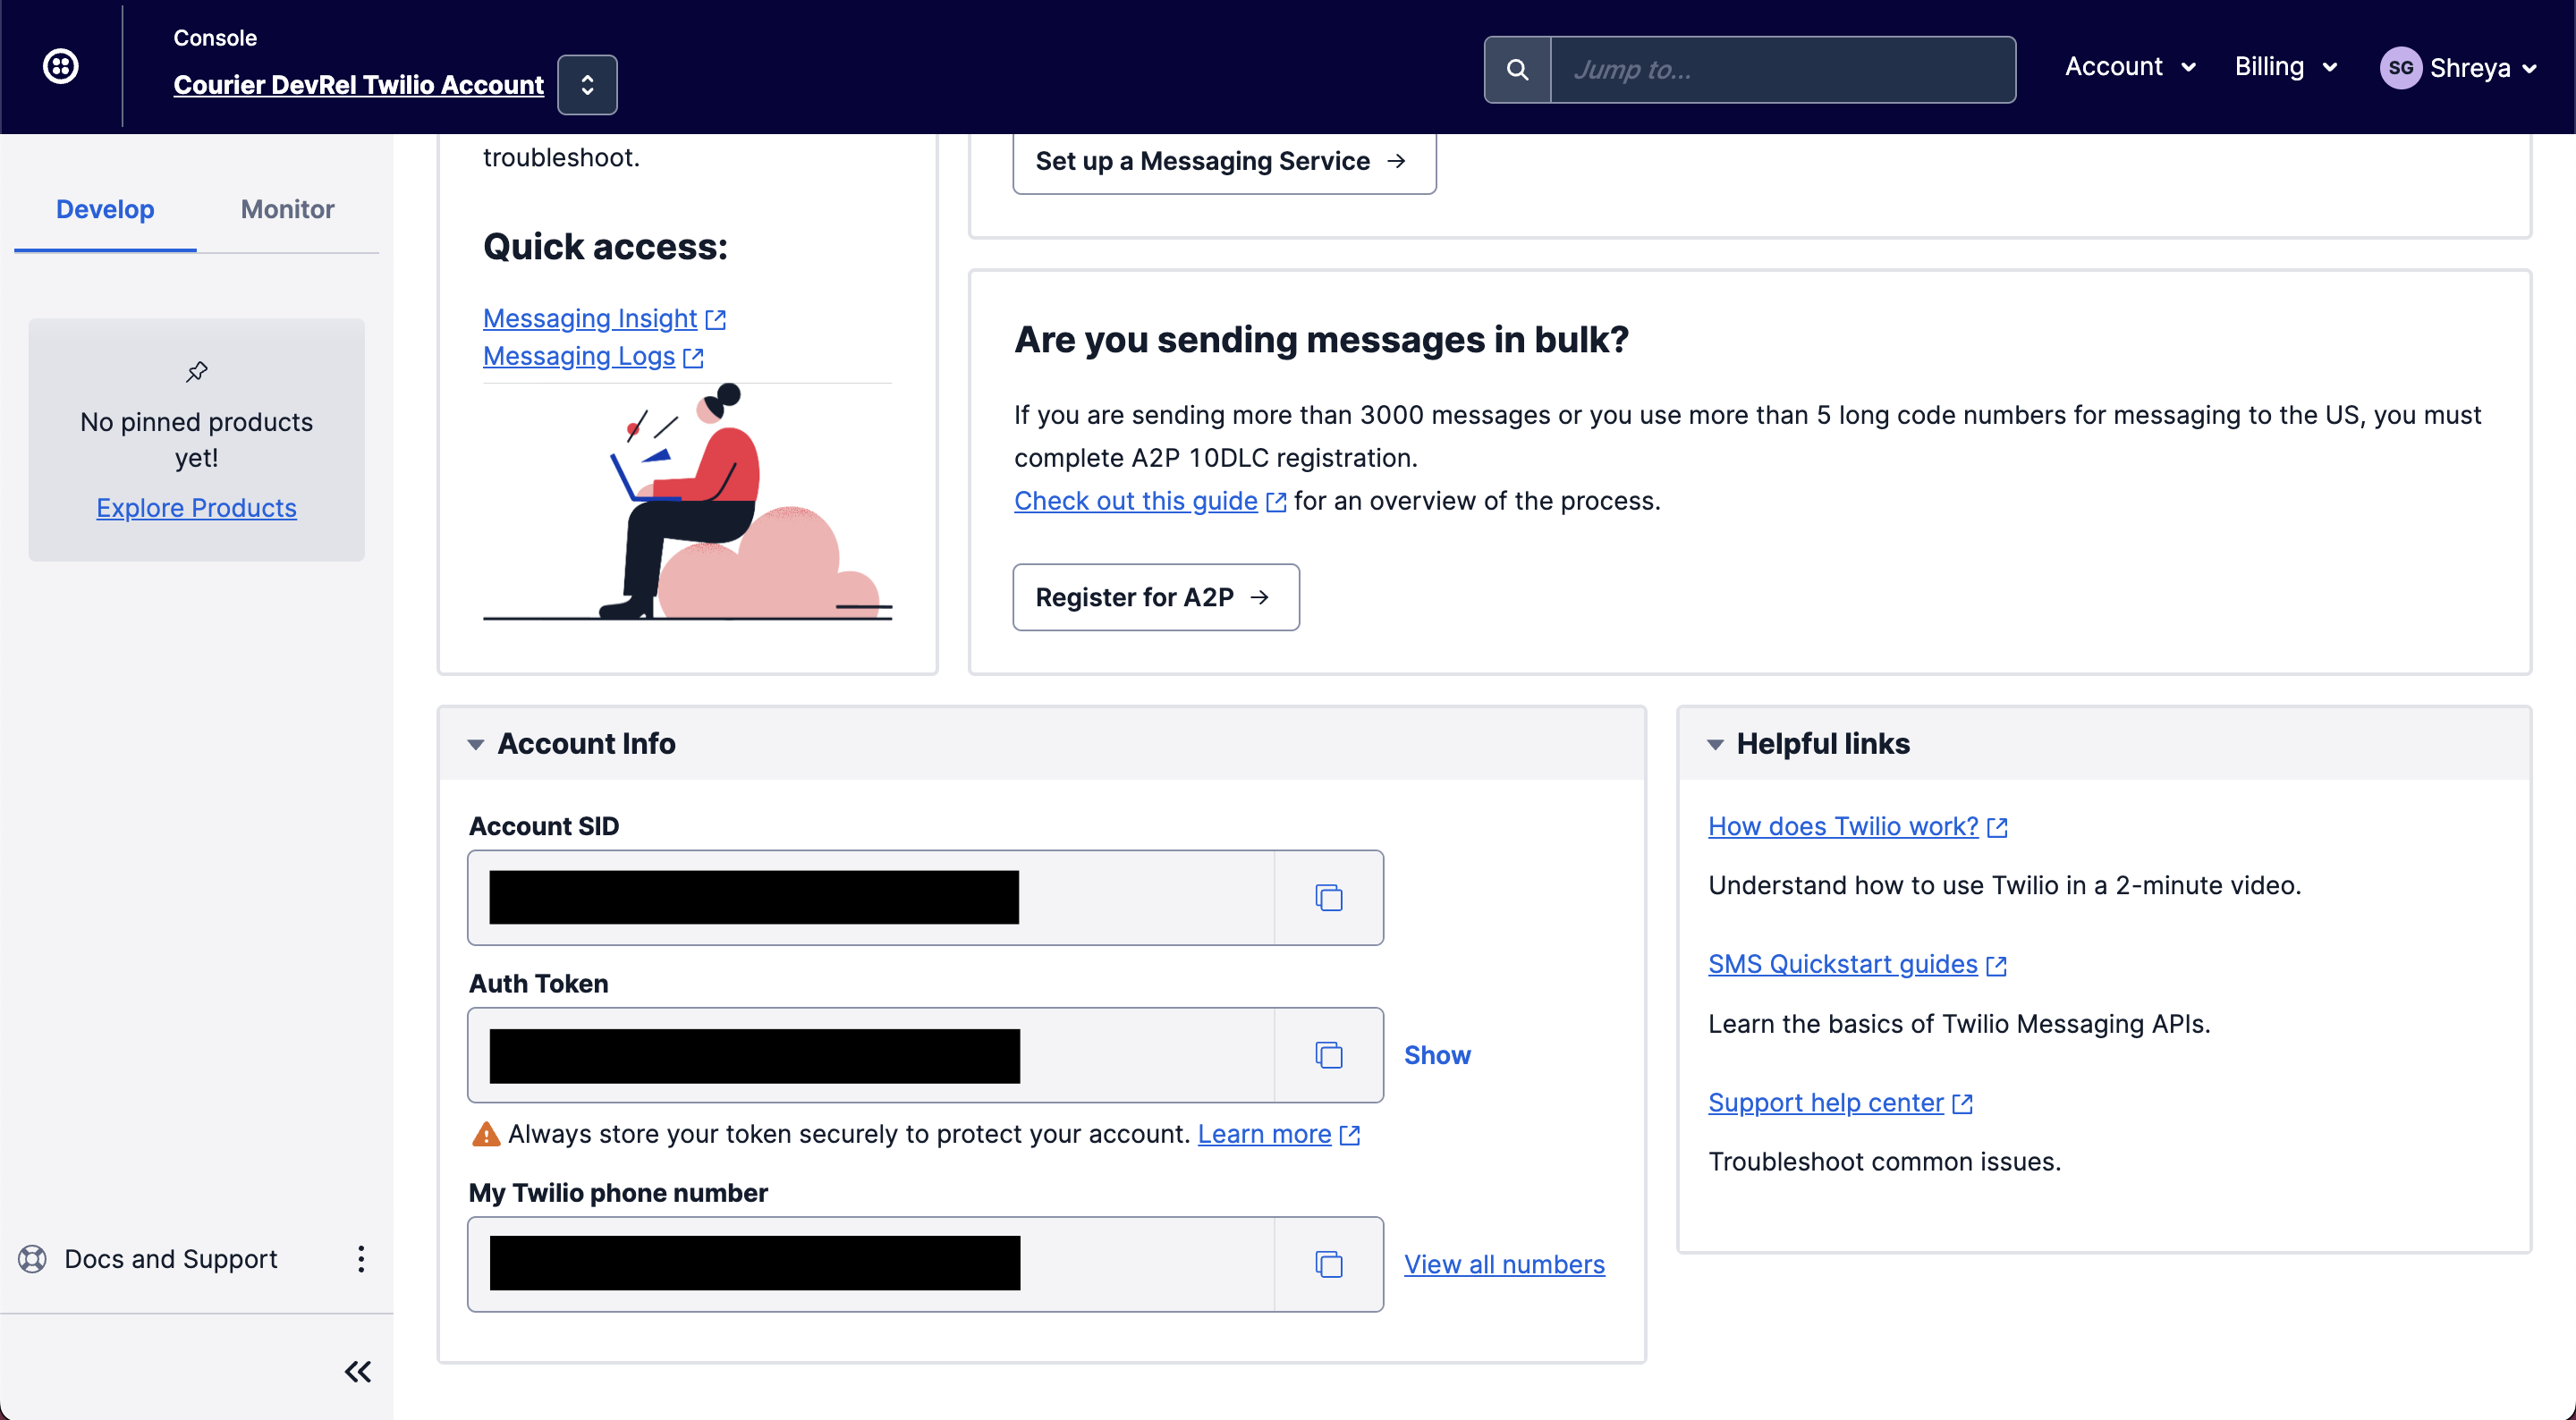
You can find more information on how to get a phone number from Twilio and how to set up a Messaging Service SID in our Twilio documentation.
Create Your Notification(s)
Step 1: Create a new template
Go to the Courier Designer and click on the Create Notification button to create a new notification template. You will need to give your notification a name (otherwise it will default to “Untitled Notification”. You can choose to use AI to generate content based on the name you chose.
Leave the Subscription Topic blank for now.
Step 2: Select your preferred channel and integration
In this case, you will use the SMS channel and Twilio integration.
Step 3: Customize your message and publish changes when complete
** Step 4: Add links to the Preference Center**
You’ll set up your Preference Center later in this tutorial, but you can add links to the Preference Center here by including ({$.urls.preferences}) in the message or hyperlinking text with {$.urls.preferences}. Learn more.
Optional Step 4: Test your event
To confirm that your message is appearing the way you’d expect it to, go to the Preview tab and create a new test event. Replace the value of phone_number in the JSON with a number you would like to receive the test SMS at. Click create and proceed to the Send tab. Click Send Test to receive the test message. Click on the Design tab to revise the message until you are satisfied with the way it looks.
Learn more about designing templates.
Step 5: Repeat this process to create all notifications you need to send via SMS
Create an Automation
Step 1: Create a new Automation
Step 2: Drag and drop your preferred trigger
If you have integrated a CDP in Courier and want to send notifications based on events being tracked within your application, you can choose any of them as the trigger (Segment or Rudderstack).
This will require you to have the integration setup within the CDPs:
Step 3: Drag and drop a Send step
Connect the notification template based on which message you want to send with this trigger.
Edit the recipient information:
- add a
phone_numberfield to send to a specific number, - add a
user_idto send to a specific contact within your [Courier Users database](https://app.courier.com/users0, - or add a
list_idto send to a list of users (another way to do this is to use the Send to List step)
Step 4: Publish the Automation template
Learn more about designing Automation templates
Set up user preferences
To allow your users to decide how they receive messages, you can use Subscription Topics to categorize your notifications and give users the ability to opt in/out of these Topics.
Step 1: Create Subscription Topics
Head over to the Preferences Designer and add your Topics. Some examples are “Marketing Messages,” “Billing Alerts,” and “Critical Messages.” You can edit the Default State of each Topic to decide whether users can opt in/out or if they are required to receive these notifications.
Step 2: Link the Notification Templates
Edit your Topics to link the Templates you created earlier.
Optional Step 3: Enable Channel Delivery Customization
You can also edit the Section settings (a Section groups multiple topics together) and enable Channel Delivery Customization so users can decide which channel they receive messages on. This means that if a user opts out of “SMS” notifications for a Section, they will not receive any SMS notifications within the Topics of that Section.
Learn more about the Preferences Designer.
Best Practices for SMS Notifications
The ease and convenience of SMS have made it an effective and popular method for delivering messages to customers, employees, and stakeholders. However, best practices must be followed to ensure the effectiveness of SMS notifications. Here are some of the best practices for SMS notifications:
A. Timing and frequency of SMS notifications
SMS notifications require precise timing and frequency to be effective. The notifications should be sent at the optimal time for the recipient to read and respond to the message. For example, a retail store may send SMS notifications to customers with promotions and discounts during the holiday season or a special sale event. Similarly, a healthcare provider may send reminders to patients for upcoming appointments or medication refills. It is also important to avoid overloading the recipient with too many messages. Finding the right balance between frequency and relevance is crucial to ensure that SMS notifications are well-received and effective.
B. Personalizing the SMS notifications for each recipient
Personalization is a key factor in delivering effective SMS notifications. By personalizing the message with the recipient's name, location, or other relevant information, it becomes more engaging and meaningful. Personalized SMS notifications can also help to build stronger relationships between the sender and recipient. For example, a fitness center may send SMS notifications to members with personalized workout plans based on their fitness goals and progress. Similarly, a bank may send personalized SMS notifications to customers with account balances and transaction details.
C. Measuring the success of SMS notifications with analytics
Analytics can provide valuable insights into how the recipient is engaging with the message. For example, open rates, click-through rates, and conversion rates can indicate the effectiveness of the SMS notification. By analyzing these metrics, the sender can identify areas for improvement and make data-driven decisions. Analytics can also help to refine the timing and frequency of SMS notifications.
D. Improving the SMS notification strategy based on recipient engagement
Finally, we can continuously improve the SMS notification strategy based on recipient engagement. By soliciting feedback from recipients, the sender can better understand their preferences and needs. For example, a survey or feedback form can be included in the SMS notification to gather feedback from the recipient. Based on this feedback, the sender can adjust the timing, frequency, and content of the SMS notifications to meet the recipient's needs better.
Conclusion
Now you have a completely automated SMS notification system that respects your user’s preferences. Creating an automated SMS notification system with Courier and Twilio is a powerful way to enhance customer communication. Courier's advanced features, like multi-channel support, pre-built templates, and detailed analytics, make it a great tool for managing all your notifications in one place. Twilio's SMS API is easy to use and provides a wide range of features, like two-factor authentication and automated responses, to help you create an efficient and secure notification system. Combining these two powerful tools allows you to create a notification system that meets your business needs and helps you stay connected with your customers.

Top comments (2)
I’ve set up a basic automated SMS notification system before, and honestly, dealing with SMS providers like Twilio can be a bit time-consuming, especially when you're just testing things out. One workaround I found helpful was using quackr.io to get a temporary phone number. It’s a quick way to test your notifications without needing to set up a full SMS provider right away. You can use it to see how everything works before committing to a more permanent solution.
Some comments may only be visible to logged-in visitors. Sign in to view all comments.