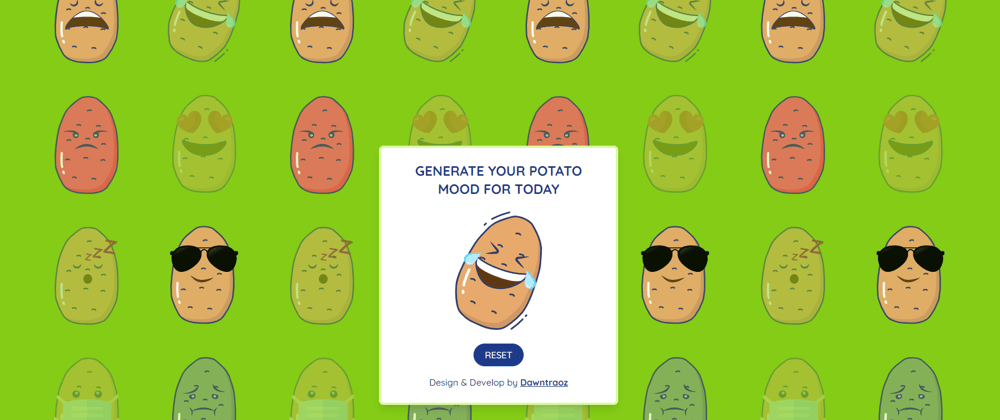
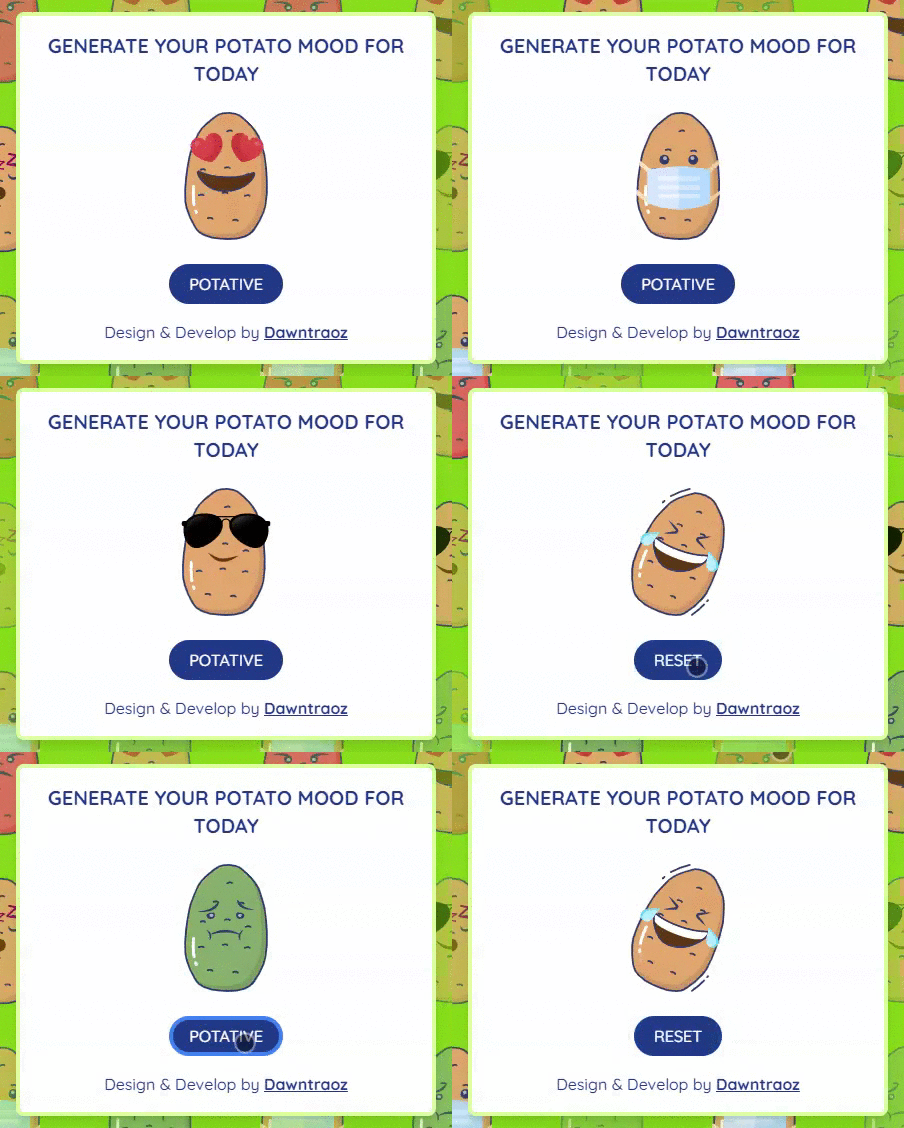
After showing you the artwork for the app in the previous post, today I want to tell you about the configuration of my Nuxt project with TailwindCSS. Also, I want to tell you how I created an easy roulette effect, with a component in Vue and how to test it using Jest.
Nuxt create app
To get started quickly with nuxt, I've used the yarn create nuxt-app command. After executing the command, I chose the following configuration options:
- Package manager: Yarn
- Programming language: JavaScript
- UI framework: Tailwind CSS
- Nuxt.js modules: Progressive Web App (PWA)
- Linting tools:
- Testing framework: Jest
- Rendering mode: SPA
- Deployment target: Static (Static/JAMStack hosting)
- Development tools:
- Continous Integration: GitHub Actions
Once everything was installed, I generated the necessary favicon versions with this generator and added the head links in the configuration file nuxt.config.js:
head: {
  link: [
    { rel: 'icon', type: 'image/x-icon', href: '/favicon.ico' },
    { rel: 'icon', sizes: '32x32', type: 'image/png', href: '/favicon-32x32.png' },
    { rel: 'icon', sizes: '16x16', type: 'image/png', href: '/favicon-16x16.png' },
    { rel: 'apple-touch-icon', sizes: '180x180', href: '/icon.png' },
    { rel: 'mask-icon', color: '#a3e635', href: '/safari-pinned-tab.svg' },
  ],
},
And, since we are adding content in the head, here I show you the meta tags I have added to share in social networks (the ones that start with og:) and the one that sets the main color of the application.
head: {
  title: 'Potato mood | Potatizer',
  meta: [
    { charset: 'utf-8' },
    { name: 'viewport', content: 'width=device-width, initial-scale=1' },
    { name: 'msapplication-TileColor', content: '#a3e635' },
    { name: 'theme-color', content: '#a3e635' },
    { hid: 'description', name: 'description', content: 'Generate your potato mood randomly with this without sense app' },
    { hid: 'og:description', name: 'og:description', content: 'Generate your potato mood randomly with this without sense app' },
    { hid: 'og:site_name', property: 'og:site_name', content: 'Potatizer' },
    { hid: 'og:title', property: 'og:title', content: 'Potato mood | Potatizer' },
    { hid: 'image', property: 'image', content: '/social-card-potatizer.jpg' },
    { hid: 'og:image', property: 'og:image', content: '/social-card-potatizer.jpg' },
    { hid: 'twitter:card', name: 'twitter:card', content: 'summary_large_image' },
  ],
},
All the images that I have added in the meta tags and links of the head, are stored in the static folder of the project.
Component RandomPotatizer
Now that we have everything ready, it's time to get down to the component that will show us today's potato mood.
Generate Random Mood method
When we start the app and the component is mounted, the generateRandomMood() method will be executed. In this recursive method, I generate a random index between 0 and the size of the mood array every 100ms, using the timeout.
When the index has been generated I save the corresponding mood in the randomMood variable, which our template expects to represent, and I call the same function again.
This function will stop running once you have pressed the button that gives value to the variable
moodSelected.
<script>
export default {
  methods: {
    generateRandomMood() {
      if (Object.keys(this.moodSelected).length === 0) {
        setTimeout(() => {
          const index = Math.floor(Math.random() * this.moods.length)
          this.randomMood = this.moods[index]
          this.generateRandomMood()
        }, 100)
      }
    },
  },
}
</script>
Generate Mood method
Once the generateRandomMood() method is running and we click on the Potatize button, the moodSelected variable will get the current value of randomMood.
<template>
  <article>
    // ...
    <footer class="text-center">
      <button v-if="!moodSelected.src" class="button" @click="generateMood">Potative</button>
    </footer>
  </article>
</template>

<script>
export default {
  methods: {
    generateMood() {
      this.moodSelected = this.randomMood
    },
  },
}
</script>
Reset Mood method
On the other hand, when we want to generate our mood again, because we aren't convinced by the one we have been given hahaha, we can reset the value of moodSelected and call back our recursive method, pressing the Reset button.
<template>
  <article>
    // ...
    <footer class="text-center">
      <button v-if="moodSelected.src" class="button" @click="resetMood">Reset</button>
    </footer>
  </article>
</template>

<script>
export default {
  methods: {
    resetMood() {
      this.moodSelected = {}
      this.generateRandomMood()
    },
  },
}
</script>
Now that we know the three methods we have used, we can see the full component.
Apart from the methods, we see the variables defined with their initial state in data and the template that will show our moods, styled by TailwindCSS classes.
For this case, I've stored the images in the assets folder of our project, instead of in static. To call them dynamically we need to use
require.
<template>
  <article
    class="w-panel max-w-full z-20 p-4 md:p-6 bg-white border-4 border-lime-200 shadow-lg rounded-lg"
  >
    <header>
      <h1 class="font-bold text-xl md:text-2xl text-center uppercase">{{ title }}</h1>
    </header>
    <figure class="flex flex-col items-center py-6">
      <img
        :src="require(`~/assets${moodSelected.src || randomMood.src}`)"
        :alt="`Your potato mood for today is ${
          moodSelected.name || randomMood.name
        }`"
        class="h-32 md:h-52"
        height="208"
        width="160"
      />
    </figure>
    <footer class="text-center">
      <button v-if="!moodSelected.src" class="button" @click="generateMood">Potative</button>
      <button v-if="moodSelected.src" class="button" @click="resetMood">Reset</button>
    </footer>
  </article>
</template>

<script>
export default {
  data() {
    return {
      title: 'Generate your potato mood for today',
      moodSelected: {},
      moods: [{ name: 'laugh', src: '/moods/laugh.svg' }, { name: 'angry', src: '/moods/angry.svg' }],
      randomMood: {
        name: 'laugh',
        src: '/moods/laugh.svg',
      },
    }
  },
  mounted() {
    this.generateRandomMood()
  },
  methods: {
    generateMood() {
      this.moodSelected = this.randomMood
    },
    resetMood() {
      this.moodSelected = {}
      this.generateRandomMood()
    },
    generateRandomMood() {
      if (Object.keys(this.moodSelected).length === 0) {
        setTimeout(() => {
          const index = Math.floor(Math.random() * this.moods.length)
          this.randomMood = this.moods[index]
          this.generateRandomMood()
        }, 100)
      }
    },
  },
}
</script>
This is our amazing result 🎉
Unit testing RandomPotatizer
Since it is a very simple code, why not test its methods to see that everything goes as we expect.
First of all, we need jest to understand our SVG files, for that we added in jest.config.js:
transform: {
  '^.+\\.svg$': '<rootDir>/svgTransform.js'
}
That svgTransform.js will be the file where we will define our transformer:
Here you can find the reference How to use this loader with jest
const vueJest = require('vue-jest/lib/template-compiler')

module.exports = {
  process(content) {
    const { render } = vueJest({
      content,
      attrs: {
        functional: false,
      },
    })

    return `module.exports = { render: ${render} }`
  },
}
Once everything is ready, all that remains is to raise the cases and start mocking 🎨
Cases:
- The
generateMoodmethod is executed and thereforemoodSelectedandrandomMoodhave the same value after execution. - The
resetMoodmethod is executed and therefore themoodSelectedwill be an empty object and thegenerateRandomMoodwill be called. - The change of potato mood every 100ms in the
generateRandomMoodmethod.
We create a RandomPotatizer.spec.js file in the test folder and start typing the cases we mentioned before.
Things to keep in mind while reading this test code:
- To be able to know that a function has been executed we need to mock it, for that we use:
jest.fn(). - To test the content of a function it is necessary to execute (ex.:
wrapper.vm.resetMood()) and compare results afterwards withexpect. - To mock a timer function as
setTimeout, we can usejest.useFakeTimers(). To only test what happens after an exact amount of time we havejest.advanceTimersByTime(<ms>). - To mock a global as
Math, we can just override the functions to return the mocked data needed for that specific case.
import { createLocalVue, shallowMount } from '@vue/test-utils'
import RandomPotatizer from '@/components/RandomPotatizer.vue'

const localVue = createLocalVue()
jest.useFakeTimers()

describe('RandomPotatizer', () => {
  let wrapper

  beforeEach(() => {
    wrapper = shallowMount(RandomPotatizer, {
      localVue,
    })
  })

  test('should generate the same mood as the random when generateMood is called', () => {
    wrapper.vm.generateMood()
    expect(wrapper.vm.moodSelected).toEqual(wrapper.vm.randomMood)
  })

  test('should remove moodSelected and call generateRandomMood when resetMood is called', () => {
    wrapper.vm.generateRandomMood = jest.fn()
    wrapper.vm.resetMood()
    expect(wrapper.vm.moodSelected).toEqual({})
    expect(wrapper.vm.generateRandomMood).toHaveBeenCalled()
  })

  test('should change randomMood each 100ms when generateRandomMood is called', async () => {
    const mockMath = { ...global.Math }
    mockMath.random = () => 0.5
    mockMath.floor = () => 5
    global.Math = mockMath

    jest.advanceTimersByTime(100)
    await wrapper.vm.generateRandomMood()
    expect(wrapper.vm.randomMood).toEqual(wrapper.vm.moods[5])
  })
})
Well that would be all for today, I hope you find the process fun and that you found it interesting 🎊


Latest comments (1)
This is cool B-)