
Hi All,

Greetings everyone! In this comprehensive guide, we will walk you through the process of uploading image files to a Sails.js server, deploying the application on Render.com, and accessing the uploaded images via the deployed URL. So, let’s dive right in!
1. Setup the Sailsjs server
Install Sails
To kick things off, install Sails by running the following command:
npm install sails g
Create your app
Generate a new Sails app by navigating to your desired directory and executing:
sails new test-project --no-frontend
For our purposes, we’re focusing solely on the server component.
Configure Sailsjs routes
-
Run this command in the CLI
sails generate action image-upload
Run the following command in your CLI to create a controller file in the api/controllersfolder:
- Within the image-uplod.js` file, add the following input configuration after the description:
images: {
type: 'ref',
description: 'Uploaded file stream',
required: true,
},
-
After the description add this.
files: ['images'],
Following this, add the ‘files’ property with ‘images’ as the value, indicating that this controller will handle image uploads.
-
Add this try-catch block inside fn to check the API is working.
try {
return exits.success("Success Response");
} catch (error) {
return exits.error(error);
} -
Now the image-upload.js file will look like this.
module.exports = {
friendlyName: "Image upload",description: "",
files: ["images"],
inputs: {},
exits: {},
fn: async function (inputs, exits) {
try {
return exits.success("Success Response");
} catch (error) {
return exits.error(error);
}
},
}; -
Update the startscript in package.json to the following and then install cross-envusing npm i cross-env
"start": "cross-env NODE_ENV=production node app.js",
-
Update the sockets inside of the config/env/production.js
onlyAllowOrigins: [
'http://localhost:3000'
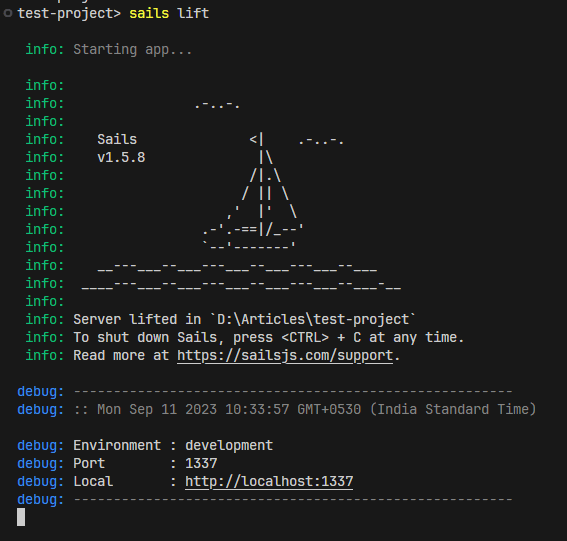
], Otherwise you can use sails lift it to up the server.
- Setup the routes inside config/routes.js
setup the route as http://localhost:1337/api/v1/image-upload
module.exports.routes = {
  'POST /api/v1/image-upload': 'image-upload'
};
- Re-run the server and make a POST API request to the http://localhost:1337/api/v1/image-upload endpoint using Postman.

Configure Image Upload Code
Now our route is working perfectly.
-
Install the skipper npm npm i skipper and enable it inside the config/http.js . Add the maxTimeToBuffer image size limit settings to the bodyParserconfiguration, like this. max limit is restricted uploading files over 10 MB.
bodyParser: (function _configureBodyParser(){
var skipper = require('skipper');
var middlewareFn = skipper({ strict: true, maxTimeToBuffer: 1000000 , limit: '10mb' });
return middlewareFn;
})(), -
Navigate to image-upload.js and add the inputs section to specify image handling:
inputs: {
images: {
type: 'ref',
description: 'Uploaded file stream',
required: true,
},
},
Replace the try-catch block within the fn function with code to handle image uploads:
  try {

       inputs.images.upload(
        {
          dirname: require('path').resolve(
            sails.config.appPath,
            'assets/images',
          ),

        },
        (err, uploadedFiles) => {
          if (err) {
            return this.res.serverError(err)
          };

          return exits.success({
            message: uploadedFiles.length + ' file(s) uploaded successfully!',
            files: uploadedFiles,
          });
        },
      );


    } catch (error) {
      return exits.error(error);
    }
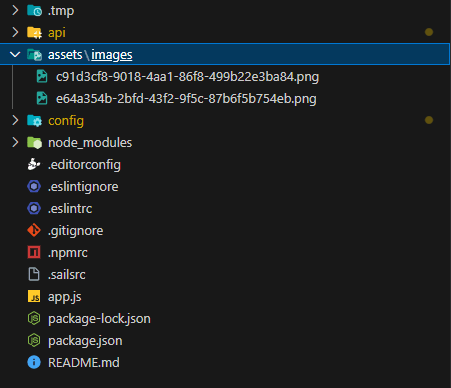
All the uploaded images will be saved in the assests/iamges folder.
Finally, image-upload.js the file looks like this.
module.exports = {
friendlyName: "Image upload",
description: "",
files: ["images"],
inputs: {
images: {
type: 'ref',
description: 'Uploaded file stream',
required: true,
},
},
exits: {},
fn: async function (inputs, exits) {
try {
inputs.images.upload(
{
dirname: require('path').resolve(
sails.config.appPath,
'assets/images',
),
},
(err, uploadedFiles) => {
if (err) {
return this.res.serverError(err)
};
return exits.success({
message: uploadedFiles.length + ' file(s) uploaded successfully!',
files: uploadedFiles,
});
},
);
} catch (error) {
return exits.error(error);
}
},
};
Image upload to server
- Re-run the server and make a POST request with image form data using Postman.

Ensure you set the key type to filein the form data. You can select one or more images for upload.
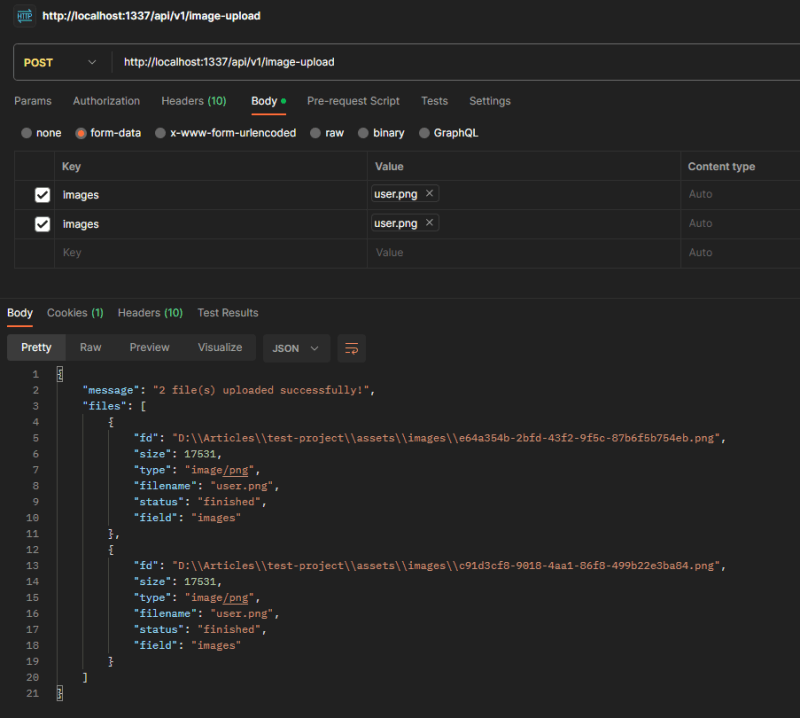
We will receive 200 responses and images will be uploaded inside the assest/images folder with unique names.
-
To assign custom names to uploaded images, add the following code segment inside the upload method:
saveAs(file, cb) {
let ext = file.filename.split('.').pop();
cb(null,${file.filename}_${Date.now()}.${ext});
},{
dirname: require('path').resolve(
sails.config.appPath,
'assets/images',
),
saveAs(file, cb) {
let ext = file.filename.split('.').pop();
cb(null,${file.filename}_${Date.now()}.${ext});
},
},
This will result in images having custom names.

We have finished the image upload section.
Make sure to rerun the server everytime after changing the code, otherwise install nodemon npm i nodemon and run nodemon app.js nodemon will catch the code changes and automatically rerun the server.
Access uploaded images via the URL
-
Edit .sailsrc and add the public path:
"paths": {
"public": "assets"
}

-
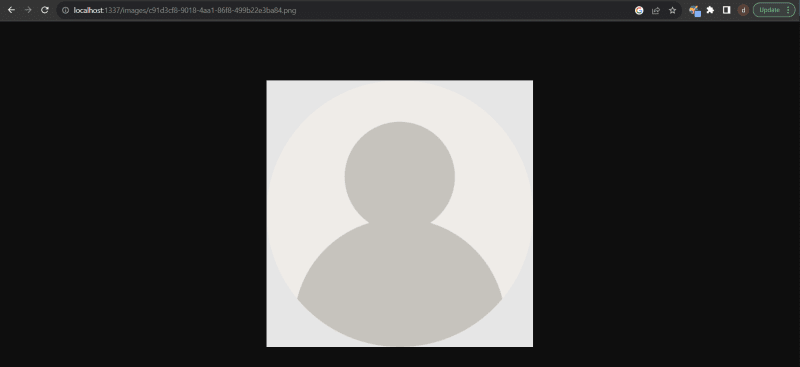
Re-run the server and access the images via URLs like:
http://localhost:1337/images/${image_name_with_extension}
examples:-
http://localhost:1337/images/user.png_1694411326047.png
http://localhost:1337/images/c91d3cf8-9018-4aa1-86f8-499b22e3ba84.png
2. Deploy the Web Application in Render
Add assets/** to .gitignore folder.
-
Update the package.json , add a new build script.
"scripts": {
"start": "cross-env NODE_ENV=production node app.js",
"build": "npm install",
"test": "npm run lint && npm run custom-tests && echo 'Done.'",
"lint": "./node_modules/eslint/bin/eslint.js . --max-warnings=0 --report-unused-disable-directives && echo '✔ Your .js files look good.'",
"custom-tests": "echo \"(No other custom tests yet.)\" && echo"
},
3 . Initialize the git repository and push the code to git.
- Create an account https://render.com and create a web service.

Build and deploy from a Git repository.
Configure your account choose the correct GitHub repository and connect.
Configure the web app.


Set up your web app configuration, choosing a free instance.
Create the web service, and you’ll see the deployment terminal in action
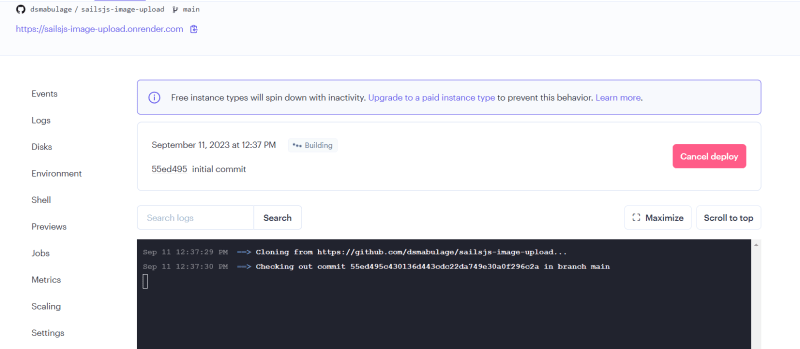
- Monitor the progress on the Render.com dashboard.

- Once the deployment is successful, you’re ready to proceed!

Upload images to the deployed web app
- Copy the deployed web app URL.

- Replace the Postman localhost URL with this new URL and make a POST request to upload images.

You should receive a successful API response, indicating the images have been uploaded.
- To view the uploaded images via the URL
Retrieve the image names from the response files and append them to the server URL to access the images.
-
URLs will resemble:
https://sailsjs-image-upload.onrender.com/images/${image_name_with_extension}
examples:-
https://sailsjs-image-upload.onrender.com/images/user.png_1694418912994.png
https://sailsjs-image-upload.onrender.com/images/user.png_1694418912996.png

Congratulations! You’ve successfully set up image uploading in your Sails.js server, deployed the application on Render.com

Thank You….
You can find the code Repository URL
Want to see what I am working on? Check out my GitHub
Want to connect? Reach out to me on LinkedIn

Top comments (0)