
So while I have been using Power Automate or Microsoft Flow for a long time now and I absolutely love the way it works and how it can be utilized to ease your day to day tasks.
Speaking about my perspective as a programmer and an Event organizer who personally organizes events and helps members in the community do the same Power Automate comes handy a lot of times.
You can use it for any task that you think that can be automated and requires little to no interference of yours. Although, the whole Power Platform is great we are only interested in Power Automate this time around. 🔥 Lets Go ⚡
Power Automate as its name suggests is an automation tool in the Microsoft's suites of things and which can be easily used to develop flows (aka. a list of events that you want to automate). Now these flows can be critical things such as looking at a SharePoint Folder for updates as well as can be used to do random things such as like a tweet that you were mentioned in.
Now enough of introduction Lets build something to show you powers of it.
What shall we build?
I have an idea. We can build something that solves a real-world problem easily. The problem we are going to solve here is sending automatic updates to parents about how their student is performing in exams after an exam by automatically sending grades after a result excel sheet is created.
What do you need?
- Microsoft Account (if its 365 you can do even more things)
- Excel sheet with list of people you want to send an email to.
Let's, do it.
Go to Power Automate Website
Login using your Microsoft Account and make sure to have that excel sheet handy in which you have your list of details.
After you have logged in the Account you will be greeted with a screen where it will list all the things it can do and is able to do. I will guide you through it.
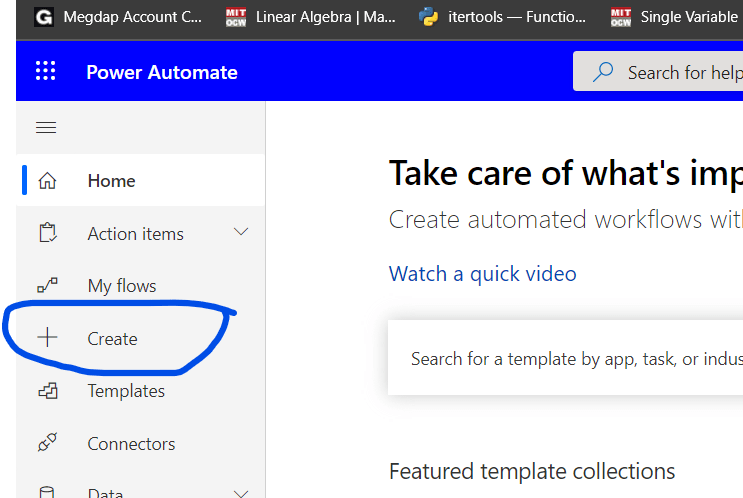
Click on the Create Flow Button in the Left Navigation Drawer.
And on the next page select the Instant Flow Card.

Now here in this page there are 5 options I will explain them as much as I can.
Automated Flow -
A Flow which is automatically run on happening of some event.Instant Flow -
A Flow which can be run as per your needs upon a click of a button. (which we will be doing here.)Scheduled Flow -
Think of this as a scheduled thing which will happen upon specified time.UI Flow -
UI Flow is like Robotic Process Automation which can automate some stuff that you do on your PC like filling out a form in a legacy application.Business process flow -
It is a multistep business process that can be automated. I haven't tried it so I can't tell anything specifically.
Let's Complete our Flow -
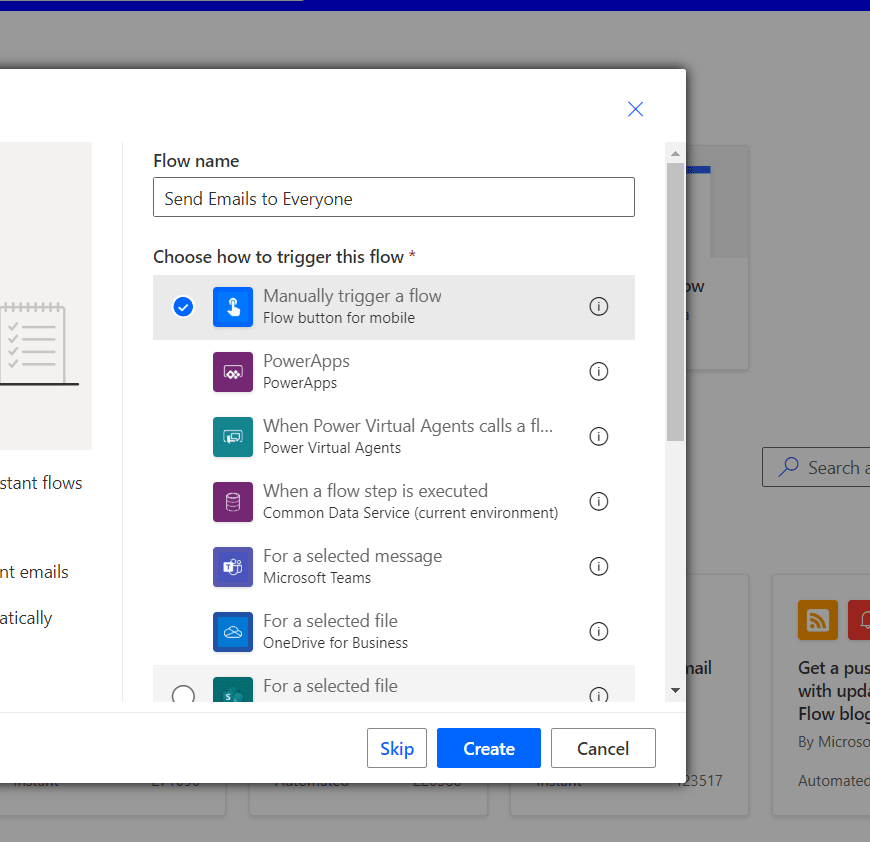
Enter a name and select the option of manually triggering the action and click on create.
After the Flow is created you will see a webpage like this.

Click on the New Step button below the empty Flow created.

The following will open a dialog listing all the things you can do with a new step. But in this scenario, we are going to search for the step from which we can read the list of rows in a table. Search for it select the step. It should look like this.
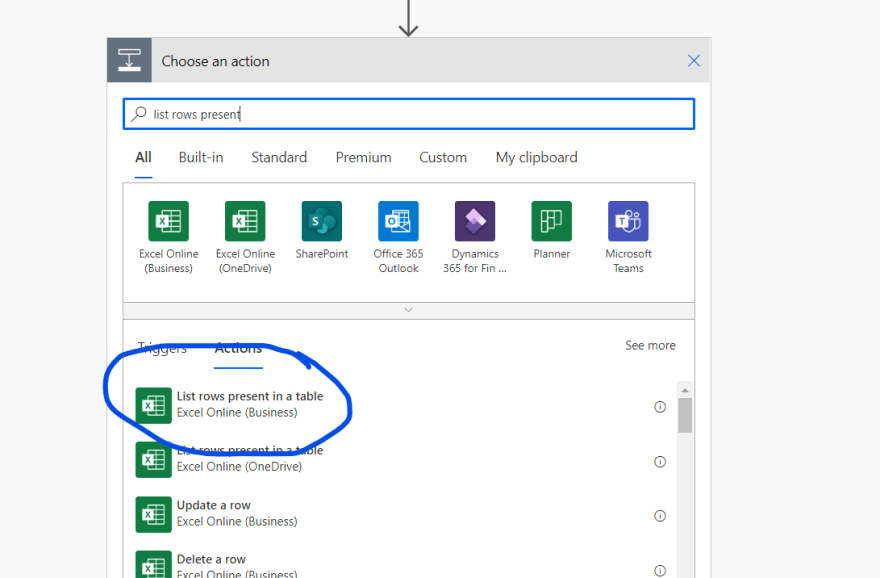
Keep in mind this step has two valid options. i.e. You can either do the step in OneDrive for Business or regular OneDrive choose accordingly.
Select the excel sheet from your OneDrive. If you don't have the file on OneDrive already than go and upload it and then select it.

Note: Make sure all the data should be in a table. In the photo my data was in Table1 table
Here is a snap shot of what my excel sheet's table header looks like if you are left wondering about it.

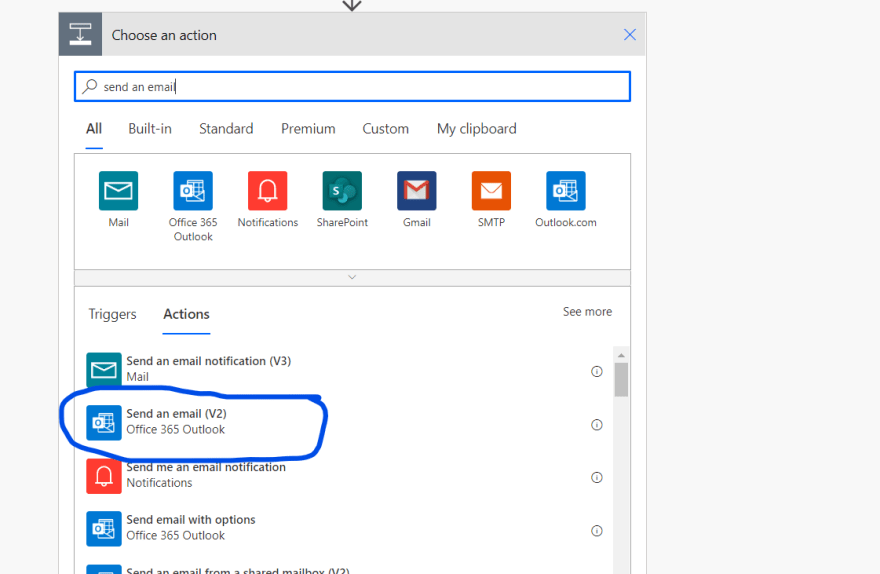
After you have selected the file we are almost done. We must add one more step to send the emails to the email-address present in every field. So, search for the step named as Send an email and select it.
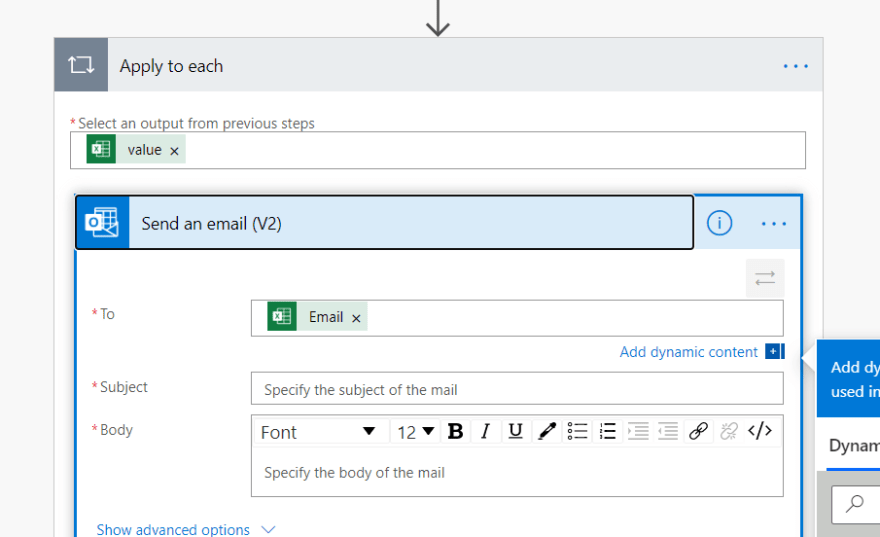
After you have selected the option it will ask you to authenticate yourself and sign in using your outlook email address. After you are done it will return to the flow page and you will have to fill in the details for sending emails. First, select the To Field in the step. In your table you should have an email field where email addresses are stored select that. You should automatically see the header fields from your table if not then click on the show dynamic content link below the field.
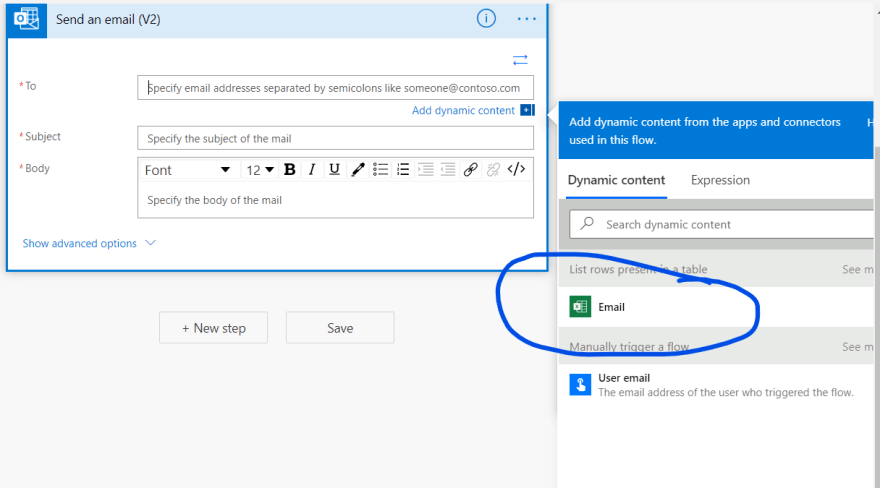
Something like this should be shown after you have done that.
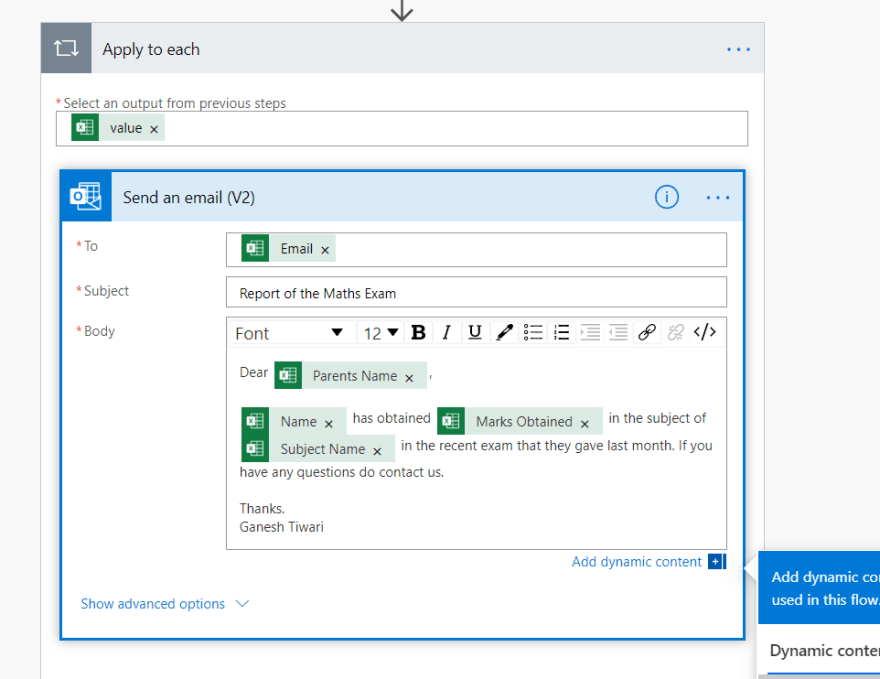
After that you must draft the email as you want to send to the receiver. You can add dynamic content like you did in the previous step.
Here is the format I made for your reference.
And Badum tash 🔥🎇 we are done.
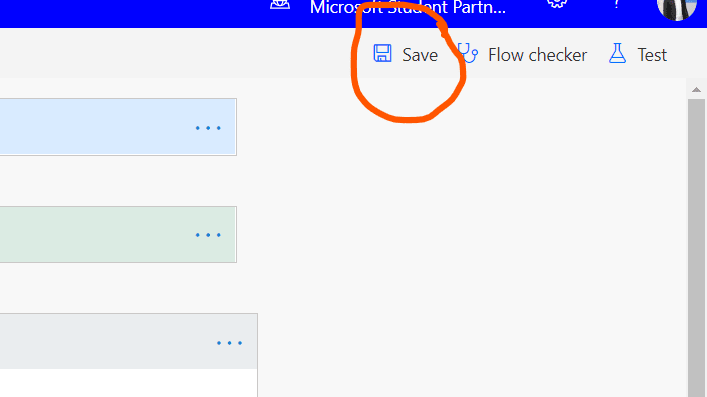
We successfully wrote our first flow which now can be triggered as per our needs. Dont Forget to save the flow. 😉
After you are done with the things mentioned you can click on the button test which is right after save button to test it out. It will send a mail to everyone in the field and will test whether everything works as expected.
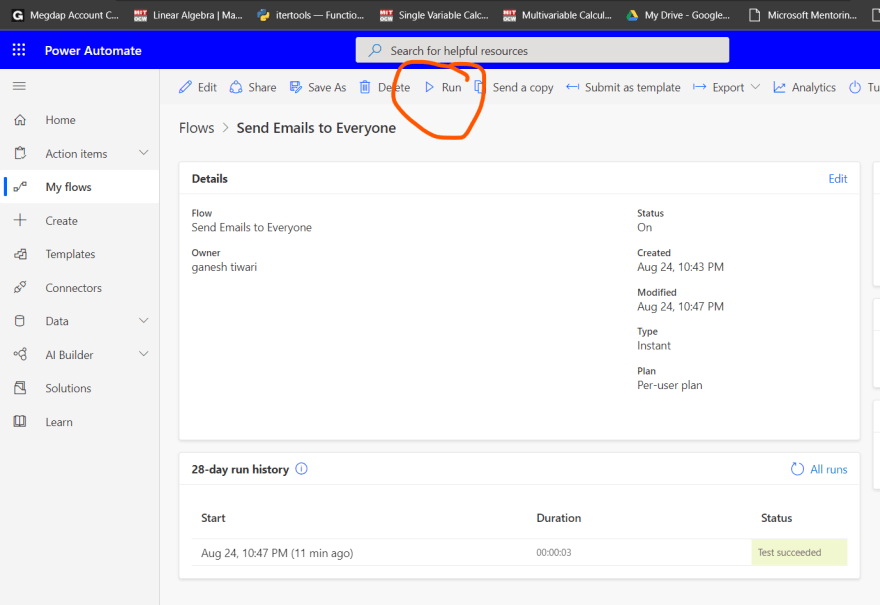
Now after you have set it up you can accept all the things it asks you to accept and click on run to let the test run. 🤞🏼 everything should go correctly, and every mail should be sent.
If you have liked my content Feel free to give a like on this post.
Follow me on other socials if you want to get connected with me 😊
Thats it. Have a wonderful day ;)

Top comments (0)