
Introduction
Throughout the first part, we've learned how to create a very basic RESTful API, which could be used to communicate with our back-end architecture and fetch data from our database. During this post, I'm going to test this API locally in a simple example to understand its technical usage.
Helmet
Our first step is to install a new package called helmet to our dependencies. It is used to automatically secure our app by setting various HTTP headers.
npm i helmet
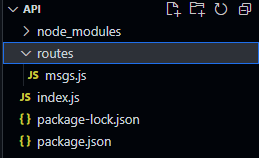
New Routes folder
Next, we're going to create a new folder called routes in the root directory and add a file inside this folder called msgs.js. This file stands for a specific route (msgs route) that contains one or more http method/s (GET, POST, PUT, DELETE).
Now open this newly created msgs.js route, and add the following:
import express from "express"

const router = express.Router()

const msgs = [
    {
        "id": "1",
        "content": "Hey there my friends!"
    },
    {
        "id": "2",
        "content": "Hello hello hello!"
    },
    {
        "id": "3",
        "content": "I hope everything is great!"
    },
    {
        "id": "4",
        "content": "How are you today?"
    }
];

router.get('/', (req, res) => {
    res.send(msgs);
});

export default router
Modifying index.js
Next, we'll modify our index.js file as follows:
import express from "express"
import cors from "cors"
import helmet from "helmet"
import msgsRoute from "./routes/msgs.js"

const app = express()
const port = process.env.PORT || 5000

const corsOptions = {
    origin: "*",
    "Access-Control-Allow-Origin": true,
    optionSuccessStatus: 200,
}

app.use(cors(corsOptions))
app.use(express.urlencoded({ extended: false }))
app.use(express.json())
app.use(helmet())

app.use("/msgs", msgsRoute)

app.get("/", (req, res) => {
    res.send("Welcome to our RESTful API!")
})

app.use((req, res, next) => {
    const error = new Error("Something went wrong")
    error.status = 404
    next(error)
})
app.use((error, req, res, next) => {
    res.status(error.status || 500)
    res.json({
        error: {
            message: error.message,
        },
    })
})

app.listen(port, (err) => {
    if (err) throw new Error("Error while connecting to the server")
    console.log(`Server is live and running at: http://localhost:${port}`)
})

export default app
The only changes we've made from our setup in part-1 are:
- calling helmet package on our app
- Initializing a corsOptions object and passing it as an argument when we called cors()
- calling our msgs route to be able to consume it
Testing using Thunder client
Last but not least, open your terminal, and type the following script:
npm run start-dev
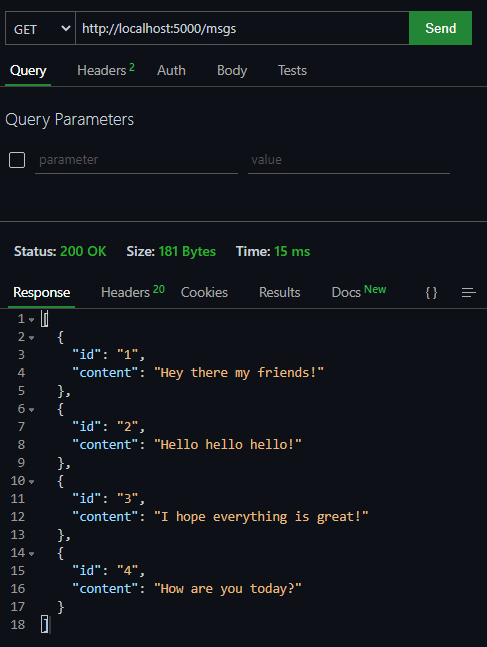
Now that our server is live, we'll test our API endpoints using any API testing tool, such as postman. But I prefer to use Thunder client which is a VS code extension for simple API testing. After installing the extension, open it from the left bar (or ctrl + shift + p and search for thunder client), add the API endpoint on top and click send:
Final Thoughts
Throughout the example above, we've tested our API locally by manually creating msgs array (simulating a database model), and fetching its items using our API. Of course this isn't anywhere near complete, but it's just a simple starting way for beginners to understand how an API works in general. Click here for source code of this blog-post. Throughout the next blog post, I'm going to connect this API with a database (MongoDB) and use other http methods (PUT, POST, DELETE) to modify my database collection.
I'm constantly writing new blog posts where I share my expertise & skills in topics related to web development. If you're interested in such topics to boost your development career, consider following me! 😇 Or visit my personal website!
Thanks for reading, Ciao! 👋

Oldest comments (0)