
What is a RESTful API?
First off, an API, short for Application Programming Interface, is simply a way of communication between two or more services, sometimes described as a mediator between users/clients & resources/services they request. RESTful APIs, however, is a set of principles that conforms to the constraints of REST architecture style and thus allowing for integration with RESTful web services.
Step.1: Initializing a new project
The very first step is to create an empty folder manually in the directory of your choice (Using Right-click), or via Terminal/Bash:
mkdir myProject
cd ./myProject
Then setting up a new empty npm package using legacy init (-y for ignoring questions):
npm init -y
Note that you first have to have node.js installed on your machine. Another side note is that you can edit the package.json file and add your specified info such your name (author), git repo, description, etc.
Step.2: Installing necessary dependencies
Although I'll be using the most basic setup to create a very simple RESTful api, you can definitely add any other package you find useful. The two main packages I'll be using are express, which is a minimal node.js framework used to simplify our workload, and CORS which handles Cross-Origin-Resource-Sharing.
npm i express cors
I'll also be using nodemon, which is a tool that automatically restarts our node application when file changes in the directory are detected:
npm i --save-dev nodemon
Step. 3: Creating an entry point
The next step is to create an entry point for our node.js application (usually named index.js) inside the root of our project. Then modifying our package.json file as follows:
{
  "name": "project-name",
  "version": "1.0.0",
  "description": "Add project description here if you want to",
  "main": "index.js",
  "type": "module",
  "scripts": {
    "start": "node index.js",
    "start-dev": "nodemon index.js",
  },
  "keywords": [],
  "author": "your-name",
  "license": "ISC"
}
Notice that in order to run our application locally (development environment), We'll use the second script (start-dev), whilst the first one is only for production environment. Another side note is that adding "type": "module" to the package.json enables ES6 features.
Next, and before starting our app, open the newly created index.js file and add the following:
import express from "express"
import cors from "cors"
const app = express()
app.use(express.urlencoded({ extended: false }))
app.use(express.json())
app.use(cors())
const port = process.env.PORT || 5000
app.get("/", (req, res) => {
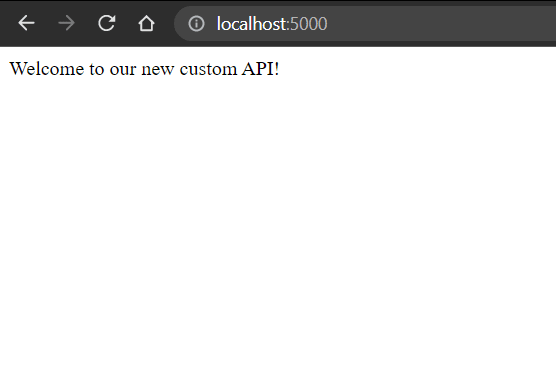
res.send("Welcome to our new custom API!")
})
app.use((req, res, next) => {
const error = new Error("Something went wrong")
error.status = 404
next(error)
})
app.use((error, req, res, next) => {
res.status(error.status || 500)
res.json({
error: {
message: error.message,
},
})
})
app.listen(port, (err) => {
if (err) throw new Error("Error while connecting to the server")
console.log(`Server is live and running at: http://localhost:${port}`)
})
export default app
Throughout the above setup, we initiated our app using express, called some useful express methods, and used the cors package which we installed earlier. We also assigned a port variable, created a welcome message to appear when calling our API, and simply handled any unexpected future errors. Last but not least, we called the listen method in order to start a server on our custom port.
Now fire the following command on your terminal:
npm run start-dev
Pressing ctrl + link provided on our terminal will fire a localhost server as the following:
Final Thoughts
Throughout this example, we created a very basic RESTful API, which of course isn't anywhere near complete, but a good building block for an API. In the upcoming part, we'll add more functionalities to our API, and test it with and without a connection to a database.
I'm constantly writing new blog posts where I share my expertise & skills in topics related to web development. If you're interested in such topics to boost your development career, consider following me! 😇 Or visit my personal website!
Thanks for reading, Ciao! 👋

Top comments (0)