
We might begin with stores our files like images on the filesystem. But when the times our application got bigger, we might want to separate things up, by using a dedicated service to stores objects.
For example, the most common way to store objects which is AWS's Simple Storage Service or S3 to be short. But that comes with the downside. Since it was a third-party service, we can't just use it for free. (Actually, they have free tier but with limited spaces)
Fortunately, there is a Free, Open Source and S3 Compatible alternative called Minio. With it, you can self-host the S3 compatible storage on your own.
Preparation
Minio
First, we need to have Minio, we can install it in a variety of ways. In this example, I will use Docker. If you don't want to use docker, you should check the Official Documentation.
# compose.yaml

services:
  Laravel:
    # build:
    #   context: .
    #
    networks:
      - my-network # use the same network as minio

  # Here's our minio
  storage:
    image: quay.io/minio/minio:RELEASE.2025-02-03T21-03-04Z
    restart: always
    command: ["server", "/data", "--console-address=:9001"]
    networks:
      - my-network # use the same network as your app
    env_file:
      - ./secrets/minio.env # we will specify this file later
    volumes:
      - object-storage:/data

networks:
  my-network: # declare a network

volumes:
  object-storage: # for persistent data
Let me brief explain what's on the storage section above:
image: quay.io/minio/minio:RELEASE.2025-02-03T21-03-04Z:
for the image we are going to pull from the quay registry, and the tag we are going to use is RELEASE.2025-02-03T21-03-04Z.
You can use other tags too for example
latest.
command: ["server", "/data", "--console-address=:9001"]:
first it will execute command server.
then the storage path will be on /data
the --console-address=:9001 meaning that will expose the console or the UI on the port 9001, while the API was exposed on port 9000 (by default)
We also need to specify the environment variable, but we're going to ignore it for now.
Laravel
On our Laravel's application, we need to install the AWS S3 packages using composer. Type the following on terminal:
composer require league/flysystem-aws-s3-v3 "^3.0" --with-all-dependencies
Configuration
We now need to do some configurations.
Minio
On Minio's side we need to create root user. We will later use that user to create a new user specifically for our application.
A root user is the highest level of access you can have on a computer system. It is essentially the "superuser" with the ability to perform any task, including those that are restricted to normal users.
To create that, we have to provide 2 variables:
-
MINIO_ROOT_USER: the name for the root user -
MINIO_ROOT_PASSWORD: the password for the root user
If you take a look at the compose.yaml file above, you will see this:
    env_file:
      - ./secrets/minio.env
Here, we are saying that the variables will be stored on a file called minio.env that is on secrets directory. Let's create one, make sure it's on the same level as the compose.yaml file.
create .env file for minio
mkdir secrets && cd $_ && touch minio.env
On the new created minio.env file, fill with these:
MINIO_ROOT_USER=root # can be whatever you want
MINIO_ROOT_PASSWORD=insert-whatever-password
Now, you can login to the Minio's Console.
docker compose up -d
On the browser, go to localhost:9000 or localhost:9001
Doesn't matter which port. If you use browser,
miniowill redirect you to port 9001 even if you type the port9000
It's going to look like this.
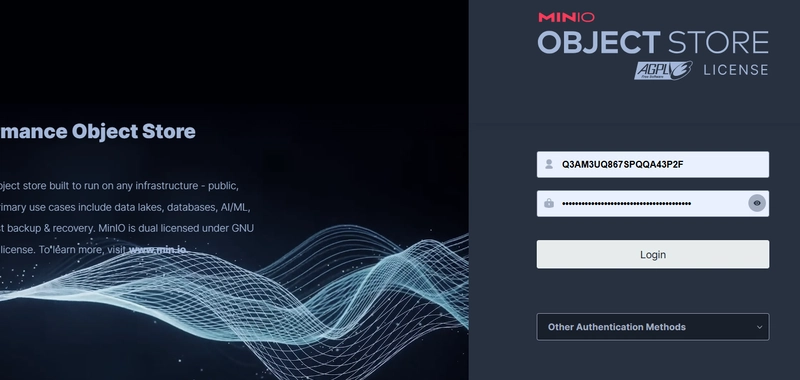
Login using the root username and password that we typed on the minio.env file previously.
Creating User
After successful login, go to the Identify -> User Section, and try to create new user.

Dont forget to check on the Read Write policy.

Creating Bucket
Now, you need to create a bucket for your application.
What is a bucket?
Just that imagine that you have a bucket, then you can put your toys, your stuff in it. In this case we store our object like files or images.
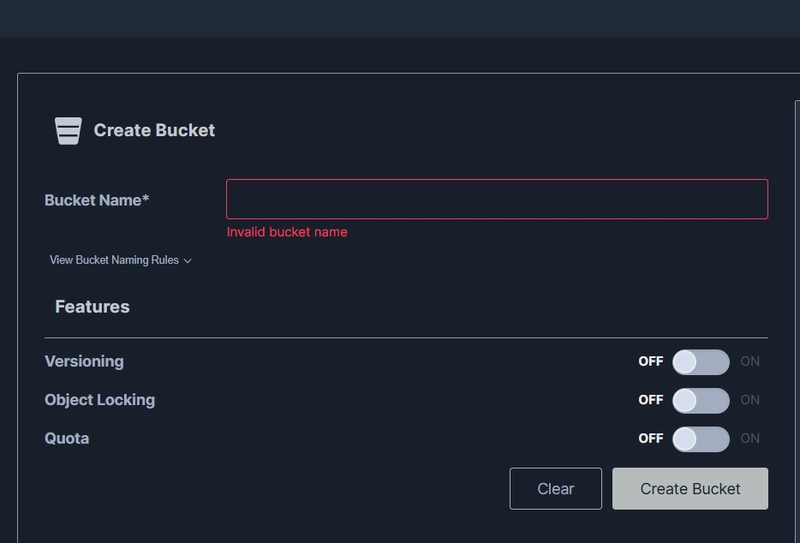
Go to the Buckets section and click on the Create Bucket button
Type on the bucket name field, then click Create Bucket.
Laravel
On Laravel you need to change the AWS variables.
AWS_ACCESS_KEY_ID=username
AWS_SECRET_ACCESS_KEY=password
you can ignore the
AWS_DEFAULT_REGIONand let it be there
Fill the bucket name.
AWS_BUCKET=bucket-name-here
And you need to change the AWS_ENDPOINT to point to your storage service.
AWS_ENDPOINT="http://storage:9000"
Also you need to create another variable called AWS_URL. It's basically the endpoint with bucket name:
AWS_URL="http://storage:9000/bucket-name-here"
Please note that I'm using the name service from the compose.yaml file.
Last, but not least, you need to change the AWS_USE_PATH_STYLE_ENDPOINT to true
AWS_USE_PATH_STYLE_ENDPOINT=true
Here's what our variables look like.
AWS_ACCESS_KEY_ID=username
AWS_SECRET_ACCESS_KEY=password
AWS_DEFAULT_REGION=us-east-1
AWS_BUCKET=bucketname
AWS_USE_PATH_STYLE_ENDPOINT=true
AWS_ENDPOINT="http://storage:9000"
AWS_URL="http://storage:9000/bucketname"
Now, you have to change they way you upload image.
From this.
// controller

$path = $request->file("image")->storePublicly("images");

$url = Storage::url($path);
To this.
// controller

$path = $request->file("image")->storePublicly("images", "s3");

$url = Storage::disk("s3")->url($path);
Make bucket publicly accessible
You can't just paste the url on the browser, it won't let you to view the content of the file.
failed to get Stat() response from server for 1-5000x3333.jpg (version null): Access Denied.
Instead, you need to change the setting of the bucket so that everyone can see the content.
On the Buckets menu, click on your bucket, then change the Access Policy to public

Now, your image should be accessible.
Comment if you make it here!

Top comments (0)