
1. The first step would be logging into your Azure portal account.
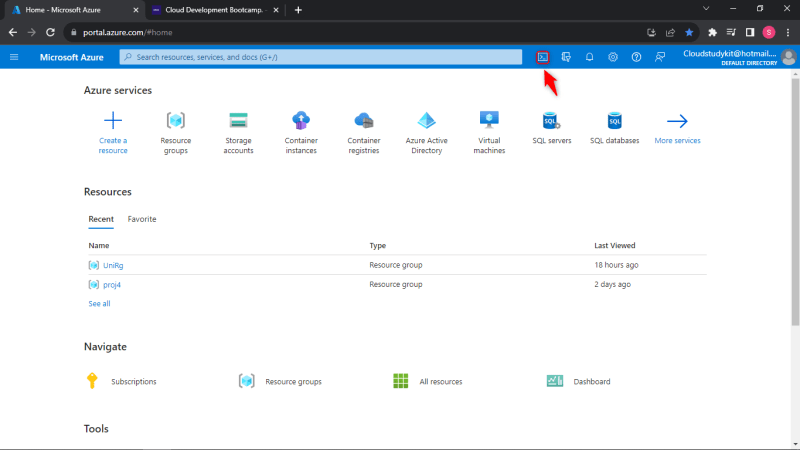
2. The second step would be opening the opening the command line interface on the portal.
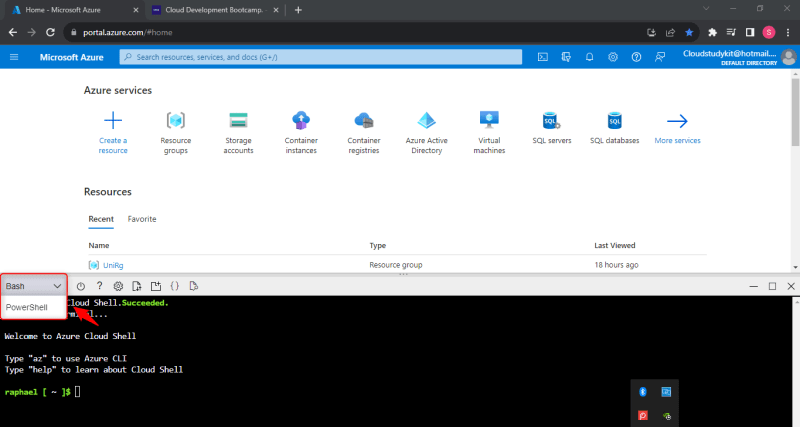
3. For the purpose of this particular session, we will be using Powershell instead of Bash. Use the dropdown button to switch to Powershell.
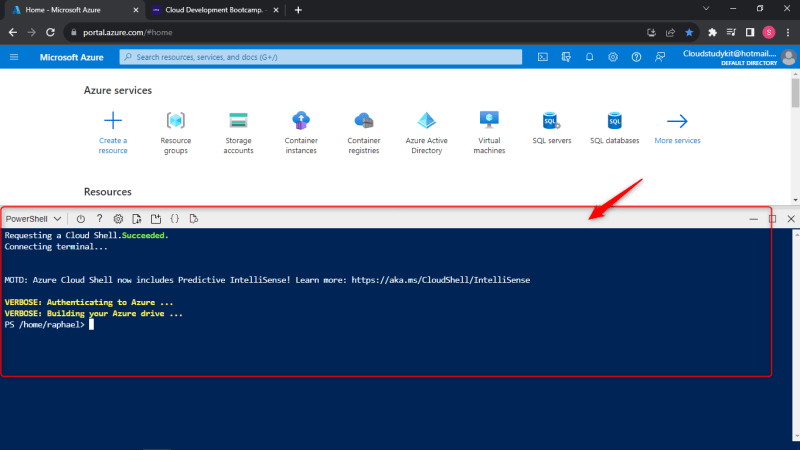
4. After switching to Powershell, it should look like similar to the image below.
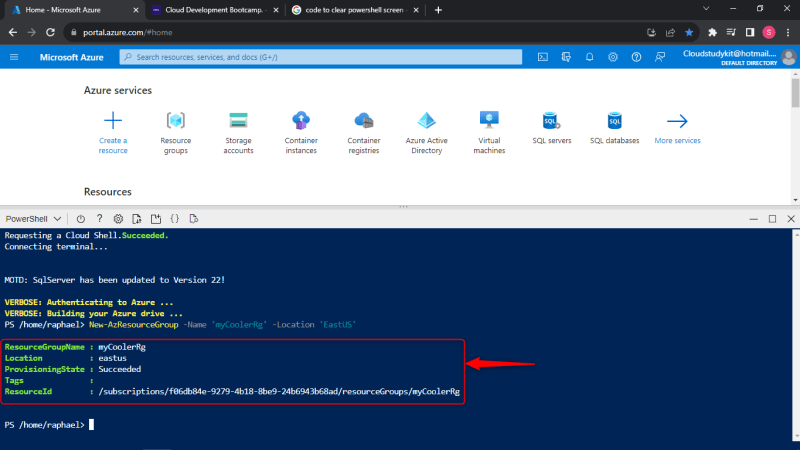
5. Create a Resource Group using the syntax below.
New-AzResourceGroup -Name 'myCoolerRg' -Location 'EastUS'
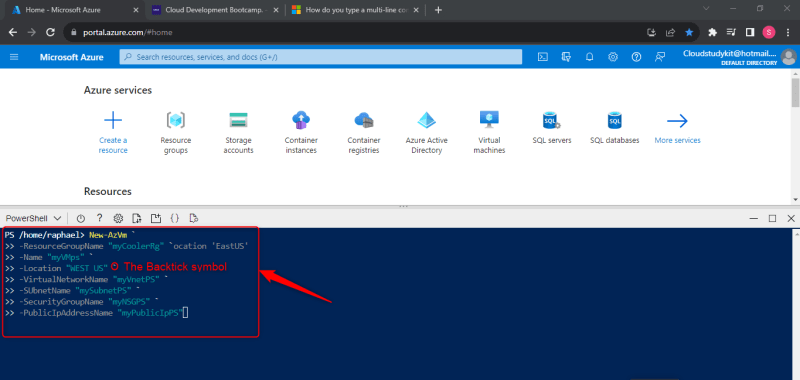
6. Create the virtual machine using the syntax below.
New-AzVm `
-ResourceGroupName "myCoolerRg" `
-Name "myVMps" `
-Location "WEST US" `
-VirtualNetworkName "myVnetPS" `
-SUbnetName "mySubnetPS" `
-SecurityGroupName "myNSGPS" `
-PublicIpAddressName "myPublicIpPS"

7. Notice that the code snippet specified above is a multi-line code. This is achieved with the use of the backtick symbol
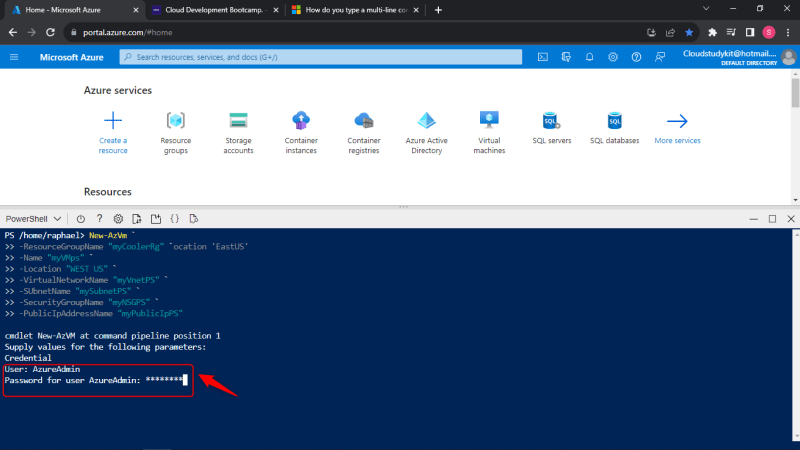
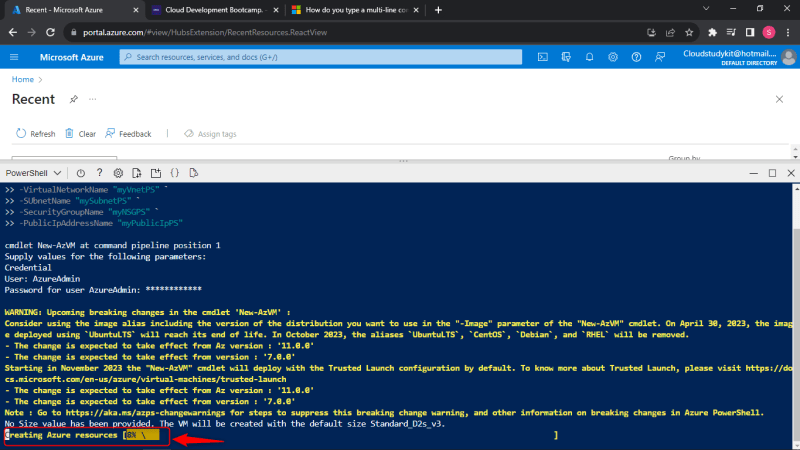
8. After running the code, you will be prompted to enter the username and password that will later be used to access the virtual machine.
9. Ensure that the password created follows the guidelines specified below otherwise it may not work.
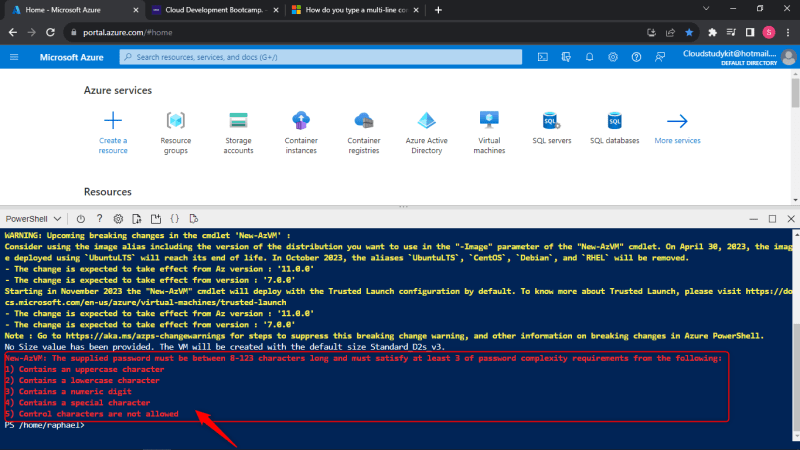
10. After inputting the username and password, you should get the prompt below signifying that the Virtual Machine is being created.
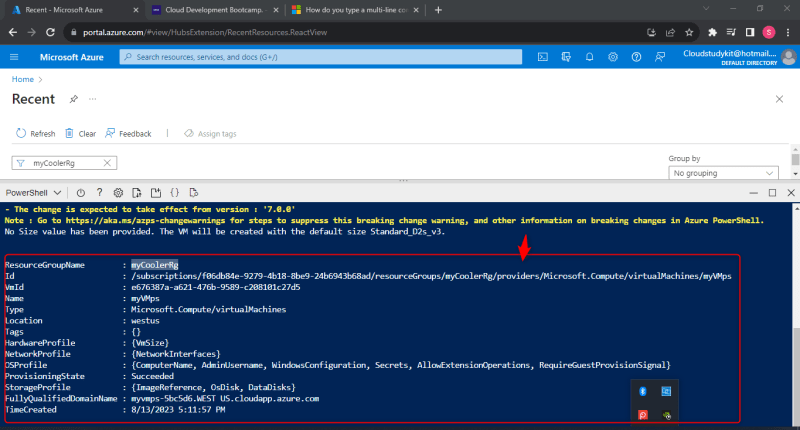
11. Once successfully created, you will see a message indicating the creation of the Virtual Machine and the attributes that you had earlier specified.

Top comments (0)