In the previous post, I created basic CI/CD pipeline. In this article, I enhance the pipeline by using multi stage, multi environment.
Environment
When I work on projects, I usually use multiple environment such as dev, UAT and production. Azure DevOps support Environment concept and it's integrated as part of pipeline so that I can deploy the application to each environments and I can track the detail separately. See Environments for more detail.
Current Environment
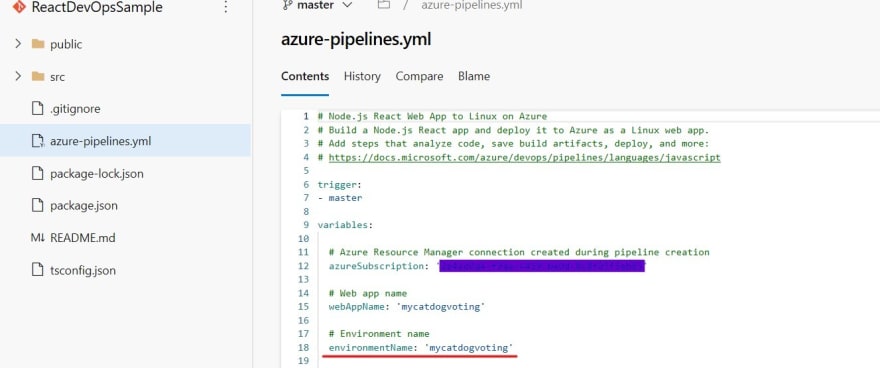
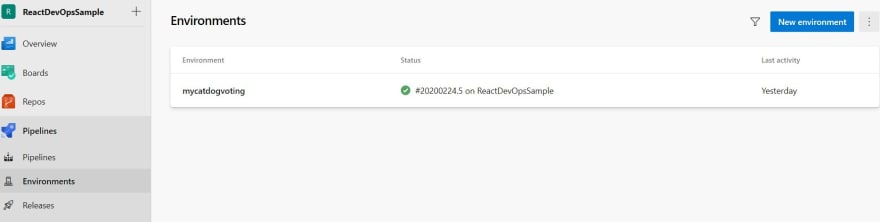
Right now, I have one pipeline and one App Service. When I take a look the azure-pipelines.yml, I see the current environment is named after the App service name.
Create Environment and App Service
I will add two environment, dev and prod.
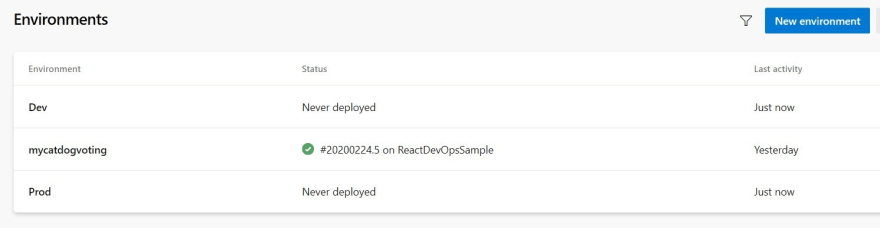
1. Go to Environments area in Pipelines, and click "New environment".
2. Enter "Dev" as its name and click "Create". Now you have Dev environment. Repeat the process to create "Prod" environment.
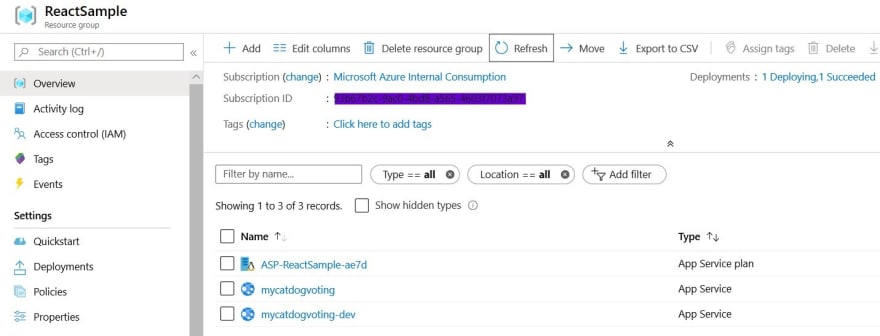
3. Add new Azure App Service for dev environment.
Update yaml
Environment and App Service is ready. Let's update yaml.
1. Go to Repo and open azure-pipelines.yml. Then replace the code with following. Update azureSubscription to match your subscription.
- Adding parameters for dev/prod
- Add new stage to deploy to Prod
- Update old deploy stage to deploy to Dev.
# Node.js React Web App to Linux on Azure
# Build a Node.js React app and deploy it to Azure as a Linux web app.
# Add steps that analyze code, save build artifacts, deploy, and more:
# https://docs.microsoft.com/azure/devops/pipelines/languages/javascript

trigger:
- master

variables:

  # Azure Resource Manager connection created during pipeline creation
  azureSubscription: '<Your Azure Subscription>'

  # Web app name
  devWebAppName: 'mycatdogvoting-dev'
  prodWebAppName: 'mycatdogvoting'

  # Environment name
  devEnvironmentName: 'Dev'
  prodEnvironmentName: 'Prod'

  # Agent VM image name
  vmImageName: 'ubuntu-latest'

stages:
- stage: Build
  displayName: Build stage
  jobs:
  - job: Build
    displayName: Build
    pool:
      vmImage: $(vmImageName)

    steps:

    - task: ArchiveFiles@2
      displayName: 'Archive files'
      inputs:
        rootFolderOrFile: '$(System.DefaultWorkingDirectory)'
        includeRootFolder: false
        archiveType: zip
        archiveFile: $(Build.ArtifactStagingDirectory)/$(Build.BuildId).zip
        replaceExistingArchive: true

    - task: NodeAndNpmTool@1
      inputs:
        versionSpec: '12.x'

    - script: |
        npm install
        npm run build
        CI=true npm test -- --reporters=jest-junit --reporters=default
      displayName: 'npm install, build and test'

    - task: PublishTestResults@2
      inputs:
        testResultsFormat: 'JUnit'
        testResultsFiles: 'junit.xml'
        failTaskOnFailedTests: true

    - upload: $(Build.ArtifactStagingDirectory)/$(Build.BuildId).zip
      artifact: drop

- stage: DeployToDev
  displayName: Deploy to Dev stage
  dependsOn: Build
  condition: succeeded()
  jobs:
  - deployment: Deploy
    displayName: Deploy to Dev
    environment: $(devEnvironmentName)
    pool:
      vmImage: $(vmImageName)
    strategy:
      runOnce:
        deploy:
          steps:
          - task: AzureRmWebAppDeployment@4
            displayName: 'Azure App Service Deploy: $(devWebAppName)'
            inputs:
              azureSubscription: $(azureSubscription)
              appType: webAppLinux
              WebAppName: $(devWebAppName)
              packageForLinux: '$(Pipeline.Workspace)/drop/$(Build.BuildId).zip'
              RuntimeStack: 'NODE|10.10'
              StartupCommand: 'npm run start'
              ScriptType: 'Inline Script'
              InlineScript: |
                npm install
                npm run build --if-present

- stage: DeployToProd
  displayName: Deploy to Prod stage
  dependsOn: DeployToDev
  condition: succeeded()
  jobs:
  - deployment: Deploy
    displayName: Deploy to Prod
    environment: $(prodEnvironmentName)
    pool:
      vmImage: $(vmImageName)
    strategy:
      runOnce:
        deploy:
          steps:
          - task: AzureRmWebAppDeployment@4
            displayName: 'Azure App Service Deploy: $(prodWebAppName)'
            inputs:
              azureSubscription: $(azureSubscription)
              appType: webAppLinux
              WebAppName: $(prodWebAppName)
              packageForLinux: '$(Pipeline.Workspace)/drop/$(Build.BuildId).zip'
              RuntimeStack: 'NODE|10.10'
              StartupCommand: 'npm run start'
              ScriptType: 'Inline Script'
              InlineScript: |
                npm install
                npm run build --if-present
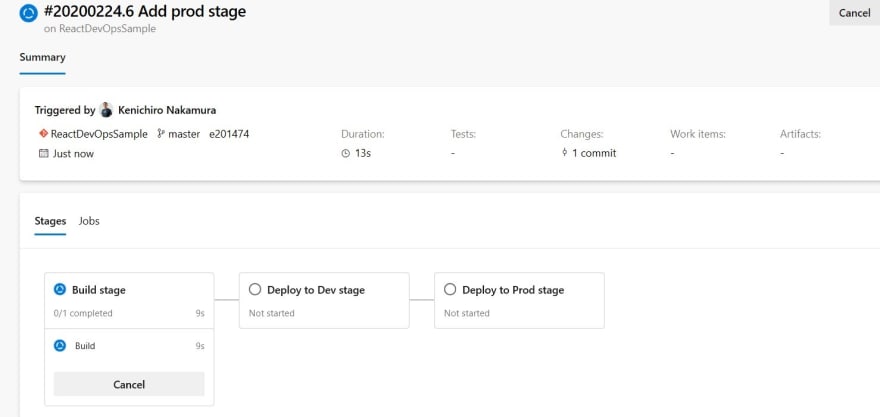
2. Save the file which commit the change and trigger the pipeline. Now pipeline run shows three stages. Build, Deploy to Dev and Deploy to Prod.
3. Once the pipeline finish running, go to Environments. I can see the deployment history to each environment separately.

Approvals
Another reason to use environments is to implement approval process.
Azure DevOps supports not only manual approval but also other things such as creating policy or call Azure Functions.
See Define approvals and checks for more detail.
I add manual approval.
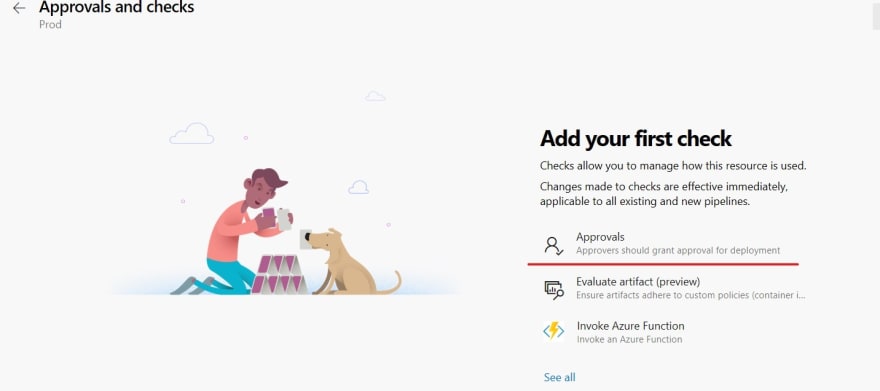
1. Go to environments and open "Prod". Click "more menu" icon and select "Approvals and Checks".

2. Click "Approvals".
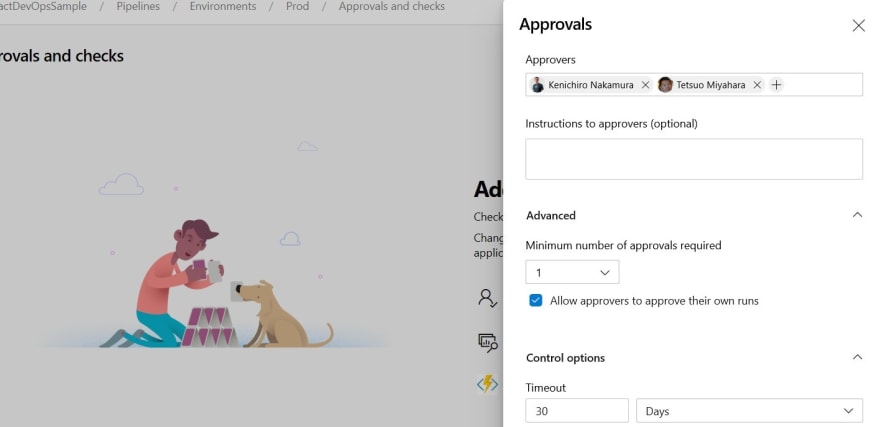
3. Add user(s) who should approve. I just added myself and another friend for test but I usually add at least three people. When I add more than one approvers, I have a bit more settings how they should approve.
This time, I set minimum number of approves to one, and "allow approvers to approve their own runs" which I usually don't recommend.
4. Let's run the pipeline manually. Go to pipelines, select the pipeline, and click "Run Pipeline". As I have approval setup, it should pause before "Deploy to Prod" stage.
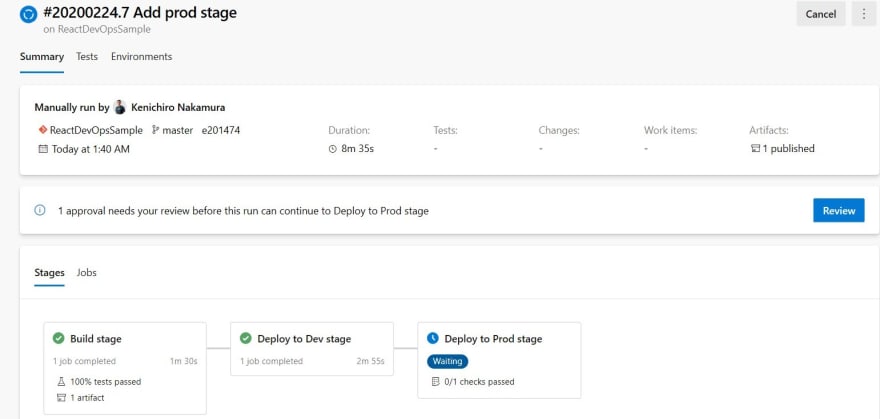
5. Click "Review" and "Approve" it by adding some comment.
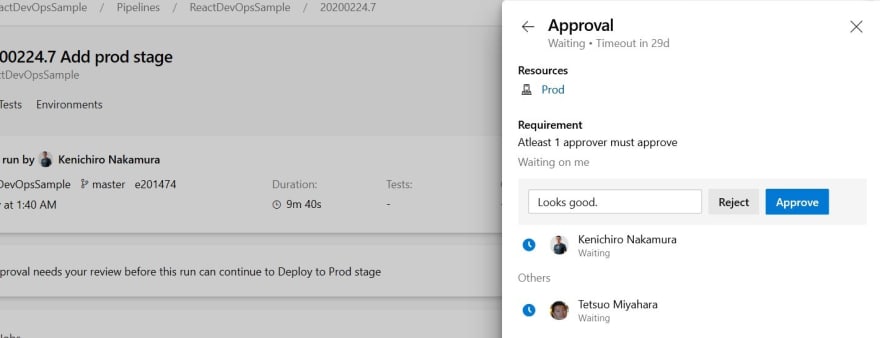
6. After I approve, the pipeline continues to the next stage.
Policy
Not directly related to the pipeline enhancement, but it's important to define the development workflow. Following are some best practices.
- Don't push directly to master branch. Only allow PR merge.
- Set reviewers for each PR.
- Run a pipeline before merge to master branch via PR.
- PR Link to a work item or a bug is mandatory.
- Don't allow to delete master branch.
Azure DevOps has branch policies feature to apply these rules for branches.
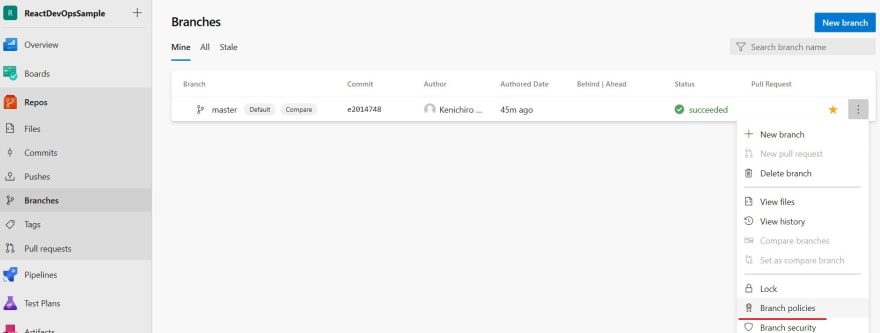
1. Go to Branches under Repos. From more menu, select "Branch Policies".
2. Apply any policy the project needs.
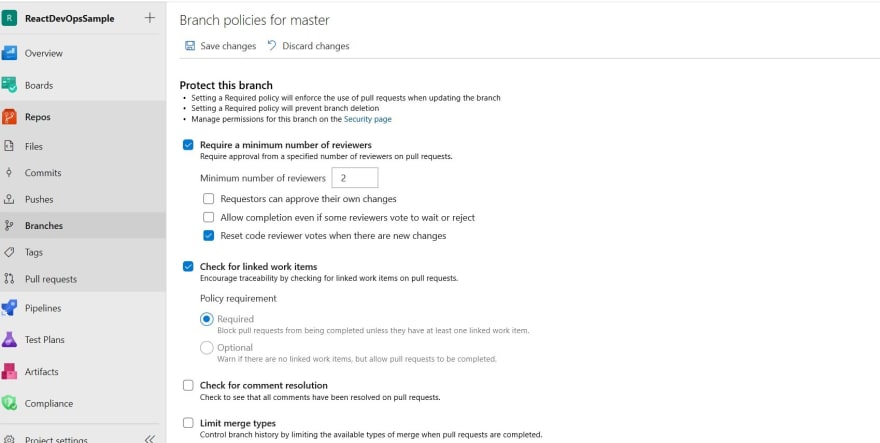
3. Click "+ Add build policy", where I can select any build pipeline to run before PR merge.

Triggers
There are several triggers to run pipeline which you want to know.
- Push trigger: define in yaml or pipeline settings
- PR trigger: build policy explained above
- Scheduled trigger: Scheduled base trigger
Especially, the push trigger can be set very granular level. See Triggers for more detail.
Summary
In this article, I enhanced the pipeline by adding environments and approvals, which are still very basic concepts for DevOps. In the next article, I add more components by using new features to the react application and try another test framework.

Oldest comments (0)