
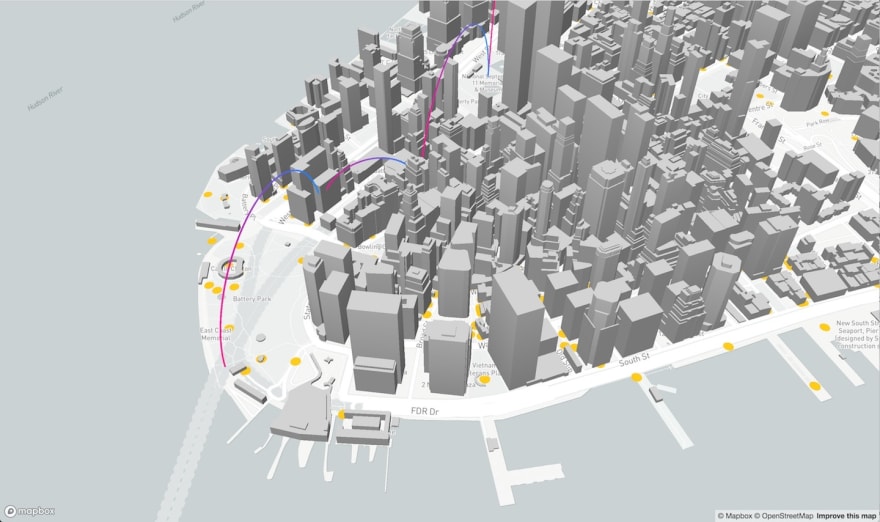
Geospatial visualization and analytics can open up lots of opportunities for any company which collects location data. More than any external data, internal data can help much more in growing your products. Understanding the patterns, affluence and much more can help you aid in forming effective marketing, distribution or utilization strategy. We all do not doubt data being the driving force of growth in startups, but most of the time location data ends up as just another column in your CSV files.
Maps can add an invaluable component of location context into your data. They help you understand the where from your data, which otherwise ends up as just latitude and longitude columns. Seeing things on a map gives much more valuable information about how your entities move and interact with your on-ground assets. Let's see how we can build beautiful large-scale visualization on the web using Vue and deck.gl.
What is Deck.gl?
Deck.gl is Uber's opensource visualization framework. It helps to build high-performance GPU powered visualization on the web. It is built to handle large-scale datasets without much performance issues. Deck.gl is part of uber's opensource visualization framework suite vis.gl.
Deck.gl follows a reactive paradigm which makes it extremely easy to integrate with modern UI development libraries and frameworks. The vis.gl suite comes with a React.js wrapper, but we'll be using the @deck.gl/core sub-module which doesn't have React dependency and will be integrating it with Vue.js components.

Installing Dependencies
We'll be using Mapbox-gl for rendering maps and Deck.gl for visualizations in an existing Vue.js application. Deck.gl has out-of-the-box support for React, this article will be mainly focused on building an application using these technologies with Vue.js.
Use the following command inside a bootstrapped Vue.js application to install the dependencies.
$ npm install --save mapbox-gl @deck.gl/core @deck.gl/layers
Working with Deck.gl and Mapbox-gl
There are two main ways we can use Deck.gl with Mapbox-gl in a Vue.js application.
- By using Deck.gl layers as custom Mapbox layers
- By using Mapbox as a base map and overlaying Deck.gl canvas
We'll discuss how we can build an app with both of these methods.
Using Mapbox's custom layers
The @deck.gl/mapbox sub-module helps us create Deck.gl layers that can be used as custom Mapbox layers. It's the easiest way to work with both the libraries but comes with some known limitations. This particular method is still experimental and can cause unexpected bugs. This method is not recommended if you have layers that need frequent updates/rerendering.
By using this method we can tap into the full-power of Mapbox's visualizations and interleave Deck.gl layers with Mapbox Layers to create beautiful visualizations.
We can simply create a Mapbox instance in a component, and add the deck.gl layer as a custom layer.
1. Creating the map
We can use the mapbox-gl library to quickly add a map inside our component.
<template>
  <div class="container">
    <div id="map" ref="map"></div>
  </div>
</template>

<script>
import mapboxgl from "mapbox-gl";
export default {
    data() {
        return {
            accessToken: process.env.VUE_APP_MAPBOX_TOKEN,
            mapStyle: "mapbox://styles/haxzie/ck0aryyna2lwq1crp7fwpm5vz",
            mapData: "https://raw.githubusercontent.com/johan/world.geo.json/master/countries.geo.json",
            latitude: 35.4832668,
            longitude: 12.9491635,
            zoom: 10,
            bearing: 0,
            pitch: 0,
        };
    },
    created() {
        // creating a non reactive map object
        this.map = null;
    },
    mounted() {
        // initialize the map
        this.map = new mapboxgl.Map({
            accessToken: this.accessToken,
            container: this.$refs.map,
            style: this.mapStyle ,
            center: [this.viewState.longitude, this.viewState.latitude],
            zoom: this.viewState.zoom,
            pitch: this.viewState.pitch,
            bearing: this.viewState.bearing,
        });
    },
}
</script>

<style lang="scss">
.map-container {
  width: 100%;
  height: 100%;
  position: relative;
  overflow: hidden;
}
</style>
2. Attaching the deck.gl MapBox Layer
Using the @deck.gl/mapbox module we can create a custom Mapbox layer and include a deck.gl layer within. Once you add them both, the component should look like this, and you are ready to go!s
<template>
  <div class="container">
    <div id="map" ref="map"></div>
  </div>
</template>

<script>
import mapboxgl from "mapbox-gl";
import { GeoJsonLayer } from "@deck.gl/layers";
import { MapboxLayer } from "@deck.gl/mapbox";

export default {
    data() {
        return {
            accessToken: process.env.VUE_APP_MAPBOX_TOKEN,
            mapStyle: "mapbox://styles/haxzie/ck0aryyna2lwq1crp7fwpm5vz",
            mapData: "https://raw.githubusercontent.com/johan/world.geo.json/master/countries.geo.json",
            latitude: 35.4832668,
            longitude: 12.9491635,
            zoom: 10,
            bearing: 0,
            pitch: 0,
        };
    },
    created() {
        // creating a non reactive map object
        this.map = null;
    },
    mounted() {
        // initialize the map
        this.map = new mapboxgl.Map({
            accessToken: this.accessToken,
            container: this.$refs.map,
            style: this.mapStyle ,
            center: [this.viewState.longitude, this.viewState.latitude],
            zoom: this.viewState.zoom,
            pitch: this.viewState.pitch,
            bearing: this.viewState.bearing,
        });
        this.loadLayer();
    },
    methods: {
        loadLayer() {
            // create a new MapboxLayer of type GeoJSON Layer
            const layer = new MapboxLayer({
                id: 'geojson-layer',
                type: GeoJsonLayer,
                data: this.mapData,
                filled: true,
                lineWidthScale: 20,
                lineWidthMinPixels: 2,
                getFillColor: d => [245, 133, 5, 0],
                getLineColor: d => [245, 245, 245],
                getLineWidth: 1,
            )};
            // add the layer to map
            this.map.addLayer(MapboxLayer);
        }
    },
};
</script>

<style lang="scss">
.map-container {
  width: 100%;
  height: 100%;
  position: relative;
  overflow: hidden;
}
</style>
Using MapBox as base map and Overlaying Deck.gl

In this method of using deck.gl we are using MapBox as just a base map to render the maps and deck.gl for visualisations and interactivity. We give full interactivity control to deck.gl so that every zoom, pan, and tilt happening to the deck.gl canvas will be reflected upon the base map. By far, this is the most robust implementation of deck.gl we can use in production.
1. Setting up the template
While building a component in the above-mentioned method, we need to add both deck.gl canvas and mapbox-gl element to the template. And make sure, the deck.gl canvas stays atop of the mapbox element.
<template>
  <div class="deck-container">
    <div id="map" ref="map"></div>
    <canvas id="deck-canvas" ref="canvas"></canvas>
  </div>
</template>

<style scoped>
.deck-container {
  width: 100%;
  height: 100%;
  position: relative;
}
#map {
  position: absolute;
  top: 0;
  left: 0;
  width: 100%;
  height: 100%;
  background: #e5e9ec;
  overflow: hidden;
}
#deck-canvas {
  position: absolute;
  top: 0;
  left: 0;
  width: 100%;
  height: 100%;
}
</style>
2. Connecting MapBox-gl and Deck.gl Instances
Next, we need to initialize both the map and deck.gl instance in the component and connect the interactivity. We can use the mounted hook to initialize both of them and assign them to a non-reactive variable for future use-cases.
import { Deck } from "@deck.gl/core";
import mapboxgl from "mapbox-gl";

export default {
    data() {
        return {
            viewState: {
                latitude: 100.01,
                longitude: 100.01,
                zoom: 12,
                pitch: 0,
                bearing: 0
            }
        }
    },
    created() {
        this.map = null;
        this.deck = null;
    },
    mounted() {
        // creating the map
        this.map = new mapboxgl.Map({
            accessToken: this.accessToken,
            container: this.$refs.map,
            interactive: false,
            style:
                this.mapStyle || "mapbox://styles/haxzie/ck0aryyna2lwq1crp7fwpm5vz",
            center: [this.viewState.longitude, this.viewState.latitude],
            zoom: this.viewState.zoom,
            pitch: this.viewState.pitch,
            bearing: this.viewState.bearing,
        });

        // creating the deck.gl instance
        this.deck = new Deck({
            canvas: this.$refs.canvas,
            width: "100%",
            height: "100%",
            initialViewState: this.viewState,
            controller: true,
            // change the map's viewstate whenever the view state of deck.gl changes
            onViewStateChange: ({ viewState }) => {
                this.map.jumpTo({
                    center: [viewState.longitude, viewState.latitude],
                    zoom: viewState.zoom,
                    bearing: viewState.bearing,
                    pitch: viewState.pitch,
                });
            },
        });
    }
}
3. Creating and Rendering Layers
Since deck.gl has an internal interactivity built-in, we can simply set the layer props of the deck.gl instance and it'll render the layers efficiently. We need to trigger this rerender by using deck.setProps({}) whenever the layer's data is being changed. The below example illustrates well how to achieve this.
import { PathLayer } from "@deck.gl/layers";

export default {
    data() {
        return {
            // all your data properties
            pathData: [
                {
                    path: [[100, 10], [200, 30]...],
                    color: [255, 255, 255, 50]
                },
                ...
            ] // some geo data
        }
    },
    computed: {
        // a reactive property which creates the layer objects whenever the data is changed
        getLayers() {
            const paths = new PathLayer({
                id: "path-layer",
                data: this.pathData,
                widthScale: 20,
                widthMinPixels: 2,
                getPath: d => d.path,
                getColor: d => d.color,
                getWidth: d => 1
            });

            return [paths]
        }
    },
    methods: {
        renderLayers(layers) {
            // setting the layers to deck.gl props
            this.deck.setProps({
                layers
            })
        }
    },
    watch: {
        // whenever the layer data is changed and new layers are created,
        // rerender the layers
        getLayers(layers) {
            this.renderLayers(layers);
        }
    }
}
You can even abstract this method to be just used for rendering and make it a separate deck.gl wrapper component. Once you have this component ready, you can compute the layers outside the component and pass it as props to your deck.gl wrapper component.
You can learn more about deck.gl and it's APIs at deck.gl
Love reading about GeoSpatial visualizations? Stay tuned for more in-depth articles about how you can use deck.gl in your applications in production.
Hi there! I work as a UX Engineer at Locale.ai solving Geo-Spatial problems for our B2B customers. If you think you love solving UX problems for users, love designing and want to work with a team of enthusiastic individuals, check out the job openings we have at Locale.
Wanna talk? You can find me on Twitter, Instagram and GitHub.
Originally published on haxzie.com

Oldest comments (6)
Hi, quite interesting
I haven't use Mapbox yet, I have used mainly Leaflet and ArcGiS JS
What would be the strong point of using Deck.gl with Mapbox compared to the others?
I am too working in Geospatial :)
Deck.gl's MapView is designed to sync perfectly with the camera of Mapbox, at every zoom level and rotation angle. From the official documentation, we can get to know that:
As I mentioned in the post, there should not be much issues while using any other Map providers as basemap, if you are following the second method. Since the second method (using the basemap method) gives the control of map's viewstate over to Deck.gl and the basemap is only used to render the map, this should work with any map libraries.
You can learn more about this from here
Interesting, especially if it can correctly integrate with other providers.
The visuals are really stunning! I will remember this library when I have cases of specifics layers not supported
Awesome. We have came across a lot of libraries when it comes to geospatial visualisation. Only DeckGL could cut the cake for large-scale datasets. Will be shortly writing about other alternative libraries which could help visualize large-scale datasets 🙌🏼
Great, I would love to read about those.
It is always interesting to know about alternatives to basics, mostly when customers ask for really specifics behaviors not covered by the generics API, and the last time I had to work on a case like that, we faced a huuuge problem of performance and memory management.
Great article!