
Finally we have the basics and it's time to see what we've done in production. I'll quickly go through some ways to deploy your site. I will mainly focus on Netlify for this, but also give an example for GitLab pages.
Table of Contents
Netlify Setup ⚡
First of all, make sure you have a repository, with all your work so far pushed to master. Preferably on GitHub. Now get yourself a Netlify account and connect it with your GitHub repository. I won't go into details for that. There is plenty of documentation out there.

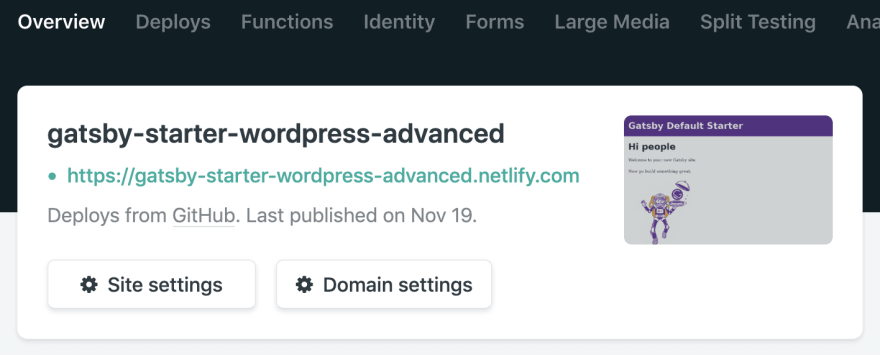
If you create a project from your Gatsby repository, Netlify should recognize, that it is a Gatsby project and you should see something like this:

Now go to the Build & Deploy settings and add a build hook.

Copy the build hook URL for later use.
By the time you got your build hook, Netlify should already be finished building your site. Checkout your Netlify domain.
WordPress Plugin 💾
We will setup a WordPress plugin, to be able to make use of the build hook. With this, we can decide when to trigger a build. For example, you can build only when pressing the build button, or after every post/page update. There is plenty more options.
-
WP JAMstack Deployments - To add your Netlify (or other webhook) build and to show a build status badge.
- Also available in the WordPress Plugin registry: here
While I would suggest this plugin. There is also other plugins out there.
You can download the .zip files of these repositories and install them through WP-Admin or just navigate to your plugin folder and do a git clone like so:
git clone https://github.com/crgeary/wp-jamstack-deployments
Activate the plugin.
-
Now go to Settings->Deployments and fill in the form:
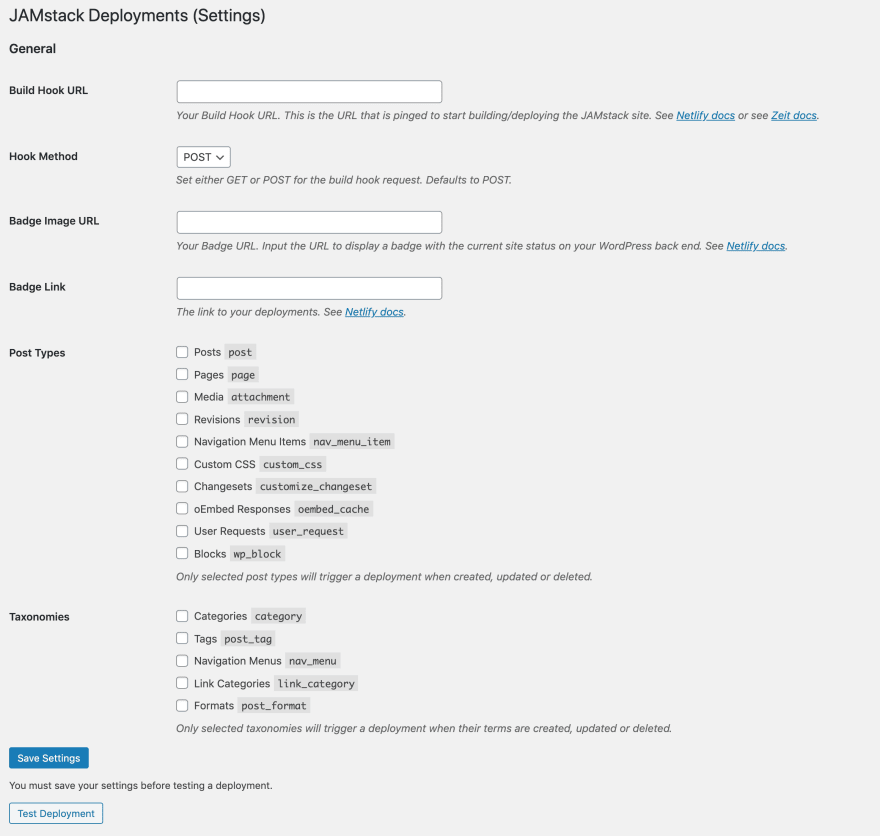
- Build Hook URL: The Netlify build hook we created before.
- Badge Image URL: We can find the badge URL in the General->Status badges settings of Netlify. It consists of 2 URLs. The first one is the one we need for the status badge.
- Badge Link: When you click on the Netlify badge, the link you set here will open. You can either set it to your Netlify site domain, or you use the second URL from the status badge, which will link to your Netlify deploy status page.
Save Settings and Test Deployment. We should see the badge in the admin toolbar being in
Buildingmode.
Now we can trigger our rebuilds with the Deploy Website button in the admin toolbar. I like to only rebuild when I changed more then just a post, especially if there is not incremental builds in place (yet), so I'll leave all the checkboxes blank and rebuild my site as I see fit.
☑️ Easy deployments done
GitLab Setup 🐱
We really like working with GitLab on our client projects. With GitLab Pages you can have an easy way to setup a preview page, that is only accessible for authorized users, that are part of the project. you can also make it public if you want so.
Checkout the docs on GitLab Pages for some more insight.
Gatsby Prefix Configuration
Go to your gatsby-config.js and add the following line inside module.exorts = {...}:
pathPrefix: `${process.env.PATH_PREFIX}`,
Now this way we can define the path prefix either in our .env files, our we use GitLab Page environment variables for it. Let's use the latter, to be as flexible as possible.
GitLab CI Configuration
Depending on where your project is placed, GitLab will host your page on a domain, that will look like so:

Checkout: GitLab Page Domain Naming
As you can see, you will have /projectname in your URL. Therefore, we need to tell Gatsby to prefix your routing.
1.) Head over to your GitLab project, go to Settings->CI/CD->Variables and add your PATH_PREFIX like so:

Now the only thing missing is the CI config file inside your Gatsby projects root.
2.) Add following snippet to your .gitlab-ci.yml:
# .gitlab-ci.yml

image: node:12.13.0

pages:
  script:
    - npm install
    - npm install gatsby-cli
    - ./node_modules/.bin/gatsby build --prefix-paths
  artifacts:
    paths:
      - public
  cache:
    paths:
      - node_modules
  only:
    - master
As you can see in the third line under script:, we call Gatsby like ./node_modules/.bin/gatsby build --prefix-paths. This will make sure, that Gatsby is actually using the prefix in the build.
Thats it. You should be able to find your page under the domain as described above. Sometimes it needs a few minutes, if it is the first time you deploy the page. Be patient. 😉
Final Thoughts 🏁
Yaaah, our site is online now! 🚀 There is many more ways to deploy your site. But I guess you get a good idea of how things can work with the example of these two common approaches.
Find the code base here: https://github.com/henrikwirth/gatsby-starter-wordpress-advanced/tree/tutorial/part-4
Find the GitLab code base in this extra branch: https://github.com/henrikwirth/gatsby-starter-wordpress-advanced/tree/tutorial/part-4-gitlab
What's Next ➡️
In the upcoming part we will introduce a blog page with pagination, which will serve as overview for our blog post previews.
Part 5 - Blog with Pagination

Latest comments (3)
Nice series so far, really liking it. I do have a question though: do you have any suggestions as to where to host the headless WP online?
Hi @Mate, glad you enjoy the series.
When it comes to "static" sites, the big gain is that you can use any CDN to host it. So the best option is to use the fastest CDN, fitting to your budget. This will highly improve how fast your site is delivered to the viewer and therefore improves your overall performance.
Netlify already delivers the content on a CDN, so thats a good start. You just need your custom domain to link to your CDN of choice. I don't have any favorites so far but there is a great doc section on the Gatsby site, that shows a lot of options to choose from. Checkout this Link
Thanks!