
This tutorial intends to gives you a quick and practical introduction to the open-source workflow and decision automation platform Camunda! 🦊
Here you can find the code for this chapter under the git tag chapter-1.
💿 Requirements
- Java 8+
- Maven
-
Camunda Modeler (you can install it on Linux by executing
support/xdg_register.shafter extracting the archive)
🏃 Let's go!
The easiest way to get started is to download this sample project:
curl -L https://github.com/camunda/camunda-get-started-spring-boot/archive/Step-3.zip \
  | bsdtar -xvf - -C .
Which you can then execute with Maven:
cd camunda-get-started-spring-boot-Step-3 && mvn spring-boot:run
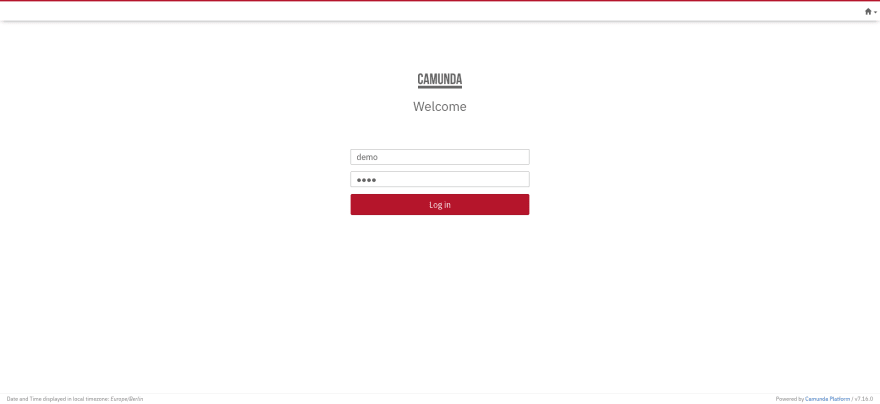
Now surf towards localhost:8080 and login via demo & demo:
🌐 Taking a closer look into the browser app
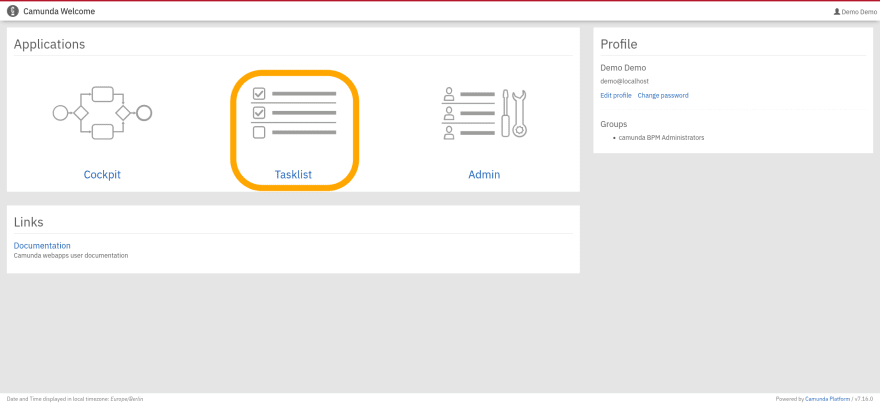
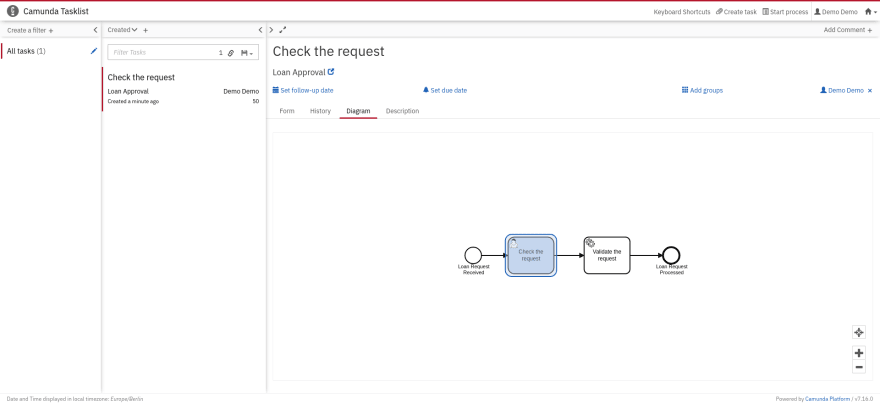
Now click on Tasklist:
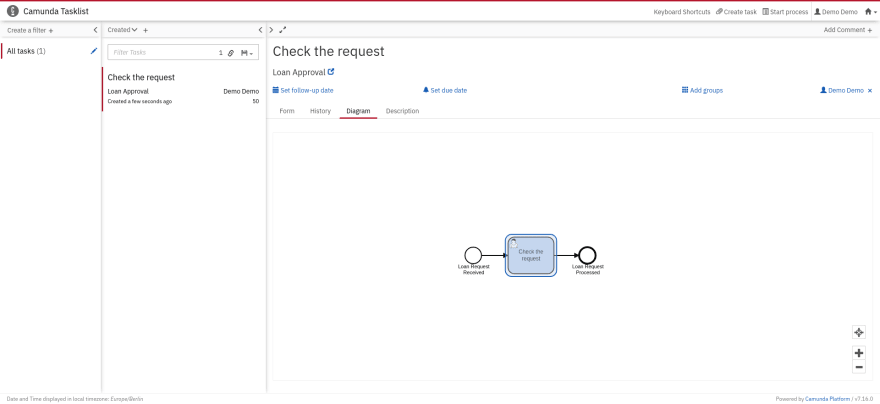
From the second column you can see that you have a process running, which is on hold because of the User Task named Check the request, which requires that a user takes a look at it and allows further execution:
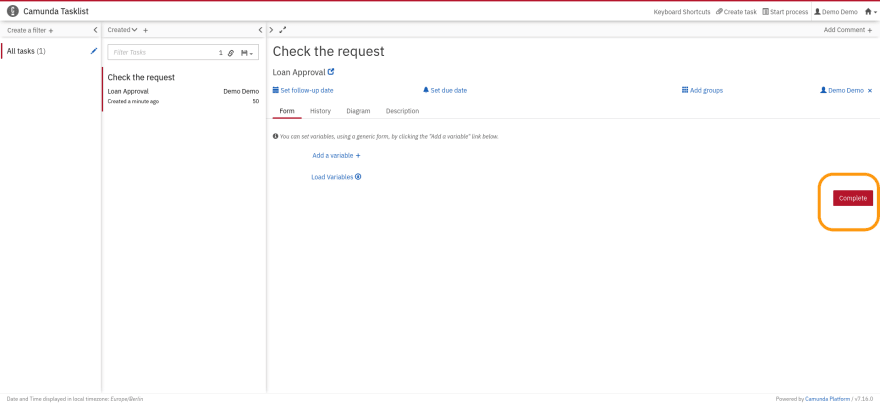
You can do so by clicking on Complete from within the first tab:
⚙️ Adding a Service Task to loanApproval.bpmn
One way to let Camunda execute a own Java function by creating a Service Task from within the Camunda Modeler, you should see the following view by opening loanApproval.bpmn with the modeler:
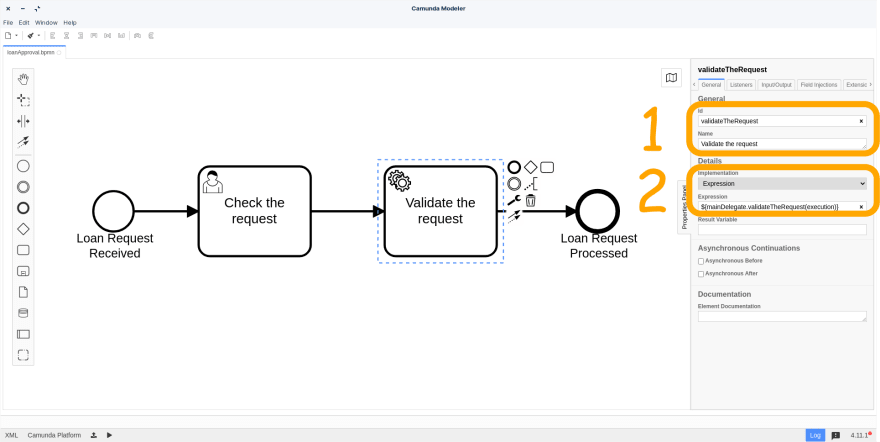
Within block #1 you can set ID and Name, block #2 is for pointing to your own Java function. It's most practical name ID like your Java function:
package org.camunda.bpm.getstarted.loanapproval.delegates;

import org.camunda.bpm.engine.delegate.DelegateExecution;
import org.springframework.stereotype.Component;

@Component
public class MainDelegate {

    public void validateTheRequest(DelegateExecution execution) {
        System.out.println("🚀 Executing MainDelegate.validateTheRequest");
    }
}
Now you should see a new item from within your browser:
Switch back to the first tab Form and click again on Complete, this time it should go through your own Java function, the Spring terminal proves it:
...
2021-11-26 20:19:49.855  INFO 2249 --- [nio-8080-exec-5] o.s.web.servlet.DispatcherServlet        : Completed initialization in 5 ms
🚀 Executing MainDelegate.validateTheRequest
Nice! 🥳🎉 I think I will add some testing for the next article, stay tuned and happy coding! 🤗

Oldest comments (0)