
Introduction
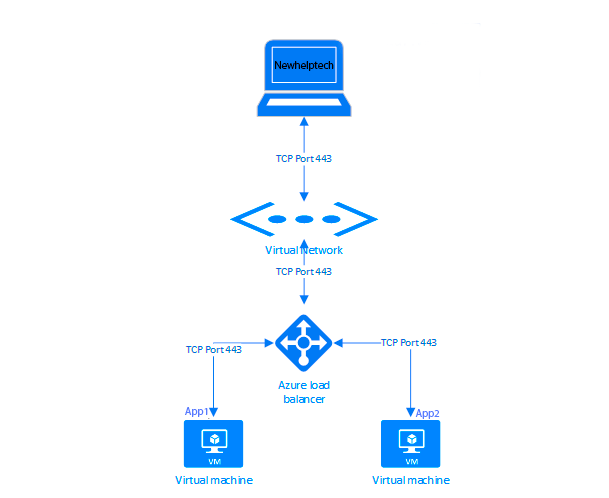
Azure load balancers distribute incoming traffic to a pool of virtual machines with high throughput and low latency. Creating a pool of virtual machines can make our application resilient to hardware or software failures. Load-balancing in Azure can be public or internal, and there are two types of SKUs: basic and standard.
I will be deployed in the following environment based on the diagram below:
Step-by-Step Guide to Creating a Load Balancer in Azure
A Load Balancer in Azure helps distribute network traffic efficiently to ensure high availability and reliability for applications.
Step 1: Log in to Azure Portal
- Go to https://azure.microsoft.com/en-us/get-started/azure-portal.
- Sign in with your credentials.
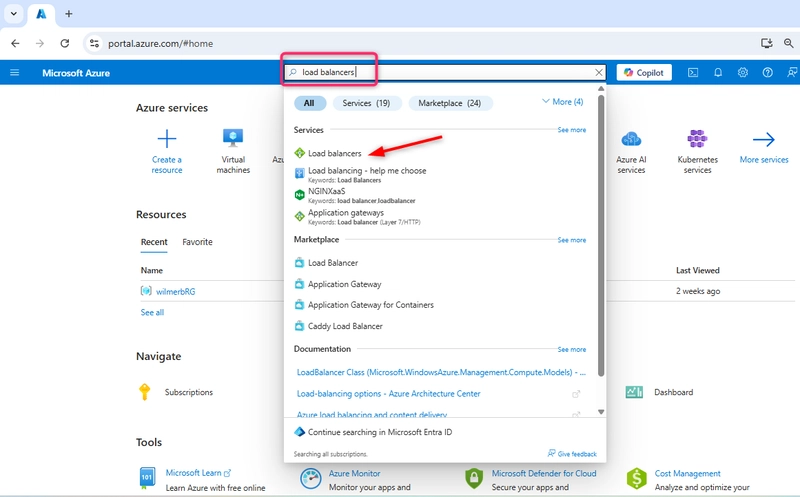
Step 2: Create a New Load Balancer
- In the search bar at the top, type "Load Balancer" and select "Load Balancers" from the results.
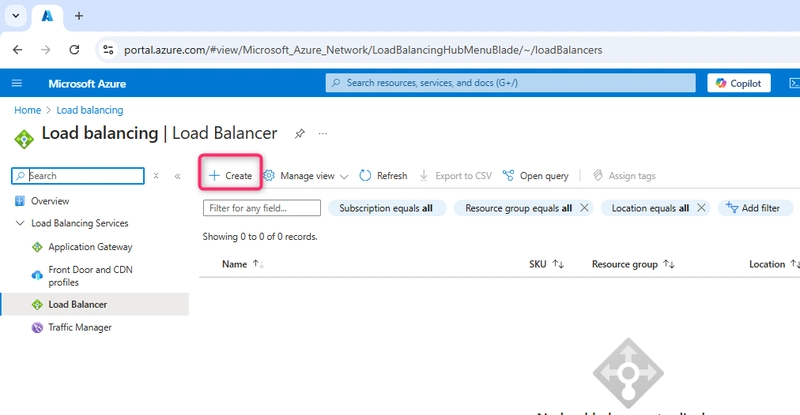
- Click "Create" to begin setting up
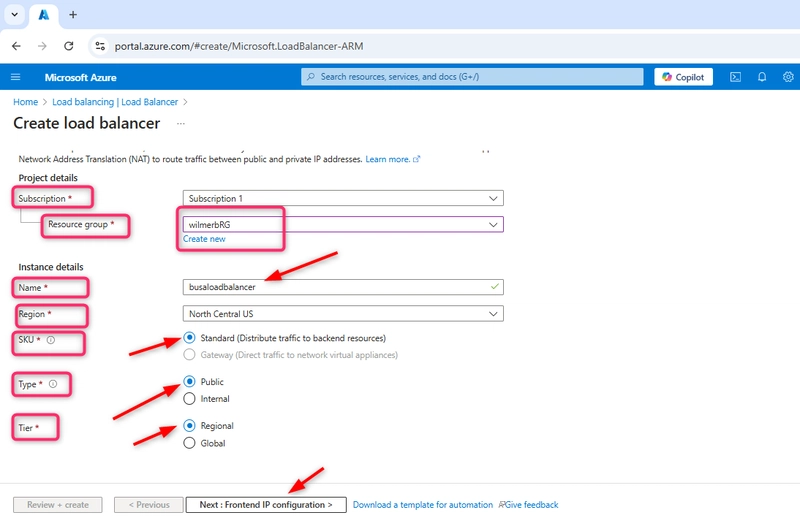
Step 3: Configure the Basic Settings
Subscription: Select your Azure subscription.
Resource Group: Choose an existing resource group or create a new one.
Region: Pick the Azure region where you want to deploy the load balancer.
Name: Provide a name for your load balancer (e.g., "MyLoadBalancer1").
SKU: Choose Standard, Gateway, or Basic (Standard is recommended for production use since it distributes traffic to backend resources).
Type: Select either Public (for internet-facing applications) or Internal (for internal network applications). For the purpose of this tutorial, we choose public
Tier: Select either Regional or Global
Click Next: Frontend IP Configuration.
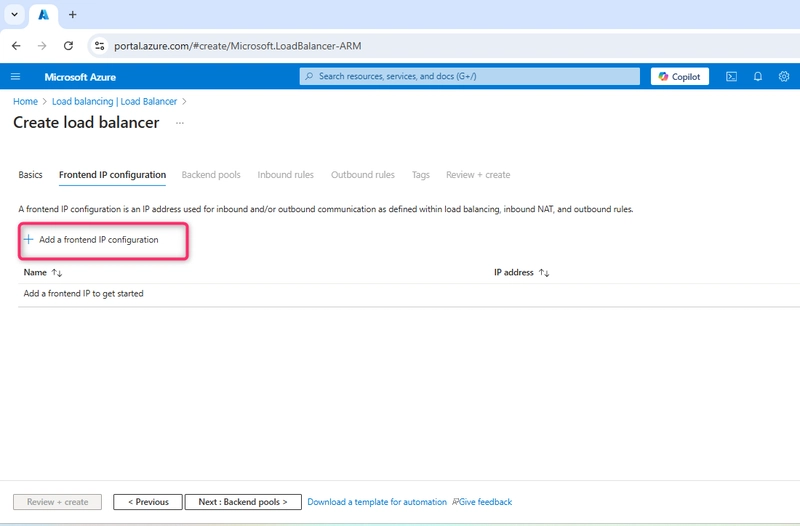
Step 4: Configure the Frontend IP
- Click + Add a frontend IP configuration.
- Provide a name for the frontend IP.
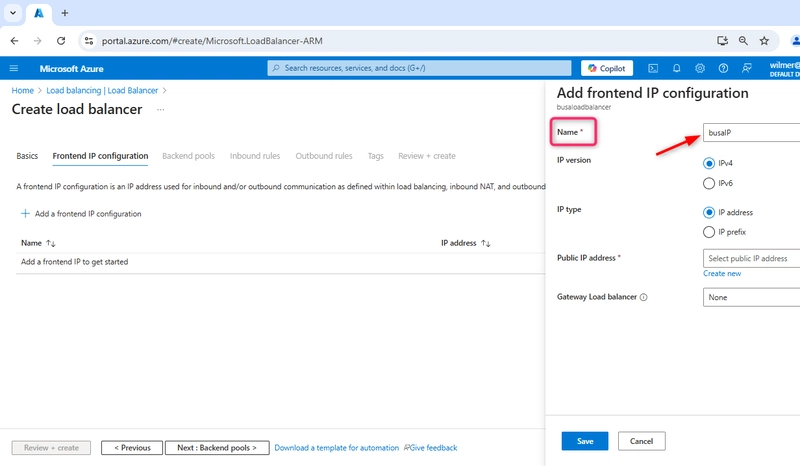
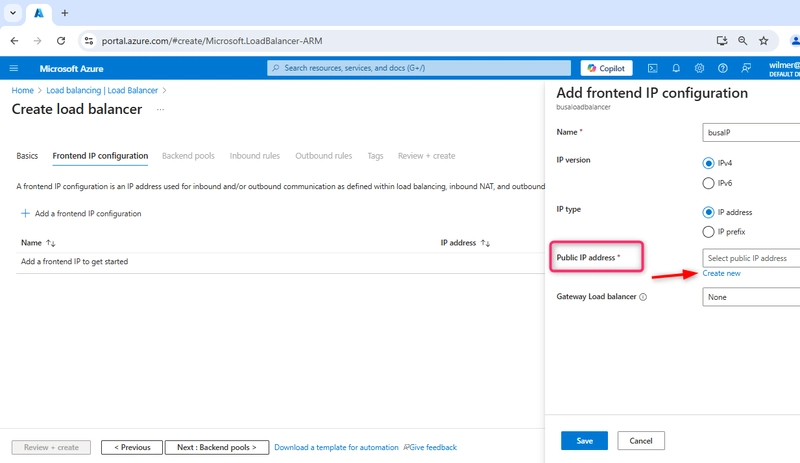
- Create a new Public IP if you are using a public load balancer or select Private IP for internal use.
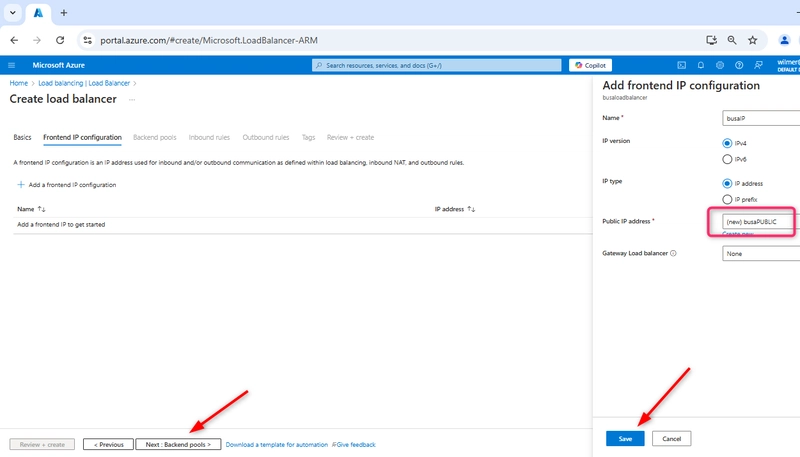
Give the public address a name
Click save
Click Next: Backend pools
Step 5: Configure the Backend Pool
- Click + Add a backend pool
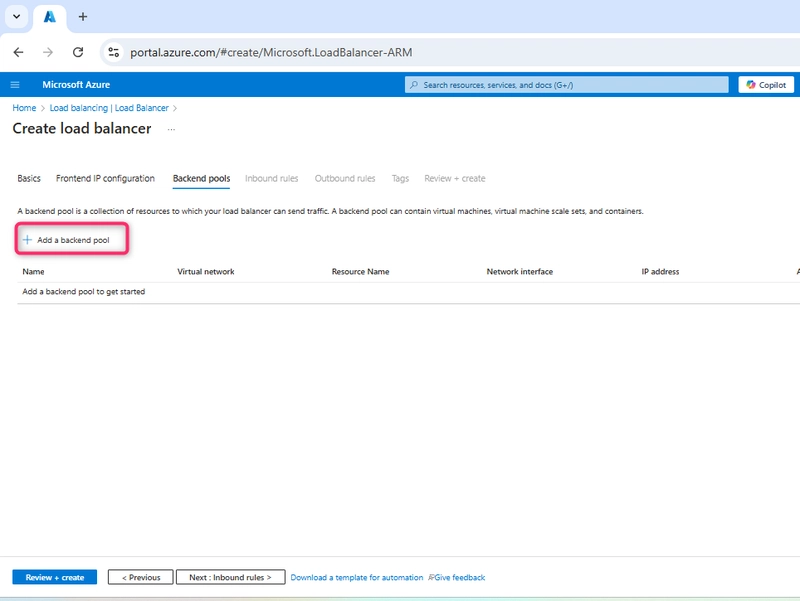
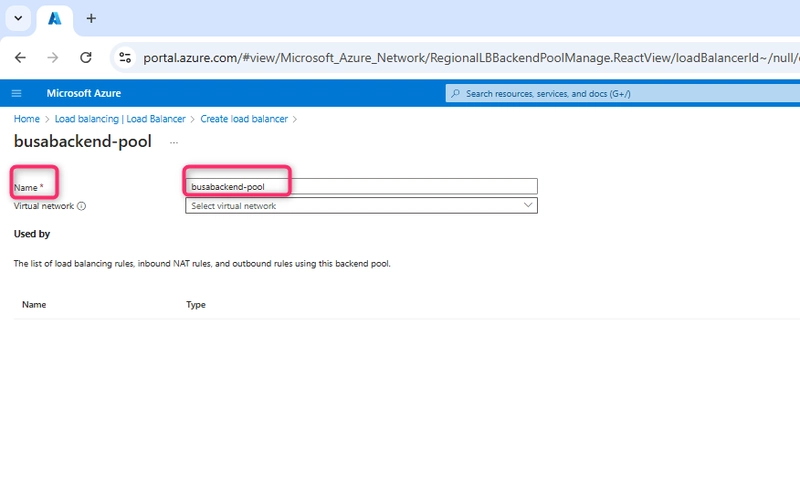
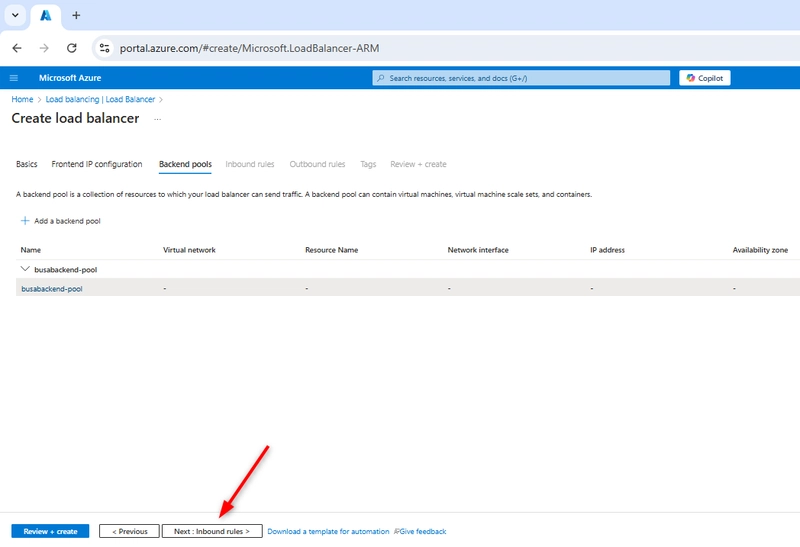
- Give it a name
- Click Next: Inbound rules
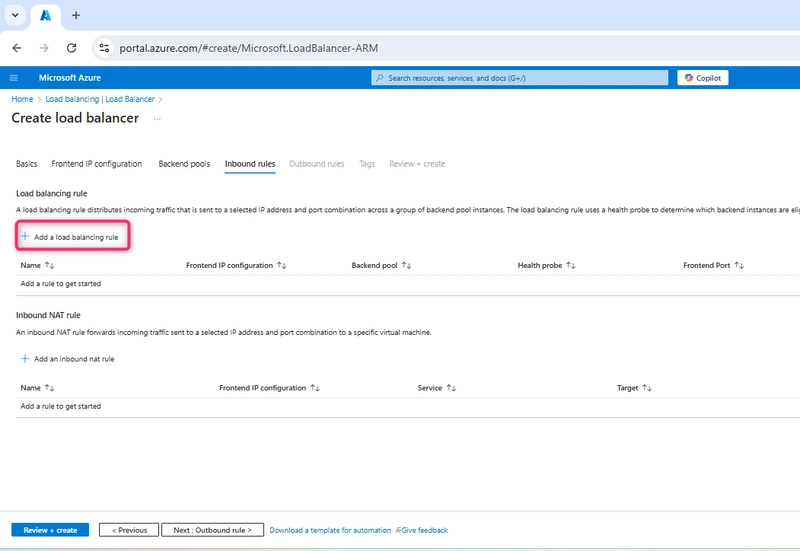
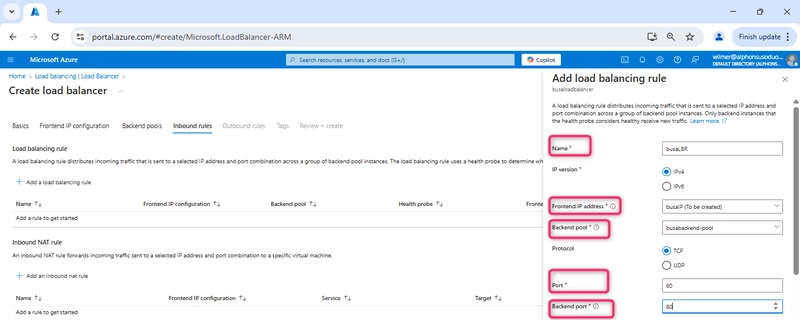
Step 7: Configure Load Balancing Rules
- Click + Add a load balancing rule.
Provide a name for the rule.
Set the frontend IP configuration.
Choose the backend pool created earlier.
Select the protocol (TCP, or UDP).
Set the port (e.g., 80 for web traffic).
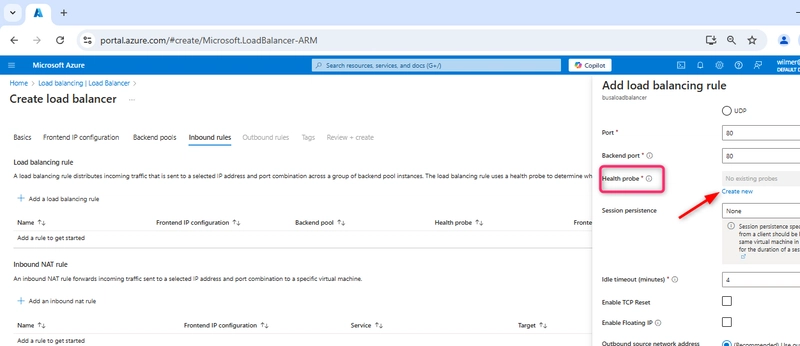
- Health probe: Click create new
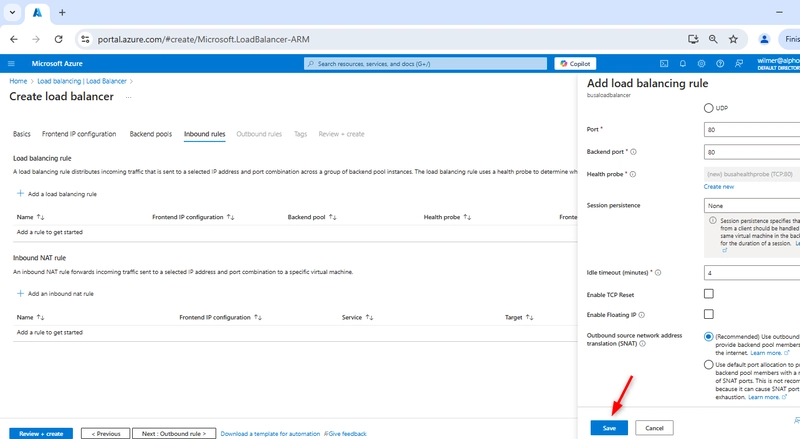
- Then click save
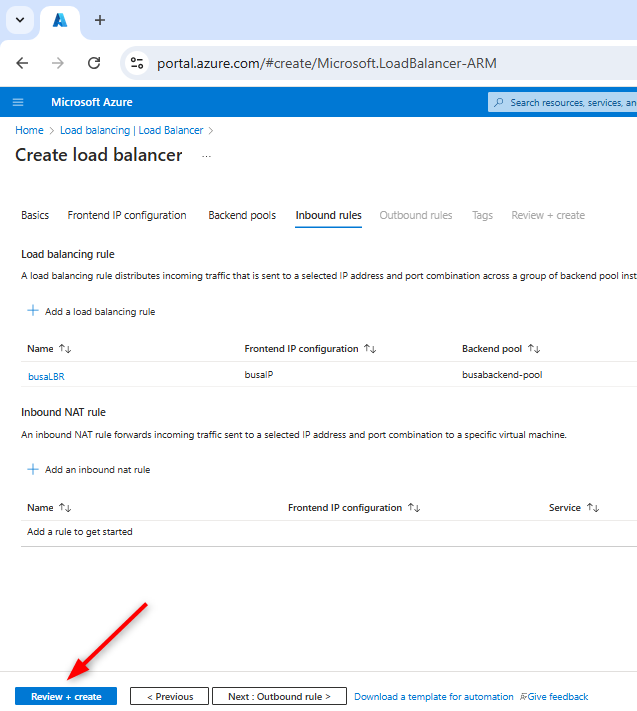
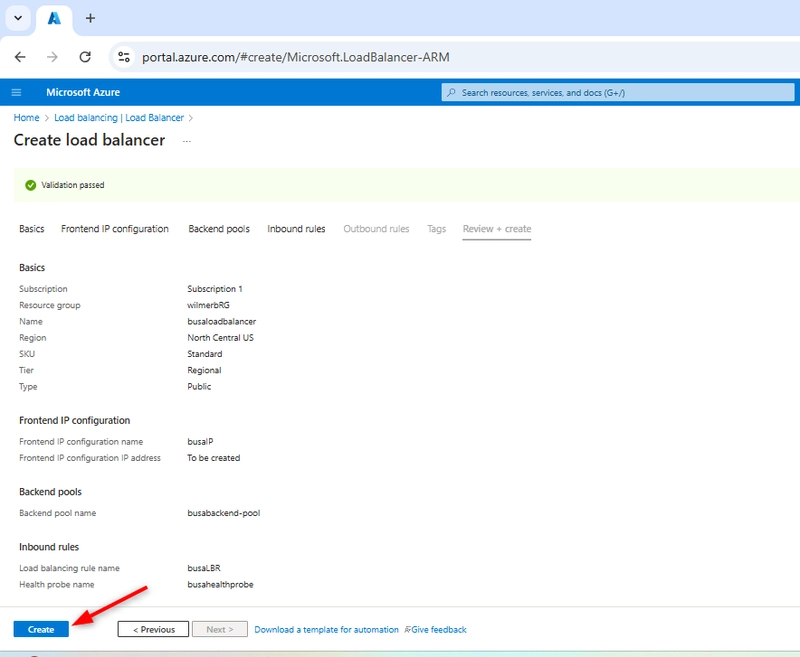
- Then click Review + Create
- Click Create to deploy your load balancer
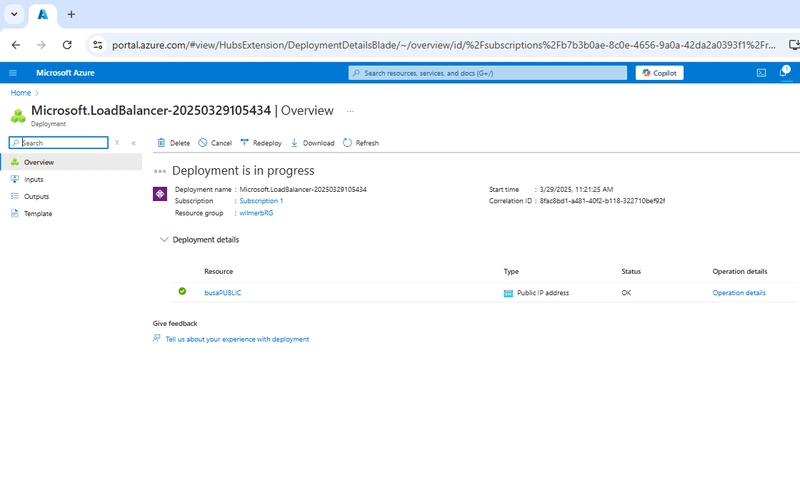
- Deployment in progress
Step 8: Test the Load Balancer
- Open a web browser or use a tool like curl to test the public IP of the load balancer
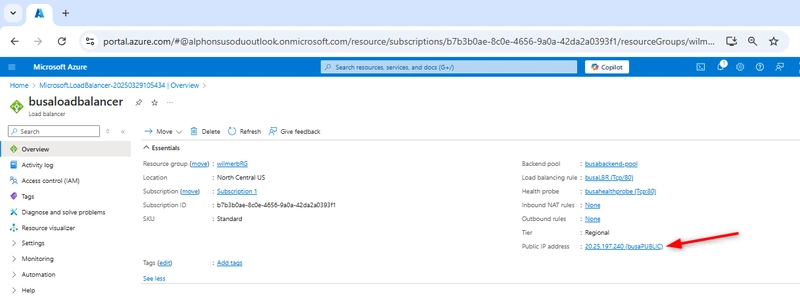
If configured correctly, traffic will be distributed among backend virtual machines
Conclusion
In this guide, we’ve covered the essential steps to create a public load balancer in Azure, highlighting its significance in optimizing performance and ensuring high availability for your applications.

Top comments (0)