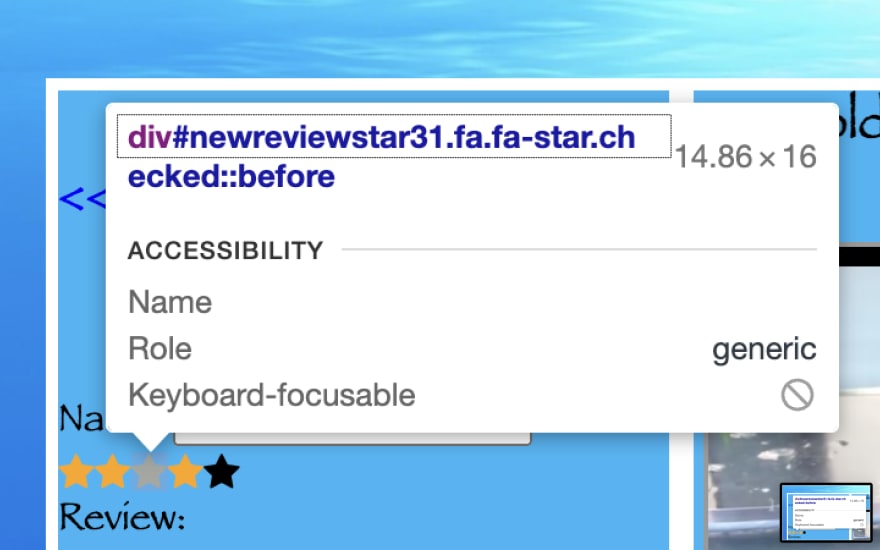
In this tutorial I will show you how to easily add review stars using Javascript to your web application and make them have dynamic functionality. Keep in mind that I had specific code in a web application that I reference. You may need to modify to suit your purposes.
The first step is to add the Font Awesome link to your HTML page.
<link rel="stylesheet" href="https://cdnjs.cloudflare.com/ajax/libs/font-awesome/4.7.0/css/font-awesome.min.css">
Here is the full HTML file with the Head with the link in it.
<html lang="en">
<head>
    <meta charset="UTF-8">
    <meta http-equiv="X-UA-Compatible" content="IE=edge">
    <meta name="viewport" content="width=device-width, initial-scale=1.0">
    <link rel="stylesheet" href="styles/index.css">
    <link rel="stylesheet" href="https://cdnjs.cloudflare.com/ajax/libs/font-awesome/4.7.0/css/font-awesome.min.css">
    <title>Fish Store</title>
    <style>
        body {
            padding: 25px;
        }
    </style>
</head>
Next is to create the Javascript code. For this example we are using a 5 star review. Note that my code has a createDiv() function. This is simply creating a Div element with an assigned id for the web application structure. For this examples my star ids are newreviewstars11, newreviewstar21, newreviewstar31, newreviewstar41, and newreviewstar51. These stars will start with the className "fa fa-star". The "fafa-star" className when it is initially generated it will not be highlighted.
//create the div star element
newDiv = createDiv("newreviewstars", reviewId)
    form.appendChild(newDiv)

// for loop to generate the number of stars, in this instance 5.
    for (let k = 1; k < 6; k++){
      let starDiv = createDiv('fa fa-star', k)
      starDiv.setAttribute("id", `newreviewstar${k}${reviewId}`)
      element = newDiv.appendChild(starDiv)
    }
To get a star to fill in with color, the div class name needs to be changed to "fa fa-star checked" and the ".checked" reference needs to be added to the CSS file.
Here is example of how to change the className. You would have to generate the JS code to change the className based on your required functionality.
starDiv.className = 'fa fa-star checked'
This is what goes in the CSS file to fill the stars with the color orange once they are "checked".
.checked {
  color: orange;
}
In order to make the stars dynamic, a listener needs to be added to each of the star elements.
// creates a listener for selecting the number of stars when creating a new review
  function reviewStarsListener(newReviewId){
    //obtain stars element, which is displayed as an array
    for (let i = 1; i <= 5; i++){
      let star = document.getElementById(`newreviewstar${i}${newReviewId}`)
      star.addEventListener("click", function(){highlightStar(star, newReviewId)});
    }
  }
There are couple of things to consider regarding the functionality:
- If a user clicks on star 4, then we expect stars 1 through 3 to also become checked
- If a user selects 5 stars by accident, but meant 4 stars, then they need a way to be able to click on another star and it automatically adjusts.
My listener executes the highlightStar() function which performs the clearStars() function first and then highlights the stars, that way it can dynamically be changed.
// highlights additional stars when a high star value is selected.
// e.g. if star 4 is selected then this will highlight star 1 - 4.
  function highlightStar(starDiv, newReviewId){
    clearStars(newReviewId)
    starSelected = starDiv.id.replace("newreviewstar", "")
    numOfStars = starSelected.charAt(0)
    for (let i = 1; i <= numOfStars; i++){
      let starDiv = document.getElementById(`newreviewstar${i}${newReviewId}`)
      starDiv.className = 'fa fa-star checked'
    }
  }
// allow reviewer to dynamically be able to click on the stars to
  // change their # of stars review
  function clearStars(newReviewId){
    for (let i = 1; i <= 5; i++){
      let starDiv = document.getElementById(`newreviewstar${i}${newReviewId}`)
      starDiv.className = 'fa fa-star'
    }
  }
Hope this helps give some guidance when creating your dynamic web applications with reviews!


Top comments (2)
Just a heads up that you can add highlighting to the code blocks if you'd like. Just change:
... to specify the language:
More details in our editor guide!
Thanks for the tip! Updated with the highlighting.