Have you ever taken a break after a 8-hour grind from coolmathgames.com and thought to yourself “Wow that was a lot of fun but maybe I can make an even better game”. Well with various game engines out and about on the web these days you too can make your own cooler math game.
For this blog I’ll talk about a well known game engine called Phaser. Phaser is a JavaScript oriented game engine that possesses various modules to help web developers create games in html-5. It has also been regularly updated since April, 2013. As with all web based programs they have to be up to date to stay relevant and phaser has been keeping up with its development and usability to make it one of the leading game engines used for JavaScript. As with other game engines, Phaser can be split into a renderer to manipulate and present game assets and a module provider to allow methods to create the methods for your game.
The preview below is the is essentially the main tool of Phaser, the canvas:
Beautiful ain’t it? The canvas will be where we will throw all of our renderings to go from this untapped possibility to wherever your imagination can go. The code below is from my own project where the center of it ends up on the canvas:
import Phaser from './lib/phaser.js';
import { SCENE_KEYS } from './scenes/scene-keys.js';
import { PreloadScene } from './scenes/preload-scene.js';
import { BattleScene } from './scenes/battle-scene.js';
import { StoryScene } from './scenes/story-scene.js';


const game = new Phaser.Game({
  type: Phaser.CANVAS,
  pixelArt: false,
  scale: {
    parent: 'game-container',
    width: 1024,
    height: 576,
    mode: Phaser.Scale.FIT,
    autoCenter: Phaser.Scale.CENTER_BOTH,
  },
  backgroundColor: '#000000',
});


game.scene.add(SCENE_KEYS.PRELOAD_SCENE, PreloadScene);
game.scene.add(SCENE_KEYS.BATTLE_SCENE, BattleScene);
game.scene.add(SCENE_KEYS.STORY_SCENE, StoryScene)


game.scene.start(SCENE_KEYS.PRELOAD_SCENE);
Here we set up the Phaser object and set the dimensions for the canvas. Towards the bottom of the snippet we add the Scenes to the game. The scenes are the different containers we would use for different scenarios and such. To help visualize it for you here are some images that we can break down.
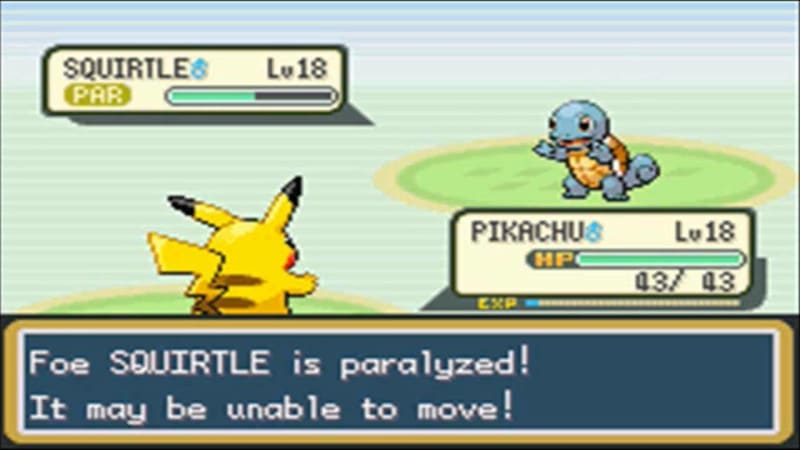
Here we can imagine the pokemon battle as a scene that contains the general logic regarding battling pokemon that you would only use here. If you think about it the battle scene structure doesn’t change at all throughout the entire game except for the pokemon you and the opponent possess.
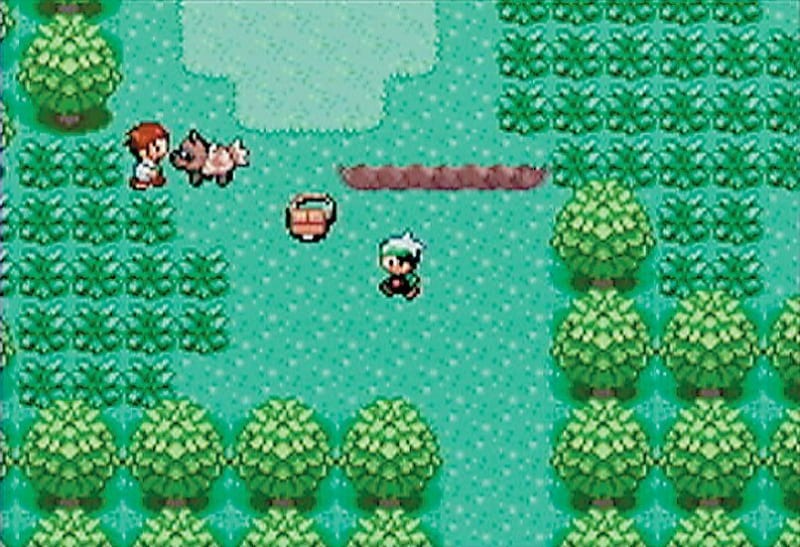
Here the scene is the overworld that has the player run along a tile map, staying at the center of the camera yet moving along the x and y coordinates while occasionally interacting with the map. Essentially the tiles may change from a forest, to a desert, or a city but the movement and interactions will not vary that much regardless of where you are in the game.
Depending on what you plan on making, the canvas will be switching from one scene to another based on how you want the flow to go.
To keep it simple a Scene can be broken down in several different parts.
export class PreloadScene extends Phaser.Scene {
  constructor() {
    super({key: SCENE_EXAMPLE,});
   }
//where we load the assets
preload() {
this.load.spritesheet(“player”, `/assets/spritesheets/player.png`)
this.load.spritesheet(“explode”, `/assets/spritesheets/explode.png`)
}
//where we add objects and properties to the canvas
create(){
this.player = this.add.image(x,y, “player”)
}
//Typically how the game will adjust itself depending on user input
//here if you click the a gameObject, like the player, it would swap out the //spritesheet for the “explode” one and visually you would see the player explode

update(){
destroyPlayer(pointer,gameObject){
    gameObect.setTexture(“explode”)
    gameObect.play(“explode”)
}
}
First the Scene you are making is made to be exported to the main canvas, otherwise nothing would happen. Then you would set up a preload() which gathers all of your assets that you want to use and prepares them but does not do anything with them just yet. The create() is where you would add and adjust the assets for use and set up the calls for objects and interactions for the player to play the game. And the update() is the way the game rerenders itself constantly depending on user input or actions the game would perform that change the in-game status. Outside of those three you can place methods that will affect the general run of the game such as checks for events that happen within the game or the scene transitions.
And this has been a brief introduction to what you can expect within Phaser, I hope you can find your way with it and create whatever your imagination calls for and just maybe you can surpass coolmathgames!
More to be found at:
https://phaser.io/

Top comments (0)