
Amazon Relational Database Service (RDS) is a distributed relational database service by Amazon Web Services. It is a web service running "in the cloud" designed to simplify the setup, operation, and scaling of a relational database for use in applications.
This article will guide you through the simple steps to provision a production grade database for your application within matter of minutes. Lets get started!
- First obvious step is to create AWS account to avail the services.
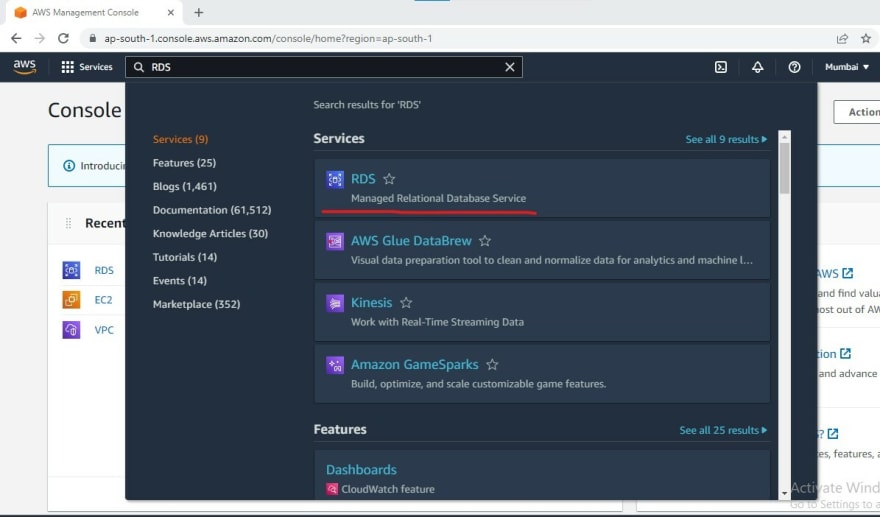
- Once you have your account ready, Search for RDS on AWS homepage
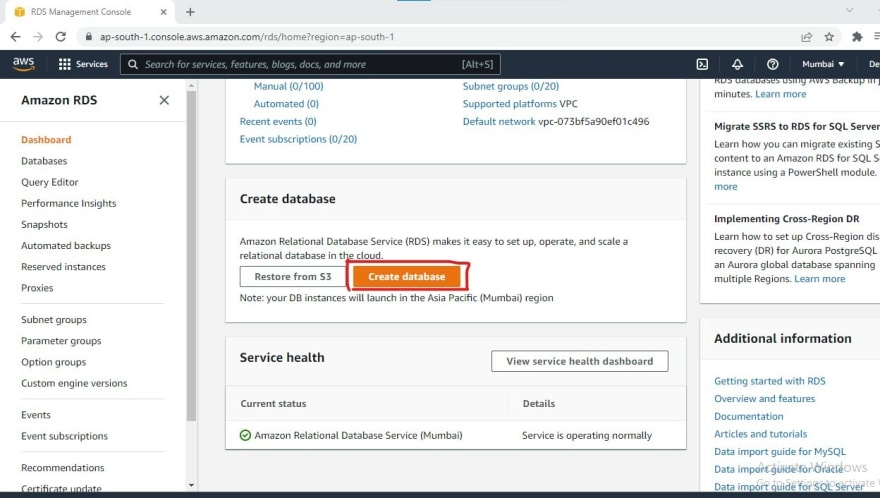
- Scroll bit down and click on "Create Database" button.
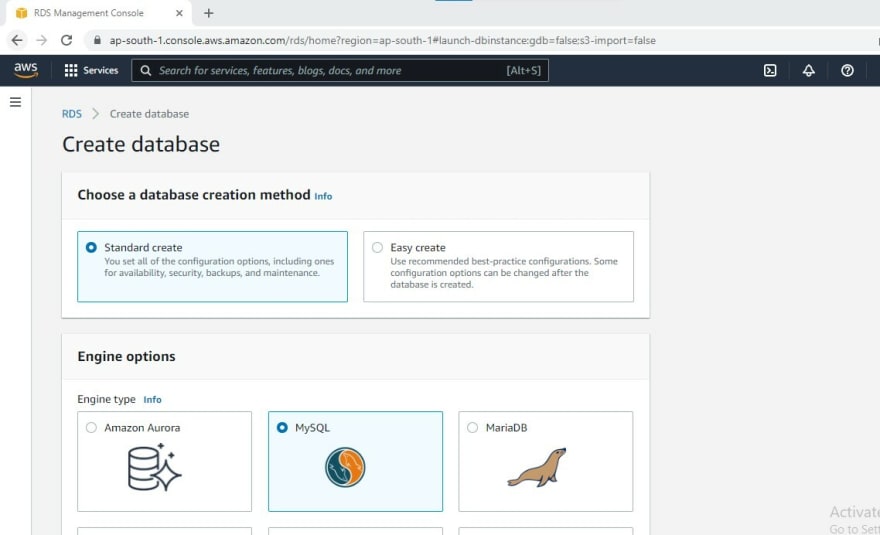
- Choose "Standard Create" as database creation method & Select MySQL from the Engine options (You can choose database as per your need).
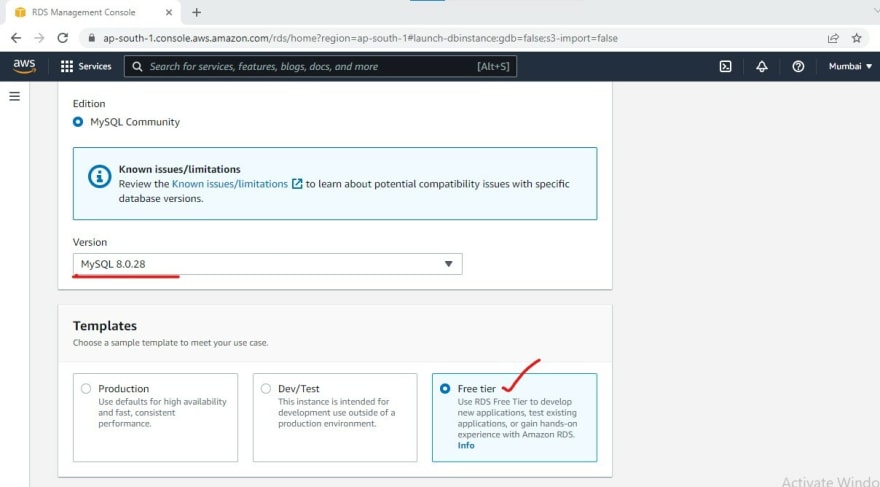
- Select MySQL version and template as "Free Tier"
- Move to Settings section and enter details such as your database name in "DB Instance Identifier", username and password.

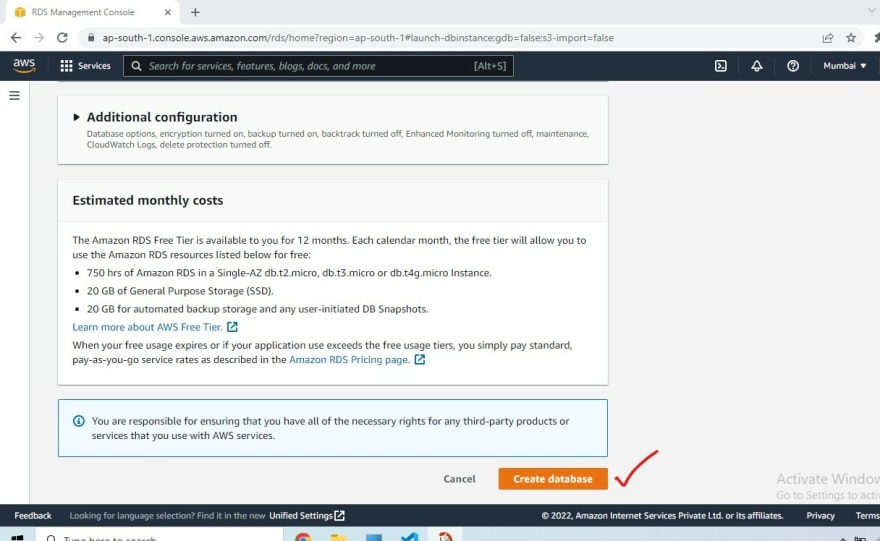
- Leave all other default options and hit on "Create database" at the bottom
- Database creation would take up to 10 mins. The status would be changed to available once its provisioned.

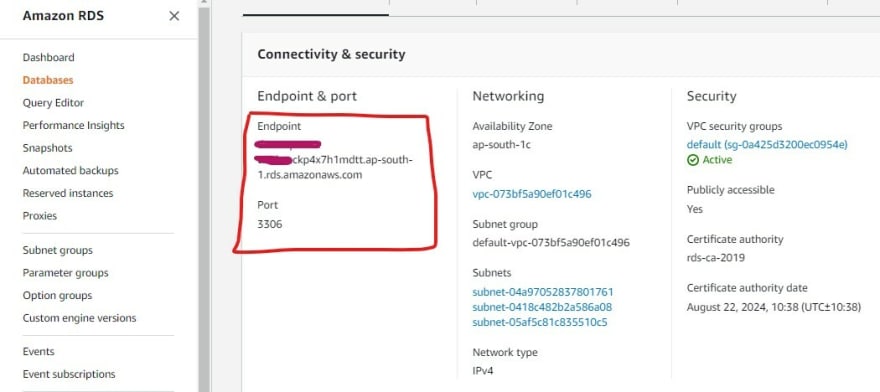
- Once database is created, you will see database related details such as Endpoint & port, network, security etc.
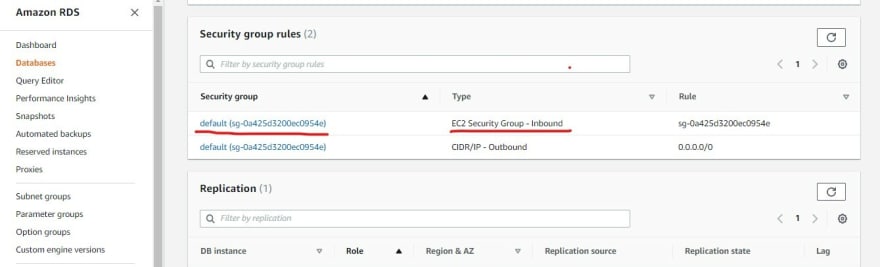
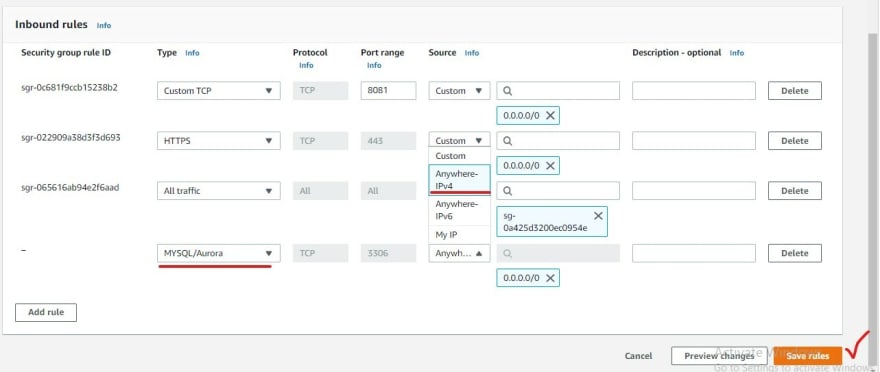
- Your database is not yet available to connect publicly. the Security group needs to have a rule to allow database to be accessed over the internet. Using "Security group rules", add following mentioned inbound rules to your database endpoint.

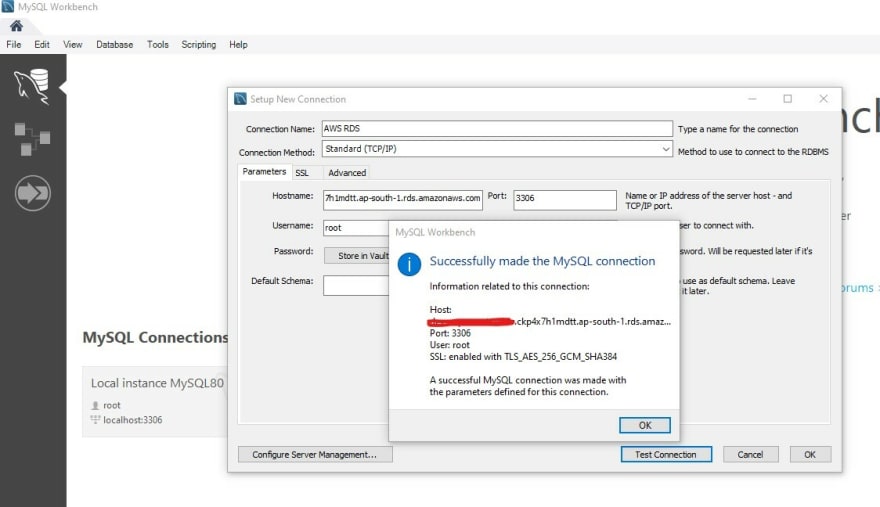
You are now ready to test your database connections!
In this case, Open MySQL Workbench and test the connection using the database Endpoint, port, username and password given at the time of provisioning. Yoohooo! It's all ready to be used by your application now!

Top comments (0)