Contents:
- Introduction
- Connecting Raspberry Pi
- Installing the Libraries
- The Code
- Analysing Data
- Conclusion
- Resources
Introduction
 |
|---|
The plants are like all the other living organisms, they take care of themselves and sometimes dry while unable to help themselves. Someone external has to look after those like a gardener does. This project is built using Raspberry Pi which acts as a Gardener.
The device collects the sensor value from all the inputs and updates the row of database-groot.csv file for every 30 seconds. Alternatively, runs the motions detection code for every 2 seconds, any motion identified will be emailed to the authorised person. All the data is logged to to the file named database-groot.csv and is emailed for every hour and also when the execution is stopped.
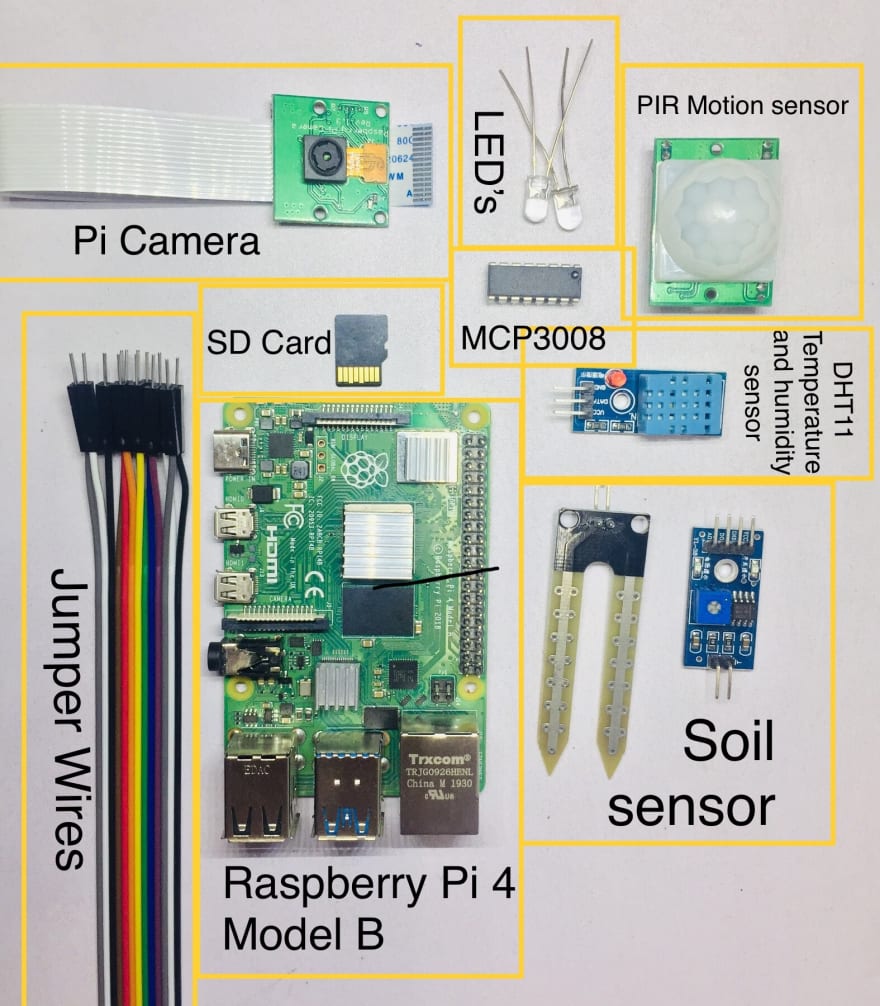
Hardware Components:
 |
|---|
- Raspberry Pi
- Pi Camera
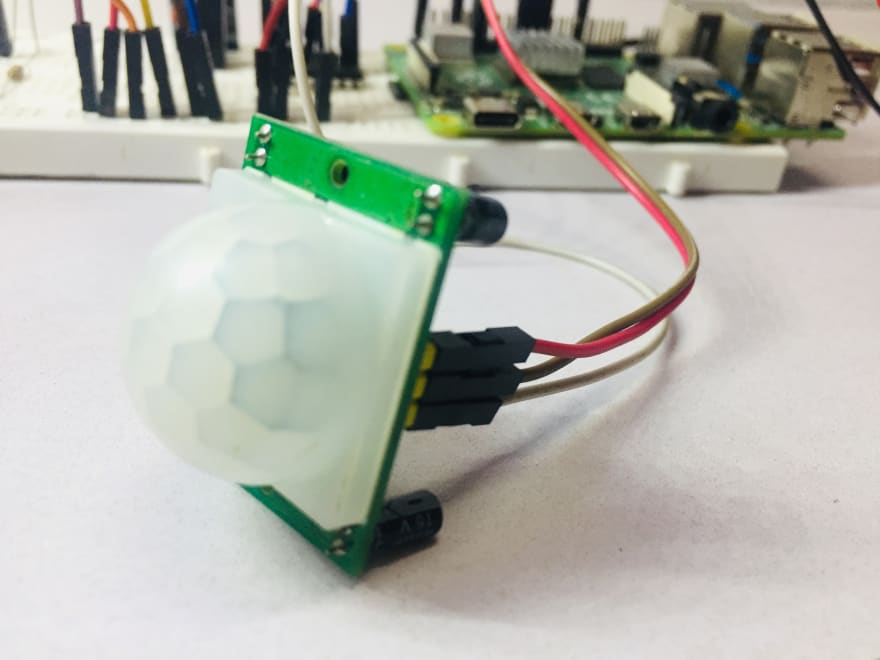
- PIR Motion Sensor
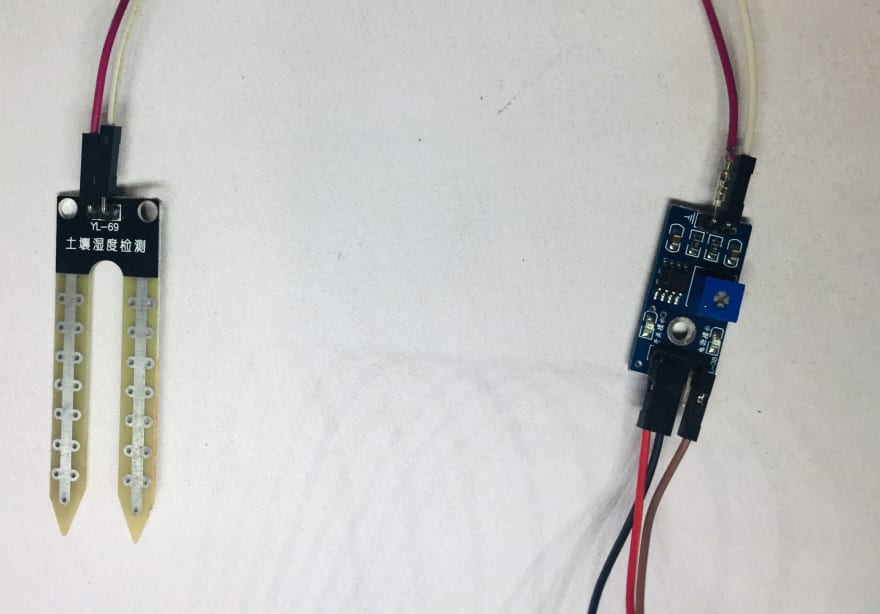
- Soil Moisture Sensor
- LDR
- DHT11 Temperature and Humidity Sensor
- Breadboard
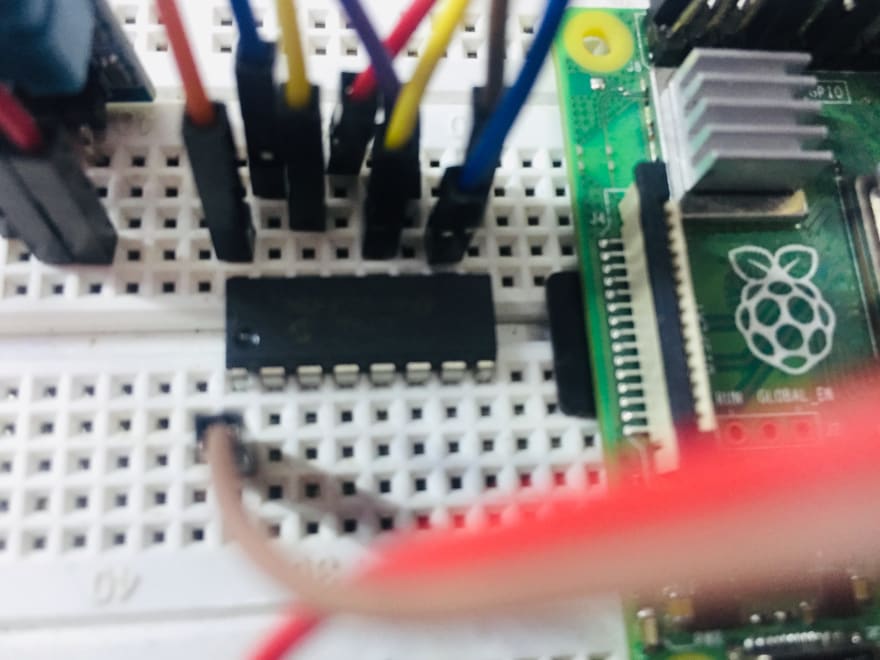
- MCP3008
- LED's (Red, Blue are used here)
- Jumper wires
Software and Applications:
- Raspbian Buster OS
- Bitvise SSh Client
- VNC Viewer
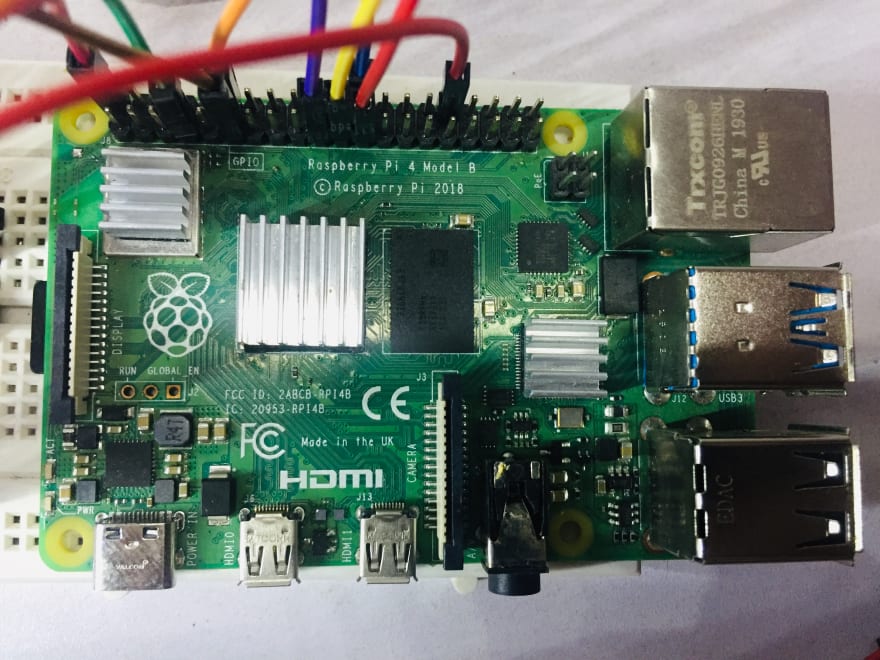
Connecting Raspberry Pi
 |
|---|
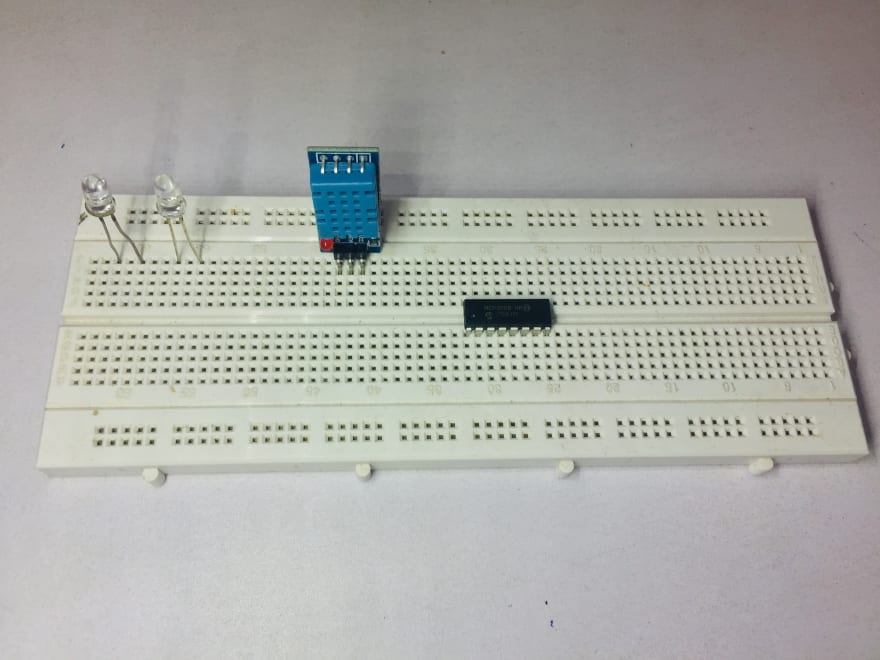
The Circuit Connections:
- Moisture Sensor
- Center pin connected to channel-0 of MCP3008 IC
- One side pin to VCC(+3V)
- Other side pin to GND
- Temperature & Humidity
- DATA pin connectedd to Raspberry-pi pin 4 in BCM mode
- VCC pin connected to +3V
- GND pin connected to GND
- PIR
- DATA pin connected to pin 17 of Raspberry-pi in BCM mode
- VCC pin connected to +5V
- GND pin connected to GND
- LDR
- DATA pin connected to channel-1 of MCP3008
- VCC pin cconnected to +3V
- GND pin connected to GND
- MCP3008
- MCP3008 DGND to GND
- MCP3008 CS to RPI4 8
- MCP3008 DIN to RPI4 10
- MCP3008 DOUT to RPI4 9
- MCP3008 CLK to RPI4 11
- MCP3008 AGND to GND
- MCP3008 VREFF to +3V
- MCP3008 VCC to +3
 |
 |
 |
|---|---|---|
 |
 |
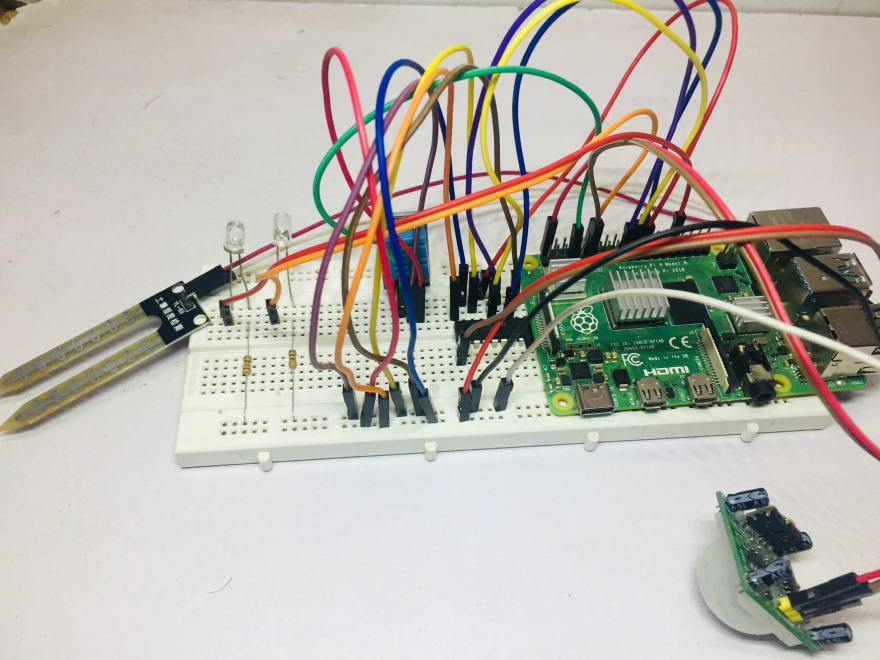 |
Make the necessary connections from the circuit diagram, power up the pi. Here I've connected the raspberry through wi-fi network and opened it through VNC-Viewer.
Login to Raspberry-pi using ssh or through monitor. If you want to learn how to set up your pi click here. Assuming you have logged into the Raspberry
Open the terminal and dowload this repository, alternatively follow
sudo apt-get install updates
sudo apt-get install full-upgrade
git clone https://github.com/Ikarthikmb/gardener-groot
You should be able to see the folder gardener-groot in the home.
Installing the Libraries
1. Adafruit MCP3008
This library is for setting up the IC MCP3008.
To install from the source on Github connect to a terminal on the Raspberry Pi and run the following commands:
sudo apt-get install build-essential python-dev python-smbus git
cd ~
git clone https://github.com/adafruit/Adafruit_Python_MCP3008.git
cd Adafruit_Python_MCP3008
sudo python setup.py install
If you see an error go back and carefully check all the previous commands were run, and that they didn't fail with an error.
2. Adafruit Python DHT Sensor Library
Using this library you can read the analog values of Temperature and Pressure into your Raspberry Pi. In terminal
sudo pip install Adafruit_DHT
3. smptlib
This library installs the required packages to send and receive the mails. To install
pip install secure-smtplib
4. Pi Camera
The Picamera library is prebuilt but it is not activated. In order to turn it on
sudo raspi-config
In the Menubox go to Interfacing --> Camera and then select Yes and save. If this is the first time you are turning the camera ON, it is recommended to reboot the Pi.
The Code
 |
 |
|---|---|
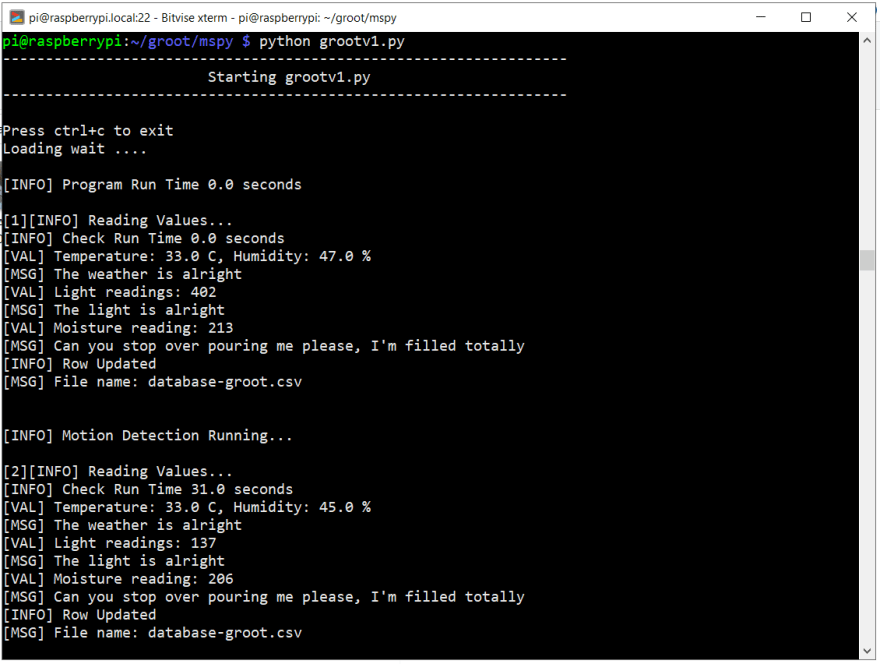
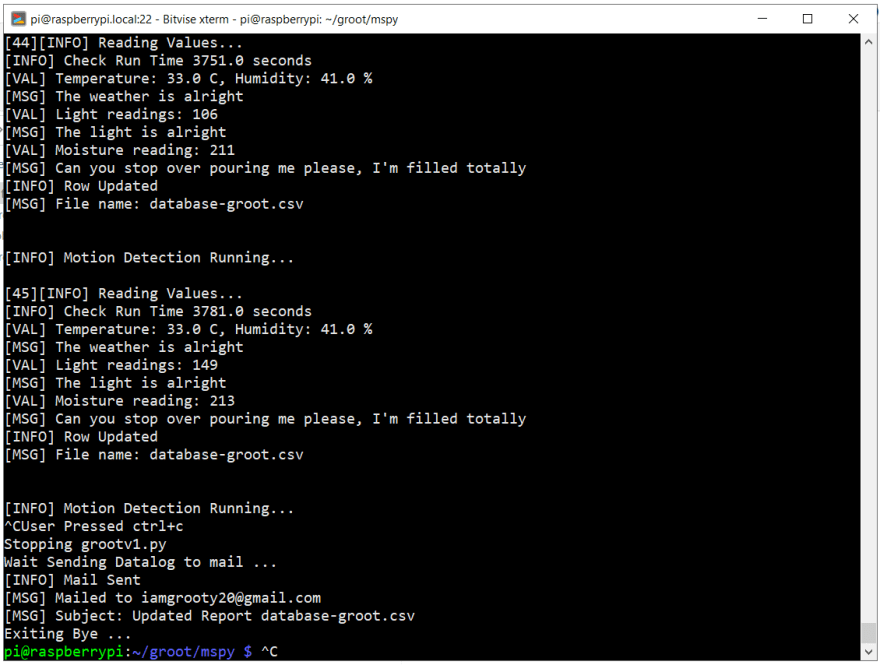
Running the code file grootv1.py
|
End of the output |
Now to run the code open the terminal go through the following steps:
cd gardener-groot
python grootv1.py
You shoud abe able to see the code started, displaying the readings of the sensors. Try touching to plant to test whether the device is cable to capture it. The one problem we faced here is that the the device captures the image for the detected motion even though the plant is not harmed externally.
 |
 |
|---|---|
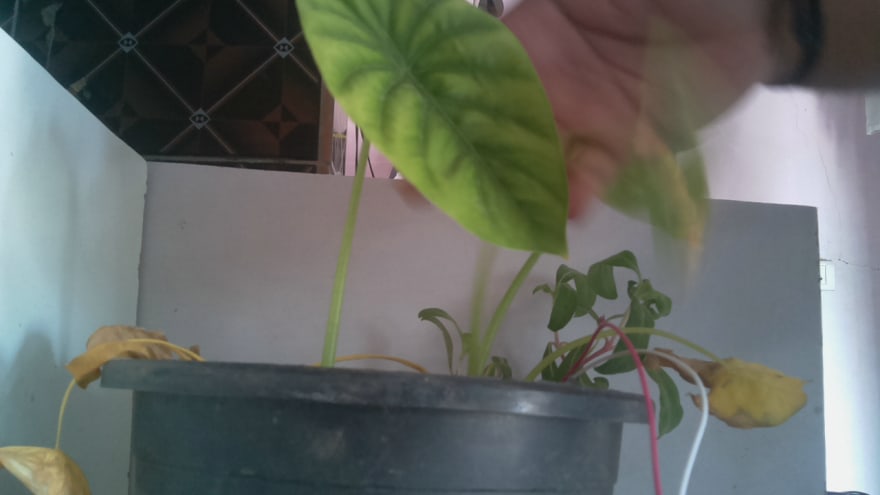
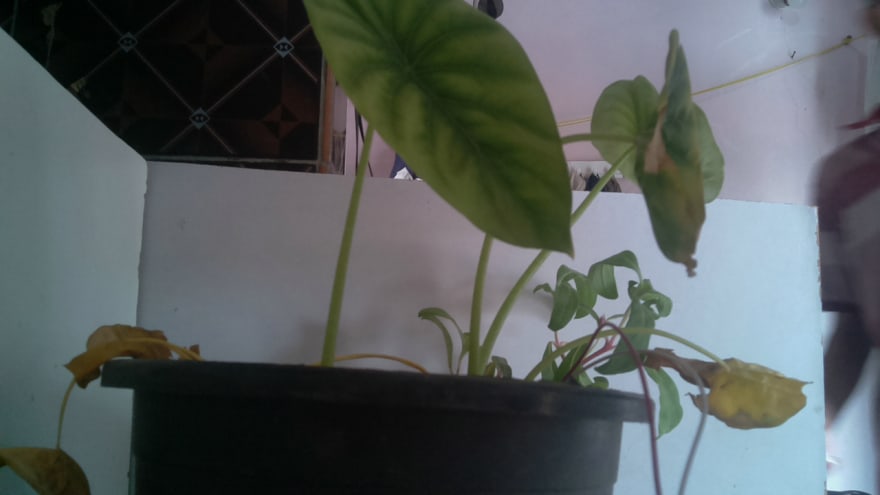
| Image showing a person touching the plant | Image captured when motion is been detected but not harming the plant |
For detailed log for the day 19 April 2020 click here.
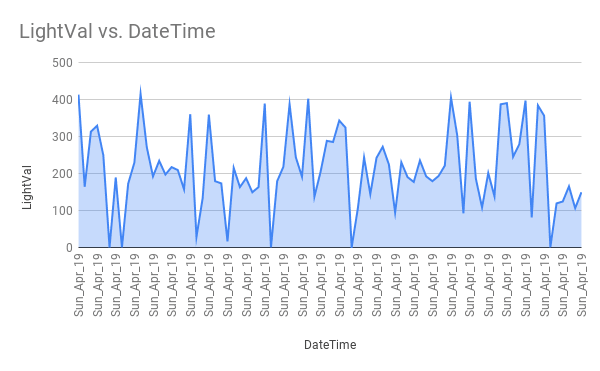
Analysing Data
 |
|---|
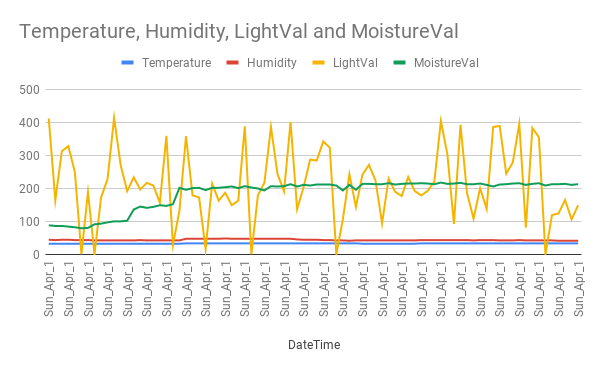
| A relation between Temperature, Humidity, LightVal and MoistureVal with respect to time |
The detailed log of the readings from the Raspberry is sent to the respective email at the end of the code, also it is automatically sent to email for every one hour(Can be customised).
Here in this stage one can apply programming knowledge to analyse and get the results like the waveform and grahs. To make it simpler I used google spreadsheets to analyse and depict a graph for the values obtained. You can take a look oh how the google spreadsheets have given such beautiful layouts.
 |
 |
|---|---|
 |
 |
Conclusion
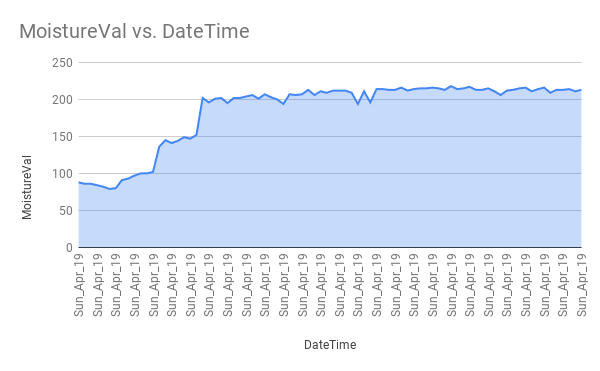
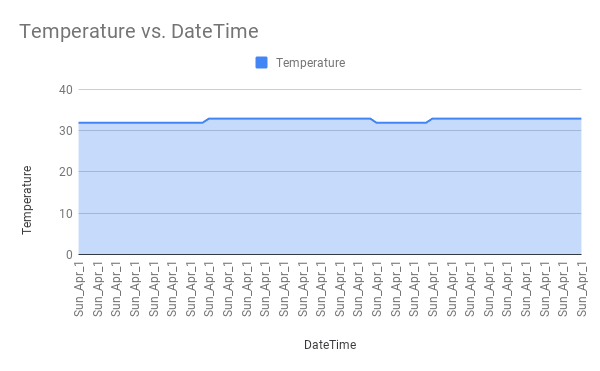
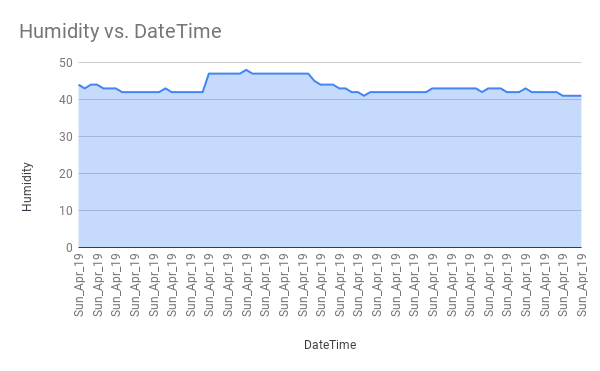
After analysing the data it is observed that the moisture in the soil is perfectly alright, the sunlight is varying from high to low which means the light is not properly available to the plant. The temperature is too high for such a plant to survive which means I have to shift the location of the plant immediately to a better place. With the constant high temperature of 32 C the humidity has been decreasing slightly and reached a minimum of 41 percentage.
The final statement is that the location where I'm staying isn't suitable for any plant to grow, infact for me too so, I'm leaving now in search for a better house where myself along with my pot can stay healthy.
Resources:
- Website - Gardener Groot
- Setting up the Raspberry Pi 4
- Wiring and working with MCP3008
- Connecting the Pi camera to Raspberry Pi
- Measuring soil moisture using Raspberry Pi
- How to Set Up the DHT11 Humidity Sensor on the Raspberry Pi
- Graph of Temperature, Humidity, LightVal and MoistureVal
- Youtube - Demo on Gardener-Groot | A Raspberry Pi project

Top comments (0)