Everyone loves cats, right? They are adorable fluffy little beings that enjoy smashing things and not obeying anyone. Well, in this series we'll make an assumption that suddenly they will listen to all commands given the magical phrase, display: flex;. "Understanding Flexbox with Cats" will use the analogy of cats and boxes to teach concepts like the CSS box model, flexbox positioning, and provide some valuable tips on the use of containers. Please keep in mind that this series assumes that a reader already has some basic understanding of HTML and CSS.
In part one, we will mainly focus on a reader's thorough understanding of how flexbox positioning works with multiple containers. This part is for two types of people: those who never truly understood flexbox and those who love reading how someone can creatively use an analogy when connecting two seemingly unrelated things.

"Flexbox with Cats" Contests
-
Part 1: Flexbox basics
- Beginner-friendly introduction to CSS's box model and positioning of divs
- Part 2: Think in "boxes"
- An article describing how to recognize containers("divs") when working with a provided design and how to implement the desired positioning.
- Part 3: Advanced Flexbox and CSS
- Covering everything from using flexbox in order to make a website responsive all the way to how to create your own designs. We'll also get to look at real-world implementations of everything learned throughout this series.
Introduction to "Cats and Boxes"
Let's imagine a situation where suddenly you found yourself being responsible for three little kittens. As you see your apartment slowly turning into a disordered mess due to those tiny energized cats walking all over the place—and scratching on surfaces they shouldn't be scratching—you slowly begin to panic. What's a possible solution to all this chaos? 🤔
If you thought about trying to limit cats' space, you were correct! Just like in real life, we first have to set up a box(also known as a <div> element) before putting any cats(representation for any content, like images, text, lists, etc) into it. It would not make sense to first put kittens on the ground and then add a box on top of them, so try to avoid doing that when using flexbox too!
Setting up a Default Box
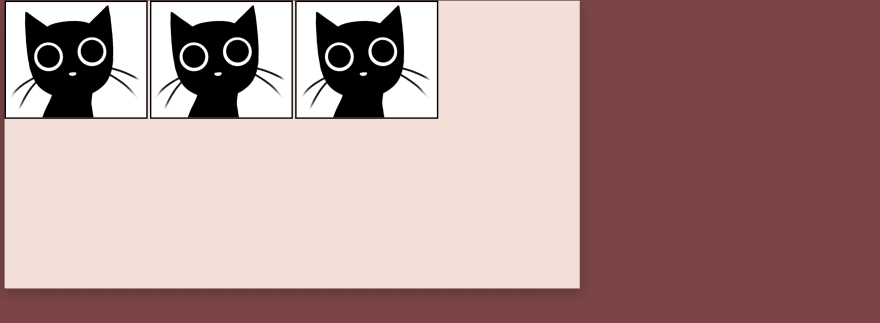
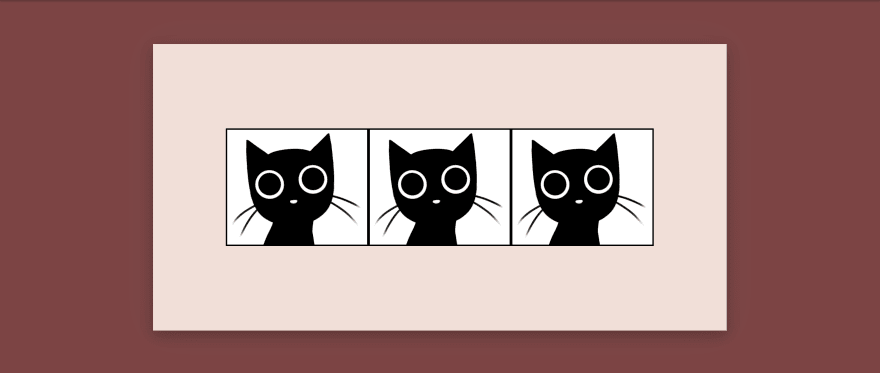
Keeping that in mind, lets set up our HTML. Right now it is important to notice that cats(3 images) were already placed in a box(div with a class of cat-box). You might wonder why are they all gathered in one place, well, it's time to introduce some kitten logic!
You see— as their default behavior, cats love to cuddle. Especially considering that those kittens are in an unfamiliar environment where they were just placed seconds ago after ruining an entire apartment. They're not sure how to act, so they would just always stay close next to each other in the top left corner, warming each other up and feeling safe.
Introducing Flexbox
Cats generally consider themselves to be of high esteem, so in order for them to obey, we'll have to give a command of display: flex; to the box kittens are in. Someone might wonder, "why not give it to every single cat individually instead?" Well, this is because the box holds higher authority over cats due to restricting the space they can move in! And cats — being proud aristocrats — only listen to higher authority. Nothing will happen if you'll try to add display: flex; to any of the cat images; they're very stubborn (More on the why later, it is related to thinking outside of the box! pun intended)
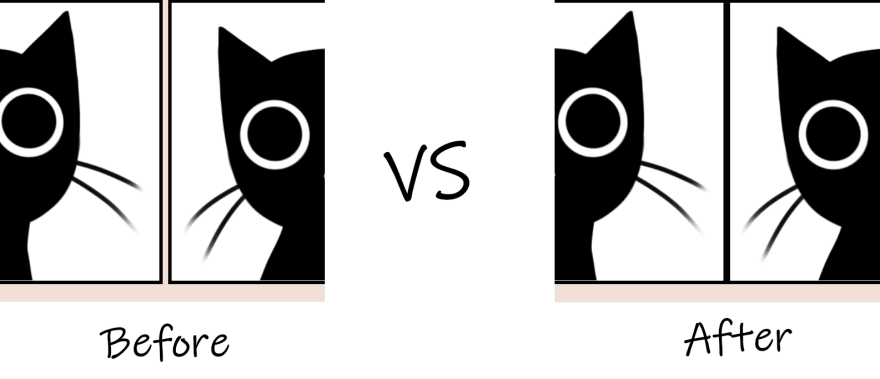
What display flex will do is tell cat images to position themselves in a row and start listening to other commands. As you just thought, they were originally positioned in a row, so the only difference that will be noticed is a lack of space between pictures.
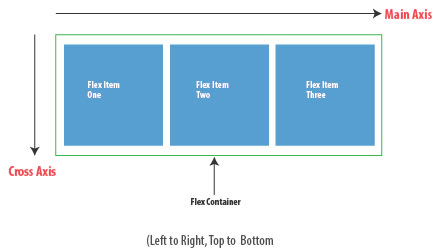
Now, let's pretend that a perfectionist friend comes over to your apartment, and wants to align all kittens and the box according to the center of that room. There are two directions we'll have to align them in: horizontal(main axis) and vertical(cross axis). Here's a well-done visual representation of the axis:
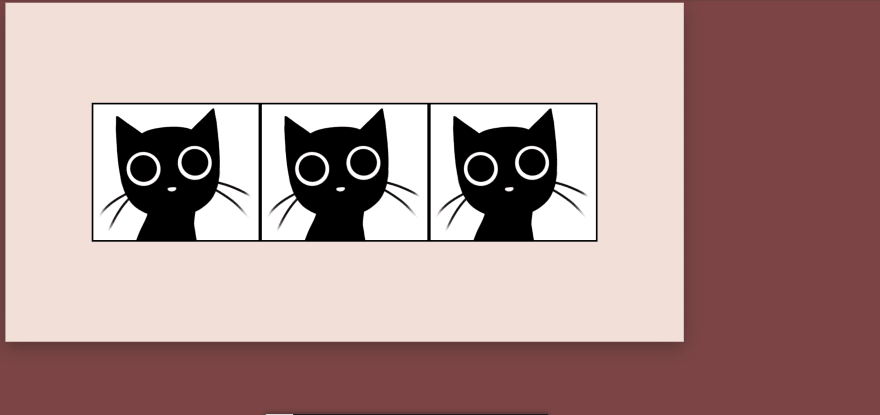
First, let's align them according to y-axis by attaching align-items: center; to the .cat-box. Then, let's also position them correctly on x-axis by adding justify-content: center;
At this point, these CSS properties were added to .cat-box:
  display: flex;
  align-items: center;
  justify-content: center;
As you have probably noticed, even though cats are now aligned centrally, the box holding them is still not where it needs to be. The perfectionist friend gets upset and, not trusting you anymore with such an "important" responsibility, starts to mess with cat positioning himself.
Here's what he gets by trying to align all containers on the body of CSS by attaching the same properties we just attached to .cat-box
What he doesn't yet realize is that all furniture and other items like Nintendo Switch and MacBook Pro were suddenly centered in the apartment too, which is definitely an unwanted behavior! It is generally considered a bad practice to attach flexbox properties to the body.
So in order to align both kittens and the box to the center of our screens, we'll have to create another <div> with a class of .outer-container and wrap it around the existing content. Why do we need that? Let's dive deeper into why by breaking down an example!
Take a look at this dev.to component that can be found on their main page. On the right side is a demonstration of how many containers(boxes) are currently used to make it work. Notice how they're nested — meaning inside each other. Light color that looks similar to a highlighter is there to portray inner padding of each container.
All flexbox manipulations are always one layer deep, meaning it only affects closest child boxes. For example, the purple container can only manipulate three inner containers but not any <h> or <a> elements inside of them. Whereas the the dark blue container has an ability to do something with it's anchors by attaching flexbox into itself(notice that display: flex would be attached to the container when you want to manipulate elements inside of it).
If you haven't noticed the pattern yet: we wanted to align kittens => gave a command to their closest outer box; desired to manipulate that same box => created a container outside of it that wraps the whole content. You would not be able to control cats from the .outer-container. Thus, try to remember a phrase think outside of the box since if you want to manipulate certain elements, you need to find the closest outer container in order to assign flexbox properties to it.
Keeping that in mind, the reason why all anchors in a dark blue container are positioned in a column is because they were given a flexbox property of flex-direction: column; through inheriting it from their purple parent container. Take a look at what happens to this dev.to component if flexbox direction is changed to row on the purple container. Can you still recognize the same boxes without lines and highlights? 😉
Going back to the visual example with cats, it now supposed to make sense why we need an extra wrapping container: otherwise there's no way to control the box that holds the cats. All there's left to do is add an extra <div> on HTML, give it a class, declare flexbox central positioning and add a limited size on that class. There are ways of making a container change it's size according to the stretching and squishing of content inside of it but we'll be diving into it more in Part 2 and 3 of this series. You're free to take a look at the finished code on this CodePen:
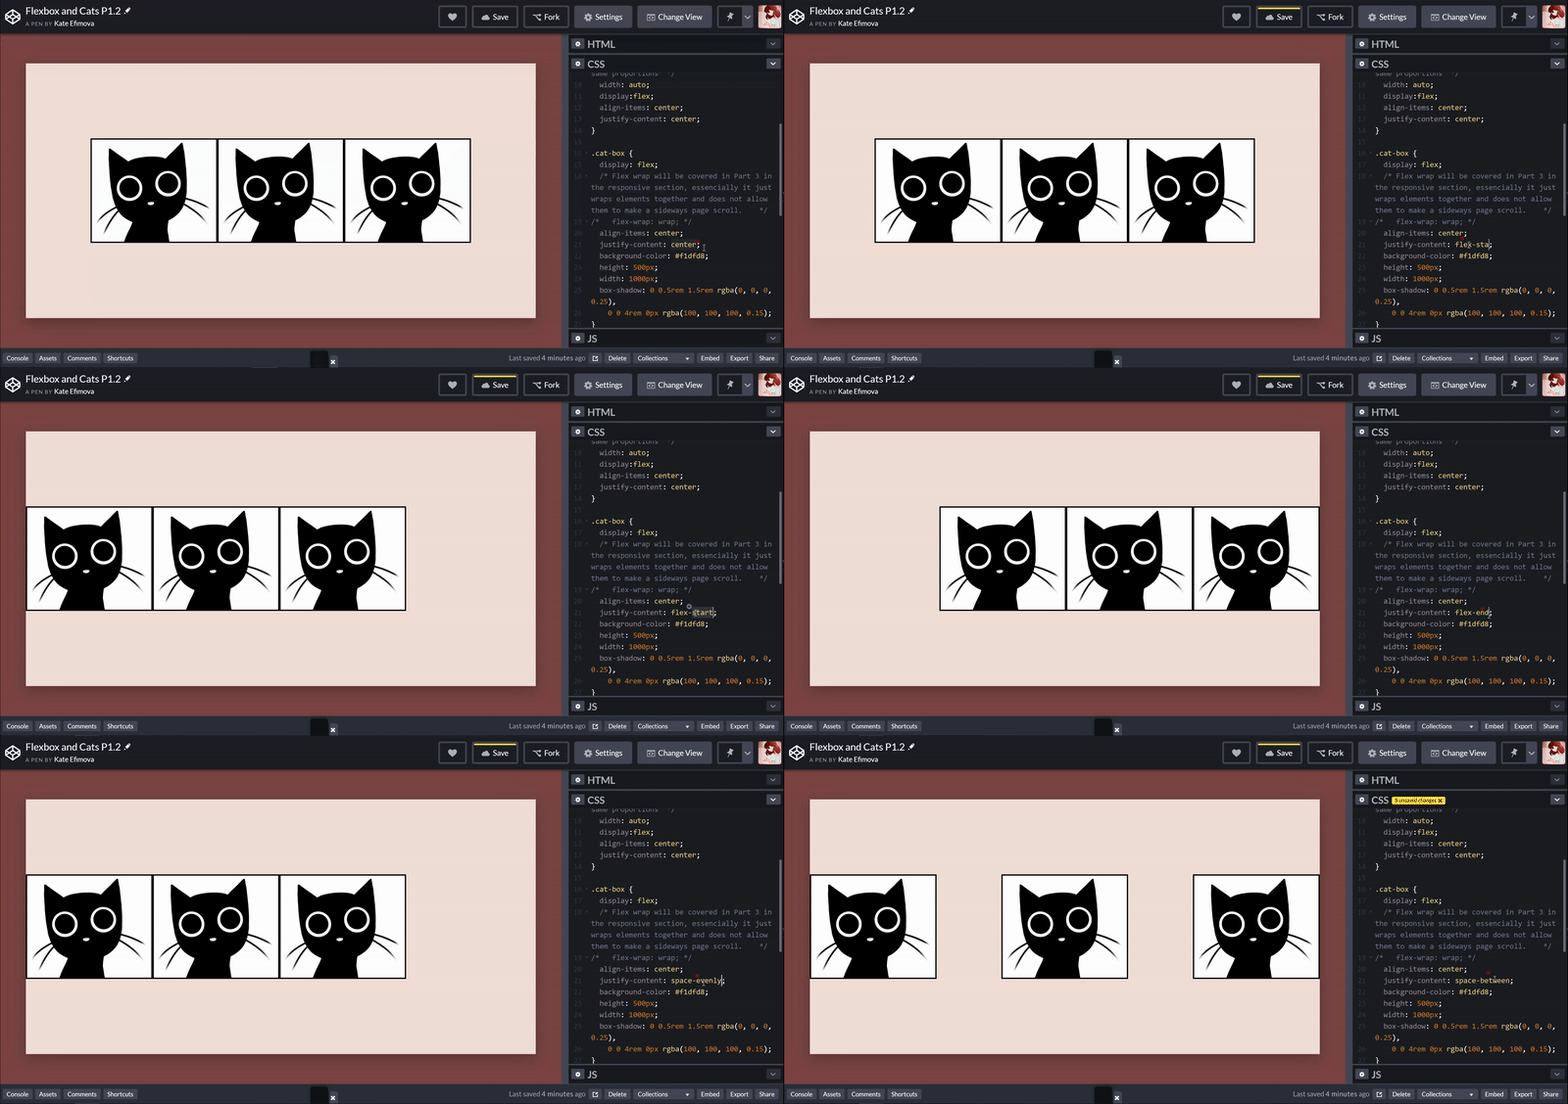
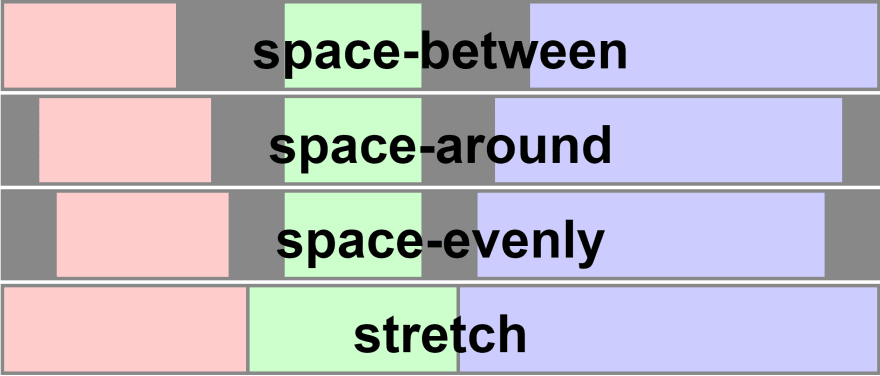
We can have some fun playing with various others justify-content, here's a visual representation of how it changes things using this gif:
Conclusion
Hopefully an analogy of using cats and boxes helped you to grasp concepts of flexbox better. All terminology was on purpose simplified to focus solely on the importance of understanding. In addition, I'd love to hear your thoughts on Part 1: what did go well as well as what could have been done better? Do keep in mind that it is my first ever article written! Here's a repository with markdown of this article, you're welcome to create any and all pull requests!
https://github.com/kefimochi/Flexbox-with-cats/blob/master/Part%201/Basics.md







Top comments (21)
I ain't even gonna lie, I clicked here because of cats but I stayed because of the content.
Is the cat dead or alive or both?
Kate - You'll never guess what article my phone recommended I read.. This very one. Congrats and I miss talking to you today. Great article! Jamie G.
Haha, glad you're still interested in programming and reading articles on the Dev! 😊 Did you decide to spend some time learning development on your own and then come back to Lambda or something different?
I enjoy reading your work and am excited to see where you land. Definitely doing some work on my own now and then will see what happens later. I used to work in Sunnyvale...in 1999 with an internet startup! I miss the area!
Thanks for the great post. I have a question: in the axis diagram. Shouldn't one axis be labeled with
flex-direction: row?Lol, you're absolutely right! I'll find a better one in a second! :D
Thanks, but ummm... No I don't understand the diagram anymore. 😂😂😂
What's "main" and "cross" or is that "flexbox-speak" I didn't get?
Sorry! Changed it again :) Main axis is similar to x-axis while cross axis represents y-axis
Hello Kate ,I just want to ask how can I use this flex box property for 120 flip-cards distributed amongst 20 rows,when I am using
''' display:flex'''
property it is aligning in one straight row ,instead of distributing amongst different row.
I wanted to cover it in the part 2 of this series :) There are various ways to do it that include setting left and right padding on individual cards(lets say there's a class
.cardsand all cards inside it have a class of.card), so on every.card. You can also set a certain limiting width inside of.cards(or do something likewidth: 100%; height: auto; padding: 5em;)Very well explained, my only criticism is that there isn't a part two yet.
Nice work!
Haha, I'll try to compose and finish it in about 2 weeks :)
Love this a lot! 😁 You've made learning about Flexbox be fun and enjoyable. Really amazed at how you used Kittens as the analogy hehe those stubborn cats XD Can't wait for the next part
Great work Kate!👍 Keep writing 😊
love the way you explain the concept👍.
Nice concept 😸
Nice post 👌
Awesome article! Cats make it fun to read. Waiting for more! :D
This instantly clicks with me. Given the assumptions stated upfront, everything that follows fits into a coherent, easily digested learning session. Keep it up Kate!
I see cats, I like!