
Okay, you have just finished to develop your Node.js backend, but now what? It’s time to make it live, so that you can use it in a real project.
In this guide I’ll show you step-by-step how to deploy your Node.js server so that you can make it accessible through the Internet.
This post has been written in collaboration with Edvaldo Gjonikaj.
Creating an EC2 instance
In order to deploy our application, we first need a computer that is gonna run it. There are several options for this, but we’re going to choose AWS EC2, a popular service that allows users to rent virtual machines to run their applications on.
First of all, you need to have an AWS account. If you don’t have one, you can create one here. If you have just signed up, you’ll have a one year free tier that allows you to try out many services, including EC2!
Great, now that you have an AWS account you’re ready to create an EC2 instance, which is basically a virtual machine in the cloud for running applications on AWS infrastructure.
In order to create it, follow these steps:
Go to your AWS console and look for the EC2 service (type it in the searchbar or look through the list of services)
-
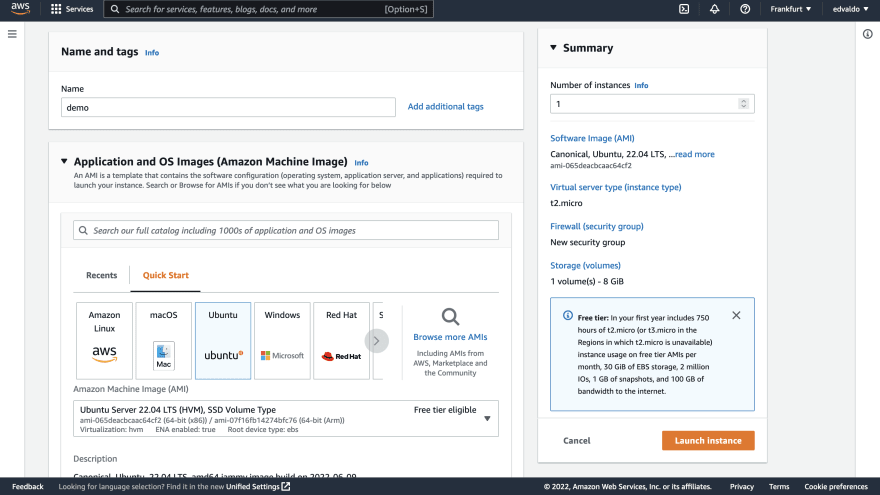
Create a new instance

-
Choose a name for your instance and select the type of operating system that is gonna have. I prefer to use ubuntu, which is a pretty common choice (note: the commands that this guide we’ll cover will only be valid for UNIX like operating systems).
-
Make sure to allow HTTP and HTTPs traffic. This will expose ports 80 and 443 to the Internet so that our instance can receive HTTP requests.

-
You now need to create a key pair (or select an existing one if you already have it), which is a sort of secret password that we can use to prove our identity when connecting to our instance. Make sure to download the key and store it in a secure location on your device. We’re gonna need this later.

You can leave all the other settings as default and click on “Launch instance” to start it.
That’s it! You now have a virtual machine up and running where you can deploy your Node.js server on.
Connecting to the EC2 instance
In order to interact with our instance we need first to connect to it. We’re going to do this using SSH, a protocol that allows us to connect securely to a remote computer.
In order to connect into our instance with SSH we need to specify three things:
-
a public DNS name or IP address of the instance we want to connect to. Our instance has been automatically given a public IPv4 address, which we can find on the instance summary page

the private key that we have previously downloaded, needed to prove our identity
the username of the user that we want to connect with. In Ubuntu, there is a default “ubuntu” user that we can use.
Alright, we first need to change access permissions for our private key file:
chmod 400 <path_to_your_key>
And then we can connect to our instance with SSH by running this command:
ssh ubuntu@<public_IP> -i <path_to_your_key>
You should now be connected to your instance. You are basically inside a remote computer where you can hack around and do stuff like you do on your personal device.
Installing Node.js
To run a Node.js server, we need of course to have Node.js installed on our machine.
It’s pretty simple, you can do it by running the following commands:
sudo apt-get update

sudo apt install nodejs npm
To check everything went well, run node -v and npm -v and you should get the versions that have been installed.
Cloning the repository
The next step is to clone the repository containing your Node.js server code so that we can execute it. Git should be already installed in the machine, but you can double-check by running git --version and run sudo apt install git if it’s not.
If you want to clone a private repository you need to authenticate yourself by using an ssh key or a personal access token.
For this guide, we’re going to use a public repo so that we don’t need to login. It is a simple Node.js hello world that runs on port 3000.
To clone the repo:
git clone https://github.com/johnpapa/node-hello
Then install dependencies:
cd node-hello

npm install
Setup nginx
In order to make our Node.js server accessible through the Internet we’re going to use nginx as a reverse proxy.
Basically our Node.js server will run on a port that won’t be exposed to the Internet (like 3000). Then we’re going to setup nginx to listen to HTTP requests on port 80 (which we have exposed to the Internet when creating our instance) and redirect the incoming traffic to our Node.js server, which will be responsible for handling those requests and generating the response.
You may be wondering why we don’t directly run Node.js on port 80 and forget about nginx. There are several reasons to choose nginx:
- it’s more performant and can handle a high volume of traffic
- it enables us to scale better if we need it further on
- it makes it easier to setup SSL
- it simplifies privilege handling and port assignment
Alright, now that we know what we’re doing, let’s set it up. First of all, install nginx:
sudo apt install nginx
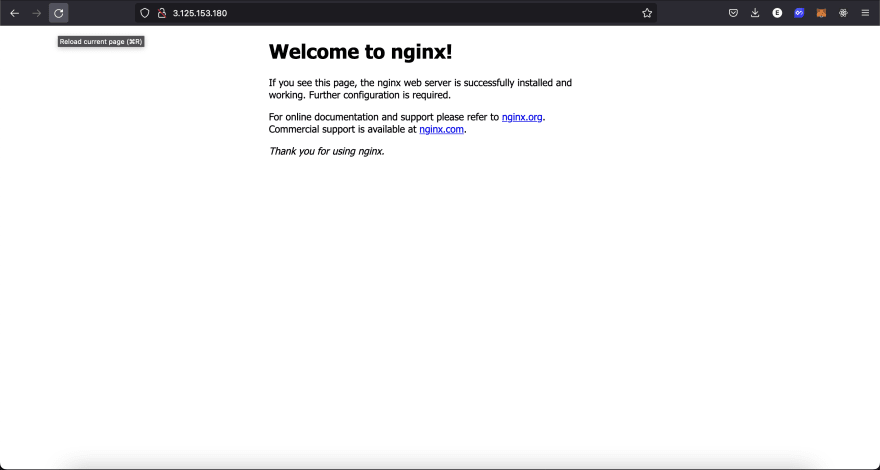
If you now type the public IP of your instance in a browser you should see nginx landing page, confirming that nginx is correctly installed.
To set up the reverse proxy, create a new file configuration file:
sudo touch /etc/nginx/sites-enabled/<you_app_name>.conf
Now write the following configuration, where we’re basically telling nginx to listen on port 80 and redirect all the incoming traffic to port 3000, which is where our Node.js server will be running.
sudo nano /etc/nginx/sites-enabled/<you_app_name>.conf

# write this:
server {
    listen 80 default_server;
    listen [::]:80 default_server;

    server_name <your_domain>;

    location / {
        proxy_set_header Host $host;
                proxy_set_header X-Real-IP $remote_addr;
                proxy_pass http://localhost:3000;
    }
}
If you don’t have a domain pointing to your IPv4 address, then you can simply put the IP address itself as the server_name. But keep in mind that if you want to set up SSL you’re going to need a domain (you can always edit this configuration later).
Also, remove the default configuration file in order to avoid any collisions with the new configuration:
sudo rm -rf /etc/nginx/sites-enabled/default
Finally, restart nginx in order for the changes to take place:
sudo systemctl reload nginx
Running the Node.js server
Great, so now nginx is working and redirecting traffic to our Node server. But our Node server is actually nor running yet, so this is what we need to do know.
We usually start a Node server by running npm start, but the problem with doing this is that it will stop as soon as we close the terminal. Also, if some error occurs and the app crashes, it won’t restart automatically.
That’s why we’re going to use pm2, a process manager that will help us keep our server always running.
To install pm2:
sudo install pm2 -g
Then go to the Node app directory and start the server with pm2:
cd node-hello

sudo pm2 start "npm start"
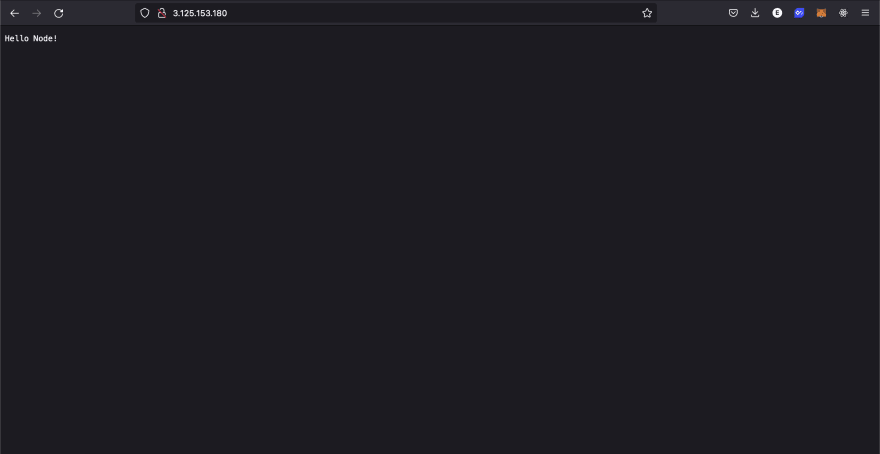
That’s it! If you now navigate to the IP address of your instance you should see a response coming from our Node.js server.
To make sure that pm2 automatically runs when the server restarts run:
sudo pm2 startup
Setup SSL
The last step is to setup SSL so that we can make the connection to our server secure.
To enable SSL on our server we need to create an SSL certificate and install it on our server. A certificate is basically a key-pair that can be used to establish an encrypted connection.
You’re going to need a domain for this, since an SSL certificate is tied to a domain name, and not to an IP address. To setup your domain go to your domain provider console and create an A record in your DNS configuration pointing to the public IP of your instance.
If you navigate to your domain using HTTP you should now see the response from your server. Also make sure to set server_name as your domain in you nginx configuration file, if you haven’t done it before.
To set up SSL, we’re going to use certbot, a tool that helps us to generate free SSL certificates using Let's Encrypt.
First, install certbot:
sudo apt-get install certbot python3-certbot-nginx
Then, generate an SSL certificate for the domain you have assigned to your server. You’ll need to respond to some prompts from certbot.
sudo certbot --nginx -d <your_domain_name>
Nginx will automatically reload with the new settings and will now be listening on port 443.
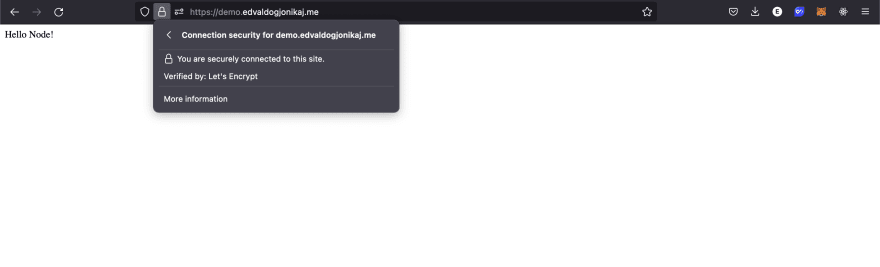
Done! You can now navigate to your domain with HTTPs and you should see that a secure connection is established.
Conclusion
We’re done! That was quite a bit of work, but our node server is now live and everyone can send requests to it.
I think that knowing to deploy a server from scratch is a very valuable skill for a web developer. Learning to do it has helped me to understand many concepts and I now have a much more clear idea of how things work behind the scenes. Hope this guide was useful to you as well.

Top comments (0)