
Hi guys! How are you? I wanted to do a post about how to create a frontend and fetch data from a backend made it with node js and express.
When I started as a web developer I didn’t understand how that works. I was really lost. I knew that something called the “back-end” was connected with the front-end to give him data, but I didn’t know how it worked.
After a lot of hours invested in learning, I finally understand that now. But, I know that there are a lot of people struggling with that, so I decided to make this simple tutorial.
Making the front-end
Okay, if you are a front-end dev, I think you know how to do this, but, to make this tutorial more complete, I’m going to start with it.
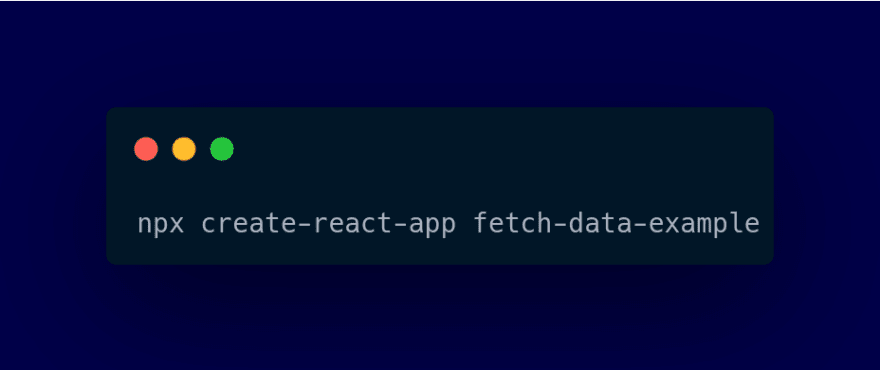
To start just use create-react-app.
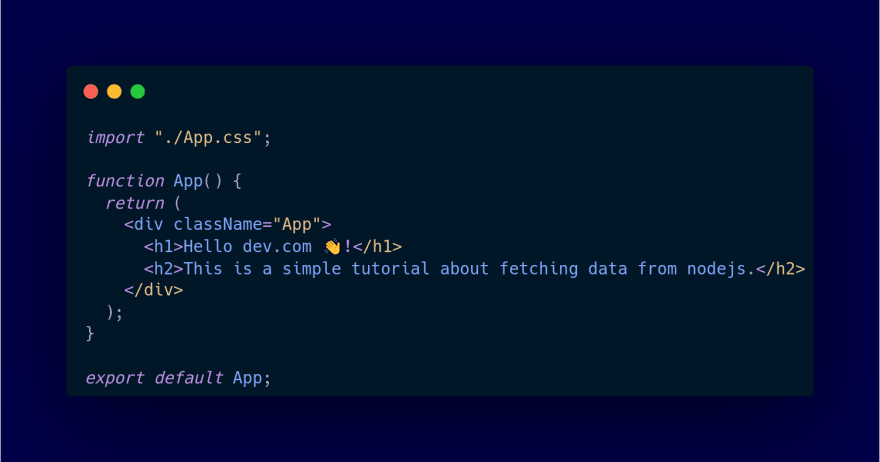
We delete everything on the App.js file and we add this
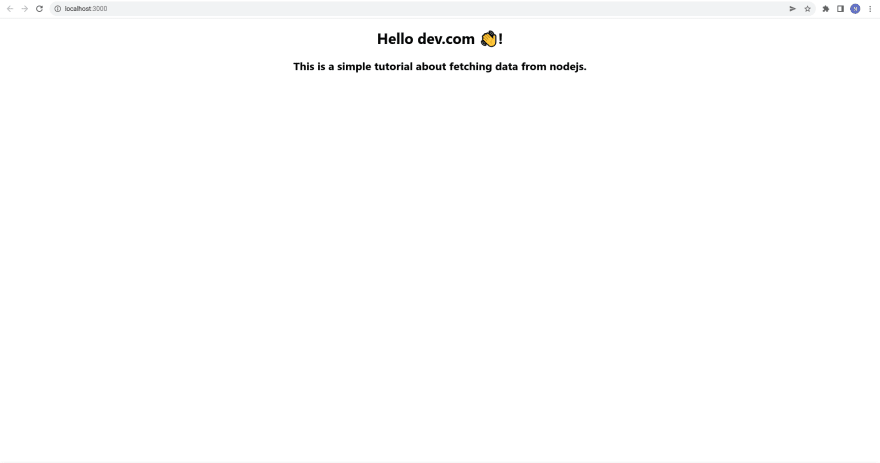
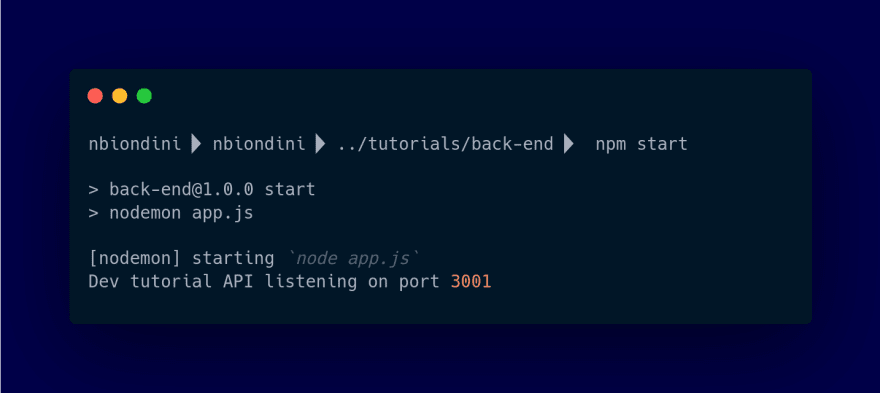
We start the app with
npm start
And on the localhost:3000 we are going to have this
Ok, we are going to let here the front-end and we are going to continue with the back-end.
Back-end with node js and Express

I’m going to explain to you what I did.
On the first line, I just go back to the main project folder. Then I list the folders inside of it. As you can see the only folder there it’s “fetch-data-example”, which is the front-end folder.
Then I create a new directory called “back-end”.
After that, I move into that folder and I run “npm init -y” to create the package.json file.
Then I create an “app.js” file.
And finally, I use “code .” to open Visual Studio Code and start coding.
Before we start, we need to install some libraries.
We are going to install express which is a framework for node js designed to build APIs and Web Apps.
We install it

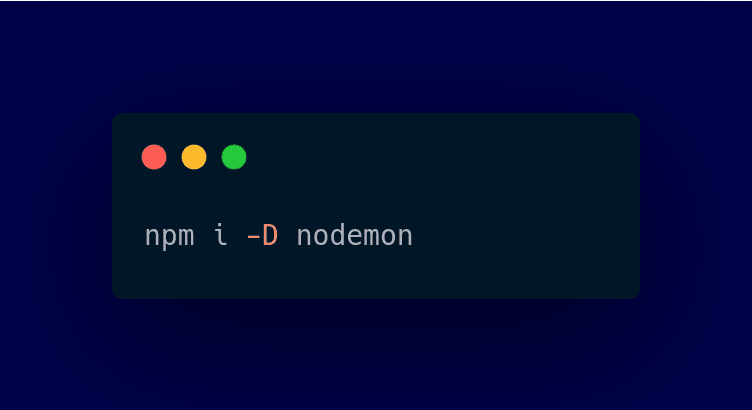
And we are going to install nodemon as a dev dependency (-D). Nodemon will watch the application and restart the server when we make some changes to the files.
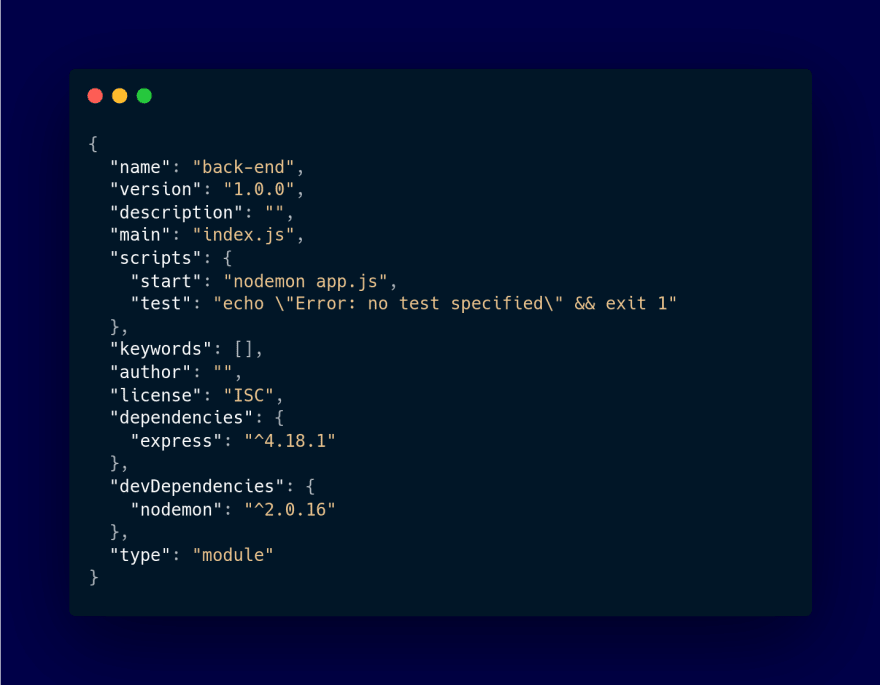
We are going to add a script to the package JSON to start our app on dev mode.
Also, I going to add the “type” property to use “ES modules”.
And this will be our package.json.
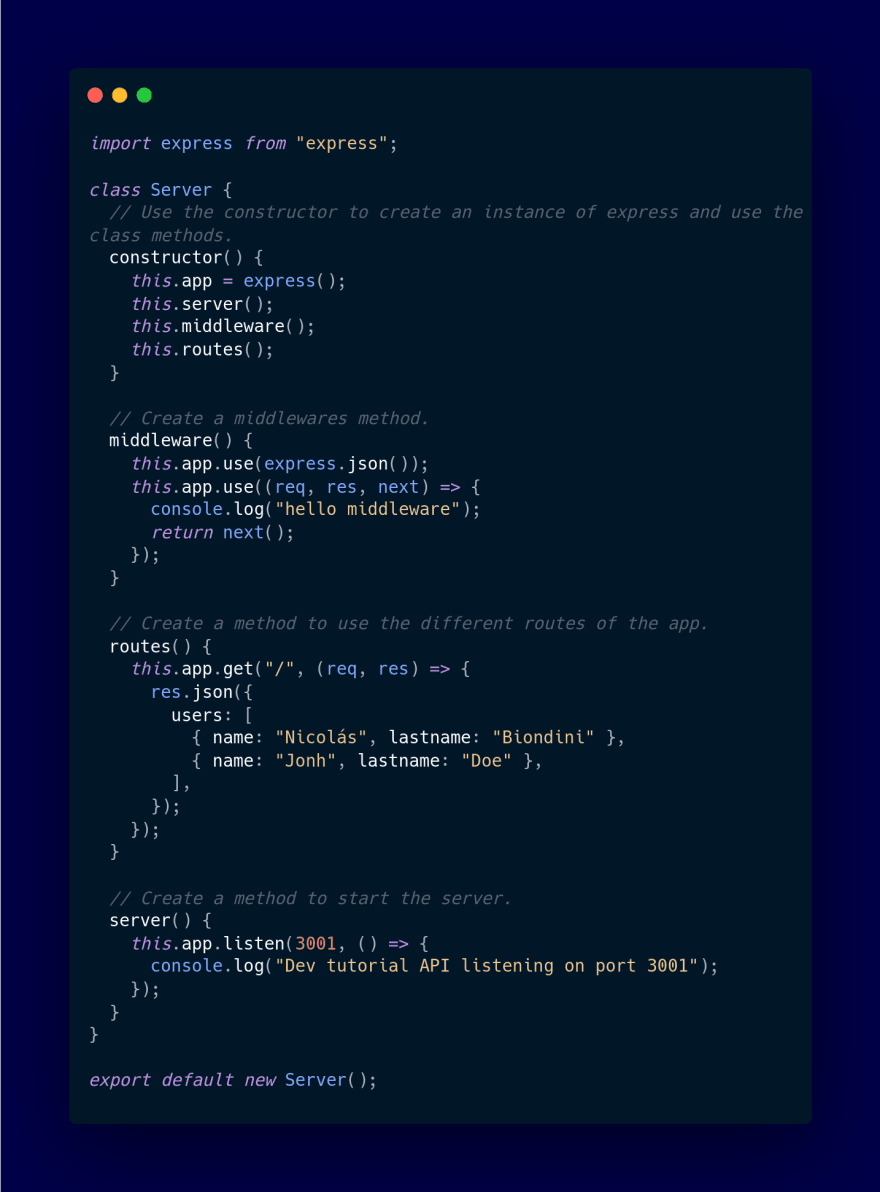
Now we are going to open the app.js file and we are going to add some things.
And our console will display
I know, that seems a lot but let me explain it.
First of all, we created a “Server” class. We use the constructor to use the express library and use the class methods. Then we define those methods.
The last method starts the server on port 3001 and displays the message in the console.
In the second one, we can add routes. In this example, I just going to add only one route (”/”) to keep it simple.
The routes refer to how an application’s endpoints (URIs) respond to client requests.
In this example, our only route is “/” and uses the “GET” method. There are a lot of methods like POST, PUT, DELETE, etc (you can see the Express Documentation for more information).
The get method receives 2 main properties. The “path” or URI (in this case it’s “/”) and a callback function. This callback function also receives 2 arguments, the “Request” (req) and the “Response” (res).
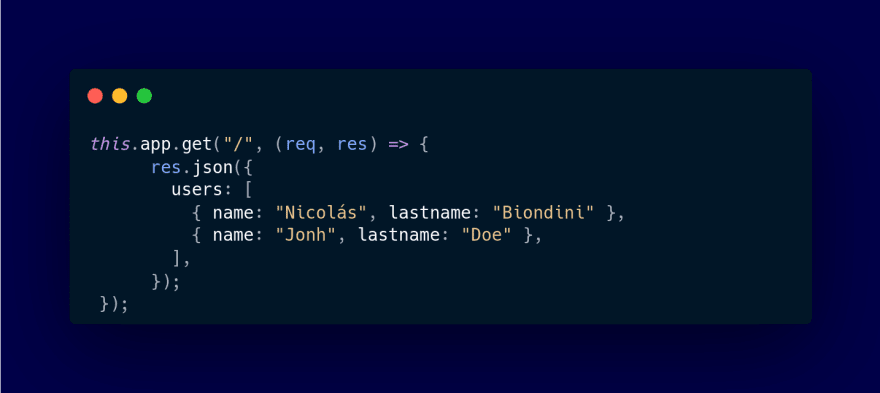
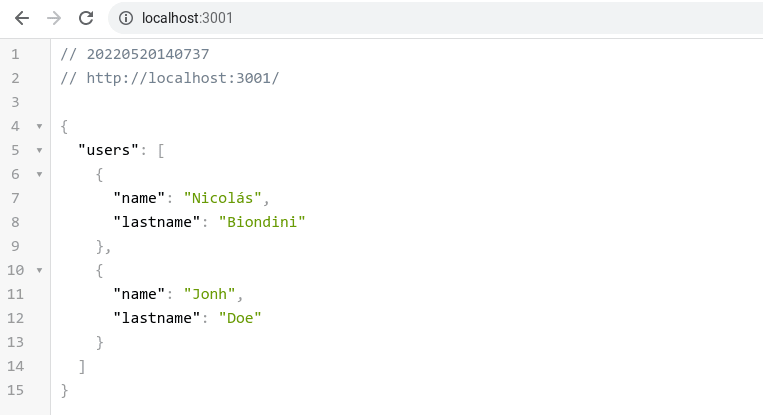
The Request has all the information from who sent the request petition (the front-end). The Response’s the way to respond with data to who sent the request petition. In this example, we send to the front-end a JSON with some information. What we send it’s an object with a property of “users” who has an array of users.
So, if we look at localhost:3001 we can see this
Congrats!🎉 We have our back-end working, but you still need to know the last concept: the middleware.
If you remember, we have 2 middlewares on our “middleware” method
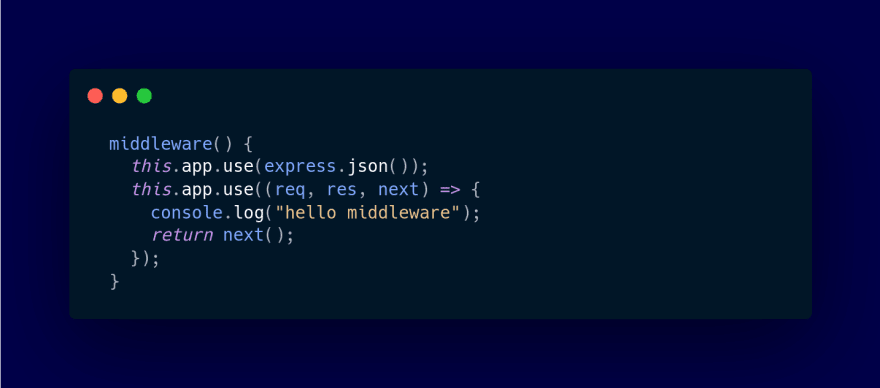
So, what’s middleware? A middleware is just a function that’s executed before the routes. It has 3 arguments: Request, Response, and next.
The first 2 are the same as those of the routes. The new one is “next”. Next is a function whose work it’s to pass to the next middleware or, if there is no one else, finally to the route. If we use middlewares and we don’t use the “next” function, the app will be blocked and won't return anything.
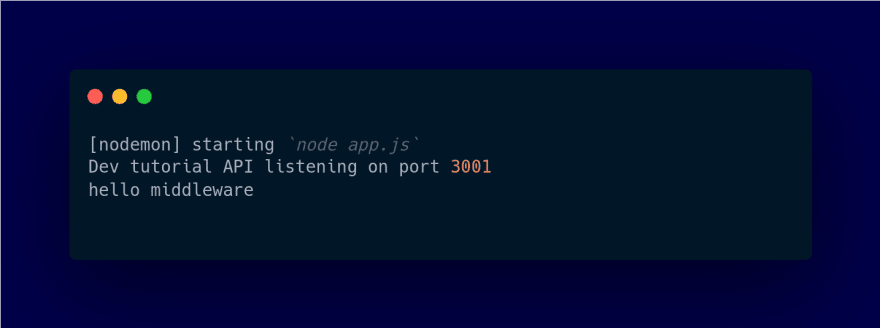
In this example, I write a simple middleware that just made a console log, so every time that we made a request to the server, on the console we will see this
So, congrats! You have your first back-end app made it with node js and express.
Front-end part 2
Now that we have our API ready and working on port 3001 and our front-end ready on port 3000 we can start.
On the App.js file, we are going to import useState and useEffect from react.
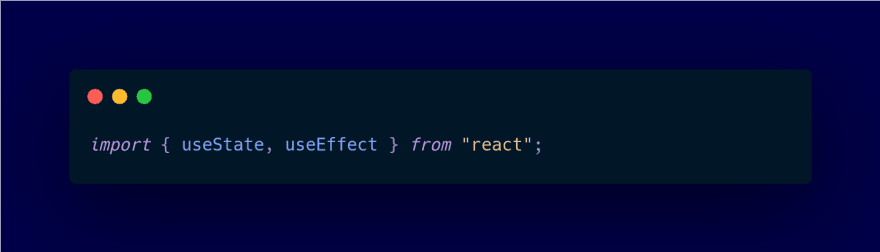
Then we will use “useEffect” and fetch to fetch the data from our API
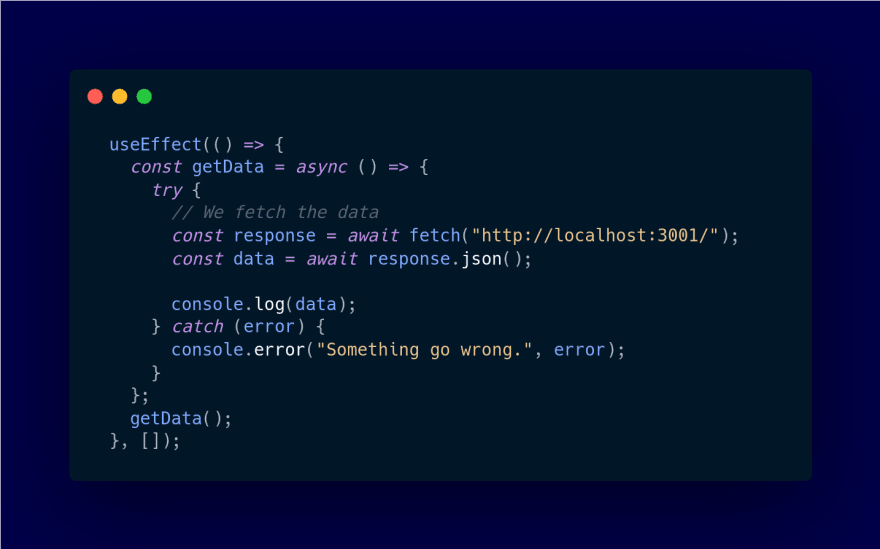
Every time that the page load is going to trigger the “getData” function who is an async function. This function it’s going to fetch the data, parse it and show it with a console.log.
But WAIT!, we don’t receive any data, we have an error.
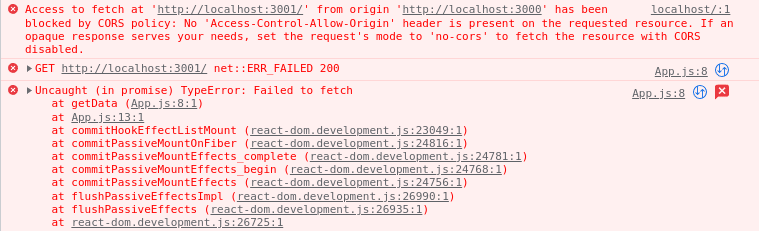
That happened because we forgot to add the cors into the back-end. CORS is an internet protocol.
You can learn more about CORS here.
We have to come back to the back-end
Do you remember the middlewares? Well, we have to add one more: the CORS.
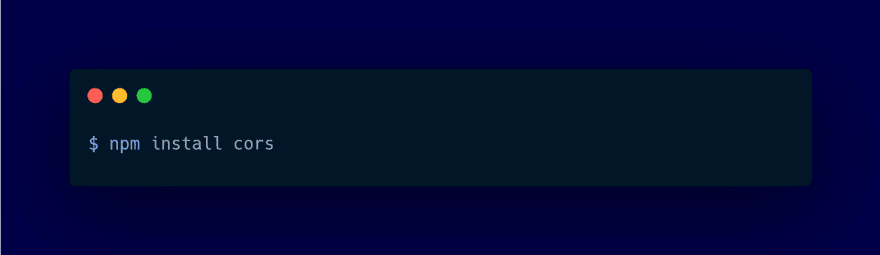
Luckily for us, we have a node js library for that.
In our back-end project, we install this
And now our back-end will look like

Front-end again
Now if we look at the console of our front-end project

We finally connect our back-end with our front-end! 🎉
Now we have to display the users on the front-end.
To do that we are going to use “useState”
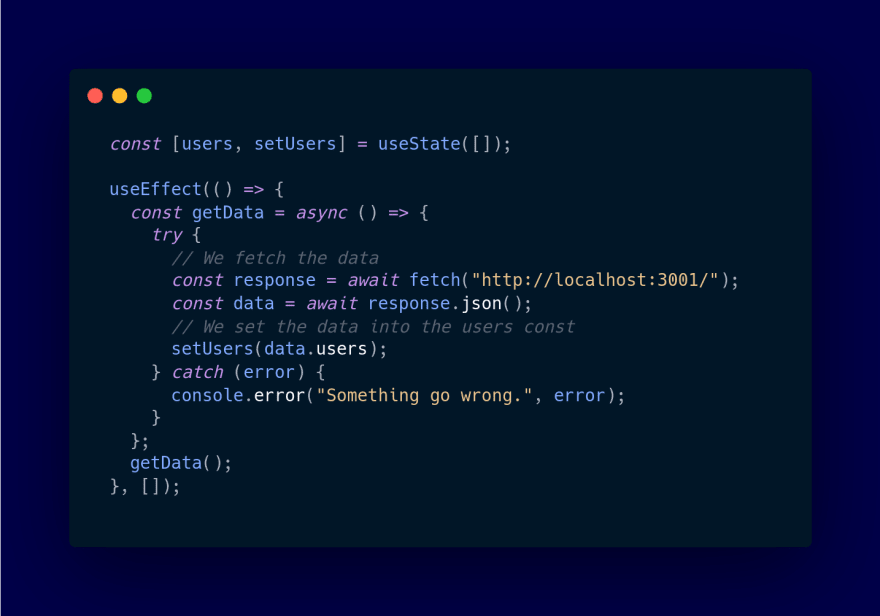
And now we display the data

Our App.js component will be like this
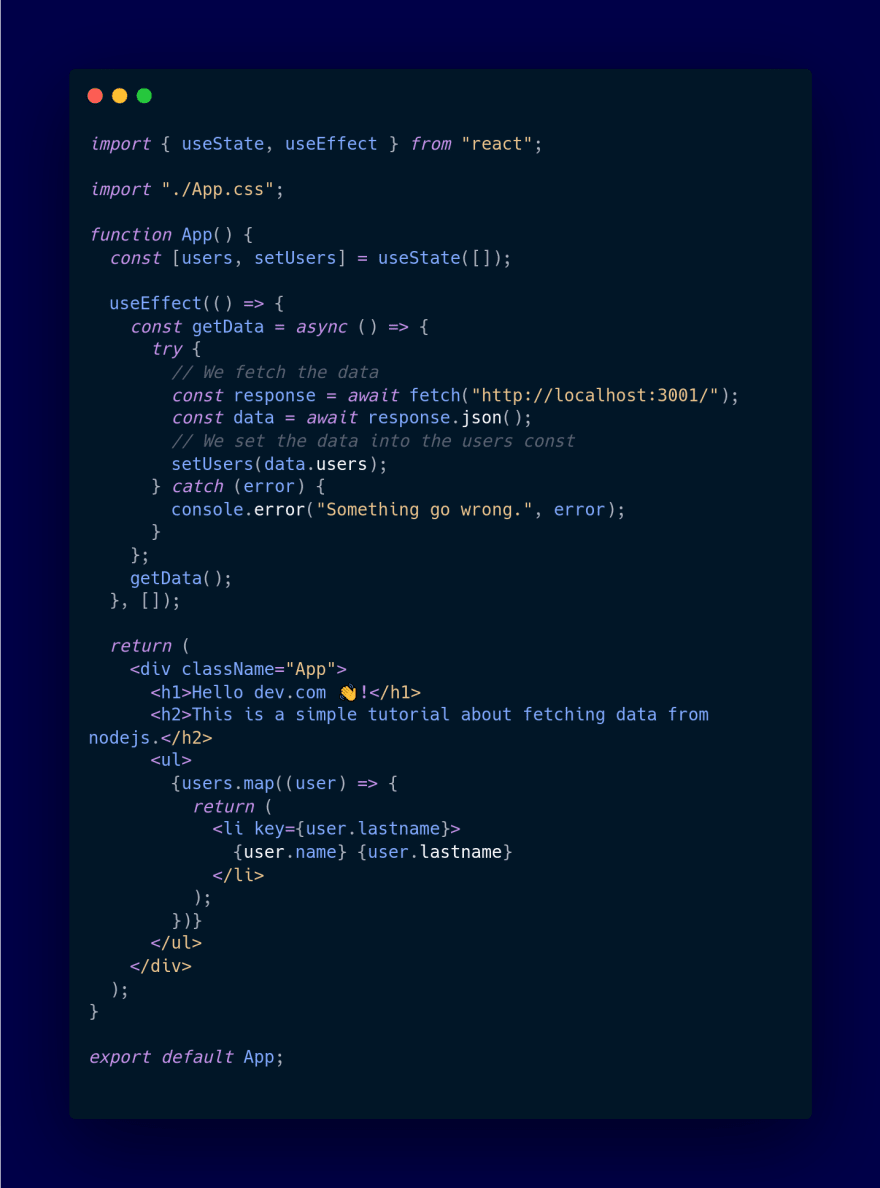
And our web
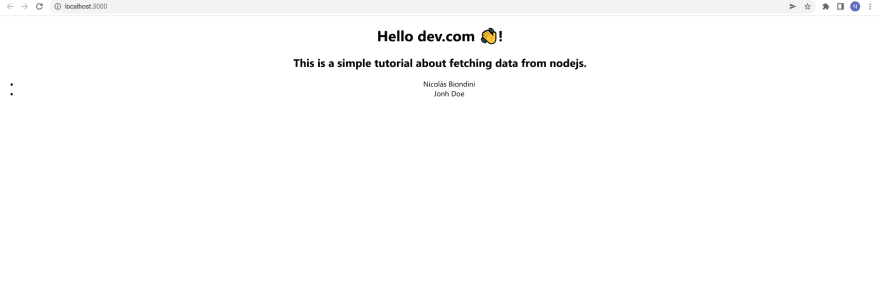
We did it! 🎉💪🎉
That’s it friends! I hope it helps you!
I leave here the front-end repository and the back-end repository.
Thank you so much for reading this post.
Let me know in the comment section if you want to see a tutorial with a DB and deploy this app with docker, docker-compose, and AWS.

Top comments (0)