

Today, we are going to a look at deploying a Python-based Web App from GitHub to Azure.

Prerequisites:
An Azure Account with eligible access to create resources,
Familiarity with Web Apps,
GitHub Account with at least one Python-based Web-App (Django/Flask/Bottle) repo,
Basic Knowledge of Git.
Step 1: Create an app service on Azure
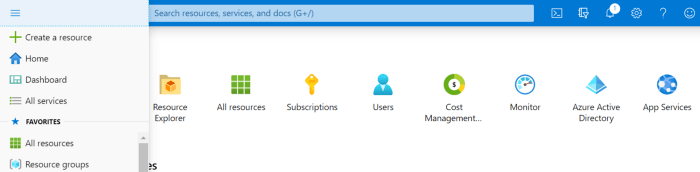
Go to portal.azure.com and sign in(or signup if you don’t have one). Click on “Create a resource” from the left sidebar.
Microsoft Azure Homepage
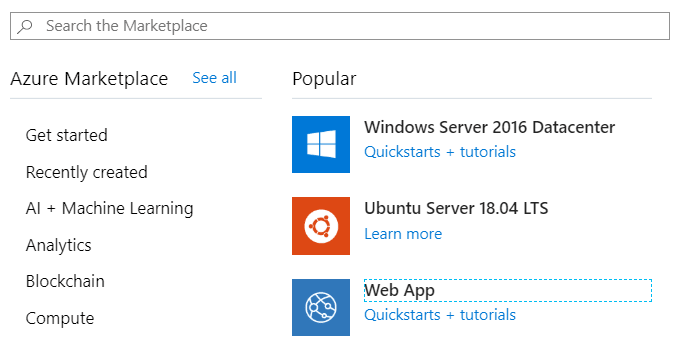
Search for “Web App” and click on it.
And fill out the details as shown below and as per your account settings ( Note: You might get charged for some of the resources you create while replicating this tutorial).
Azure App Service Creation Widget Menu
Subscription: Existing Subscription name(in my case it’s ”Pay-As-You-Go”).
Resource Group: Create new and name it (in my case it’s ”TestRG”
which is already an existing resource group).
Name: App Name of your choice (in my case it’s ”AzureKonfHub”).
Publish: Choose ‘Code’.
Runtime stack: Pick ‘Python 3.8'.
Operating System: Pick ‘Linux’
Region: Pick ‘Central US’ or any other region where the F1 App Service Plan tier is available.
App Service Plan::
Linux Plan(Central US): Create a new plan (in my case it’s already existing/you might have to create a new one.)
SKU and size: Free F1 (1 GB memory) [Pick this size]
Hit Review and Create and after the validation, hit Create button. It might take a while to deploy the needed resources by Azure.
Step 2: Configuring Deployment settings of App Service
Once the deployment process is complete, you could see the previously created App Service in your Azure Dashboards All Resources tab.
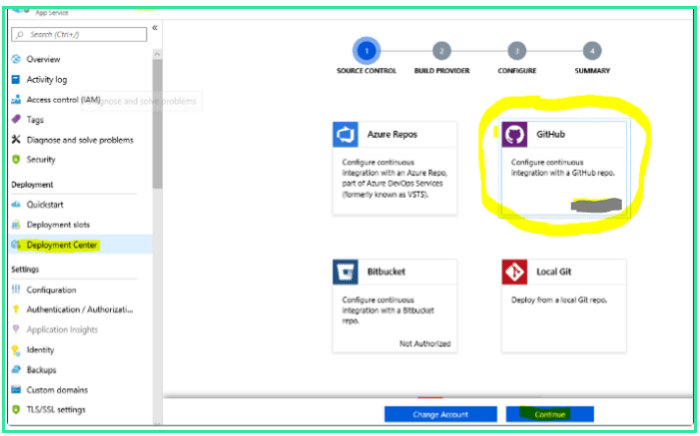
Click on that resource and go to the deployment center in resource sidebar.
Select Github as the Source Control Provider. If you haven’t Authorized Github from Azure, it will open up a new window by asking you to authorize.

Azure — GitHub CI/CD Authorization
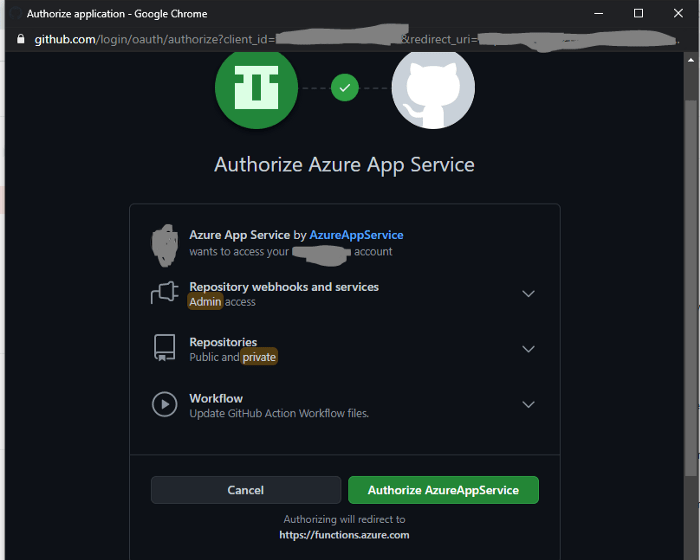
GitHub Authorization by Azure App Service
Hit Authorize by providing your Github Credentials and hit ‘Authorize/Approve’.
Azure CI/CD- GitHub
Upon closing of GitHub Authorization, you can see the ‘Continue’ option in Azure like in the above image. After that, you will be taken to select Build Provider widget.
Select ‘Kudu’ as your build provider and hit ‘Continue’ again.

Azure App Service Build Provider
You will be taken to Configure Tab to select the respective repo in your GitHub account that you want to publish to Azure App Service.
Note: If you don’t have a Python-based Web App in your GitHub, fork it from here. And then, use that to deploy into Azure App Service.
Configuring the GitHub Repo in Azure App Service
And click ‘Continue’ and you will be taken to the final step of deployment configuration which is reviewing the Summary. You can see which repository is going to pushed to App Service in here.
Azure App Service Deployment Summary
Once, you’re okay with this, click on ‘Finish’ button. And within a few minutes, you can see your GitHub hosted Web App up and running in Azure App Service.
Check it at the URL given under App Service Resource like in the image below. It will be like “https://.azurewebsites.net”
Azure App Service Info
Access deployed Web-App on Azure App Service
The best part of this is you can, even more, optimize App Service Plans in Azure to make sure there are multiple deployment slots for different purposes. For example, there could be a production deployment slot and a staging deployment slot in the same App Service if configured effectively.
That’s how we can configure and deploy a python based web app from GitHub Repos to Azure within no time.
If you like this article, consider sharing it or gimme a clap or follow me for more such stuff!!!

Top comments (0)