In this tutorial, you’re going to learn how to get up and running with the Vue 3 project from scratch with step-by-step instructions.
Install node.js & npm package
The first step is to install Node.js & NPM (Node Package Manager) to your computer.
You can check to see if they’re already installed by going to the Terminal/Command prompt window in your computer and running a couple of commands.
To check the installed version of node js:
node -v
If you already have it installed, make sure it’s version 10 or above.
To check the npm, run the following command:
npm -v
If they’re not installed you’ll get the “command not found” message or something similar when running node and npm version check commands.
In that case, you will need to install them.
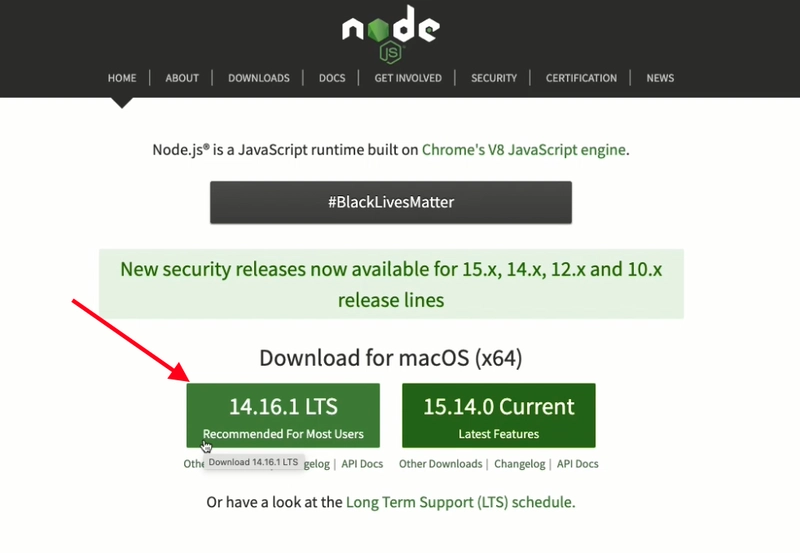
So, head over to the Node.js Website in your browser – you can see two versions and I would recommend using LTS which is the more stable version and it also says recommended for most users.
Click the LTS button which then starts downloading the Node.js package file on the computer.
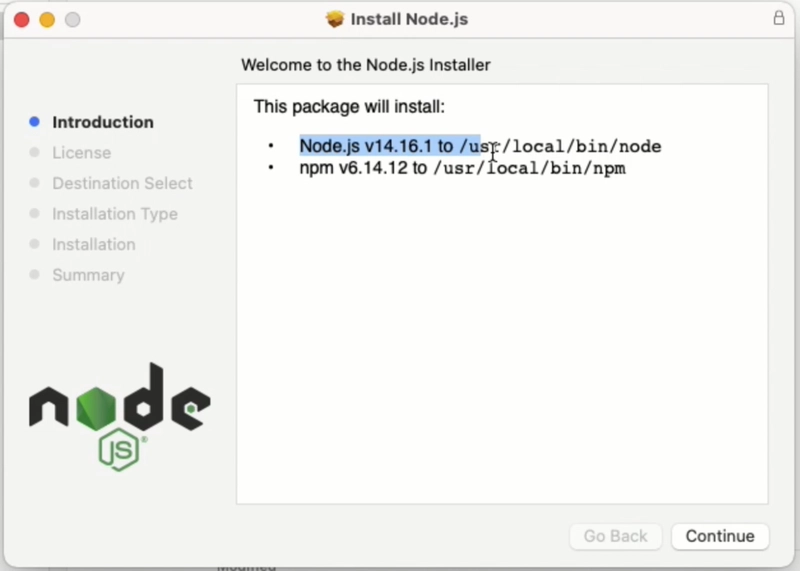
Double click the package file to install it which will bring up the installer window. You can pretty much install like you would other applications.
As you can see from the introduction tab, I’m not only installing node.js but also npm – so we do not need to install them separately.
Hit Continue, Continue,
Then Agree and install, which will ask for the admin password. Once the password is entered, it’ll take a few seconds to complete the installation process.
The next step is to install Vue CLI.
Install Vue CLI
So, what is Vue CLI?
Vue CLI is an official vue npm package that allows you to create a vue project quickly on your computer.
Let’s install it globally, so that you can create a vue project anywhere on the computer.
Open up the Terminal window and run the following command:
npm install -g @vue/cli
It will take a few seconds to complete the installation process.
If it says that you do not have permission, just run the command again by adding sudo in front of it like so, which will ask you to enter your admin password and then you will be all set.
sudo npm install -g @vue/cli
In order to create a vue 3 project, we need a vue cli version of at least 4.5 or above.
If you’ve already installed vue cli, you can check the version using the following command:
vue --version
If you have a version lower than 4.5, you can simply upgrade it by running the command below:
npm upgrade --next
The next step is to create a vue 3 project.

![Cover image for Install And Run The Vue JS 3 Project Using Vue CLI [2024]](https://media2.dev.to/dynamic/image/width=1000,height=420,fit=cover,gravity=auto,format=auto/https%3A%2F%2Fdev-to-uploads.s3.amazonaws.com%2Fuploads%2Farticles%2Fbwamos60jgxiy07fdvfl.png)


Top comments (0)