
1. create vue app with vuetify as usual.
2. add vuetify-nav
The vuetify-nav is an out-of-the-box Vuetify navigation menu component with Toolbar, Navigation Drawers, Menus, and QR code.
2.1 install vuetify-nav
Add it to your project as follows:
$ yarn add vuetify-nav
2.2 import, export and use <Navbar/> component
Then, at your src/App.vue, import vuetify-nav at the very first of the <script> tag and export it as components as follows:
<script>
import {Navbar} from 'vuetify-nav'
export default {
  name: 'App',
  components: {Navbar},
  data: () => ({
    //
  }),
};
</script>
Then, inside <template> tag, put <Navbar/> on the top of <main> tag as follows:
<template>
  <v-app>

    <Navbar/>
    <v-main>
      <router-view/>
    </v-main>
  </v-app>
</template>
Finally, your App.vue should be as follows:
<template>
  <v-app>

    <Navbar/>
    <v-main>
      <router-view/>
    </v-main>
  </v-app>
</template>

<script>
import {Navbar} from 'vuetify-nav'
export default {
  name: 'App',
  components: {Navbar},
  data: () => ({
    //
  }),
};
</script>
At browser, you can notice that the application has a toolbar as following.

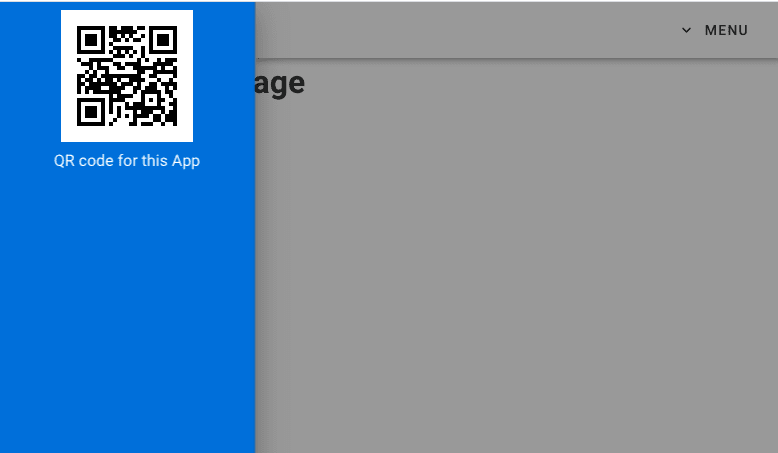
Click the hamburger menu at the left top, you can see Navigation drawer as follow:
2.3 Add application title
You can add application title by titleStr props of <Nabvar> component. For example, by adding titleStr="My App" on your <Nabvar> at your App.vue as follow:
<template>
  <v-app>

    <Navbar titleStr="My App" />
    <v-main>
      <router-view/>
    </v-main>
  </v-app>
</template>

<script>
import {Navbar} from 'vuetify-nav'
export default {
  name: 'App',
  components: {Navbar},
  data: () => ({
    //
  }),
};
</script>
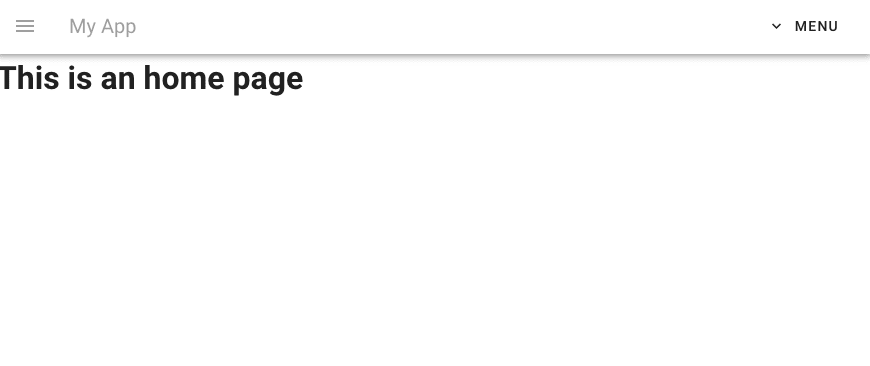
You can notice that the title you specified is appeared as follow:
2.4 add navigation link
You can add navigation link by adding links props of <Nabvar> component. For example, add following links to the exporting data in the App.vue file as follow:
<script>
import {Navbar} from 'vuetify-nav'
export default {
  name: 'App',
  components: {Navbar},
  data: () => ({
    links: [
      { icon: 'home', text: 'Home', route: '/'},
      { icon: 'face', text: 'About', route: '/about'},
    ]
    //
  }),
};
</script>
Then add links props to <Navbar /> as follows:
<Navbar titleStr="My App" :links="links"/>
After this, the whole of your App.vue must be as follow:
<template>
  <v-app>

    <Navbar titleStr="My App" :links="links"/>
    <v-main>
      <router-view/>
    </v-main>
  </v-app>
</template>

<script>
import {Navbar} from 'vuetify-nav'
export default {
  name: 'App',
  components: {Navbar},
  data: () => ({
    links: [
      { icon: 'home', text: 'Home', route: '/'},
      { icon: 'face', text: 'About', route: '/about'},
    ]
    //
  }),
};
</script>
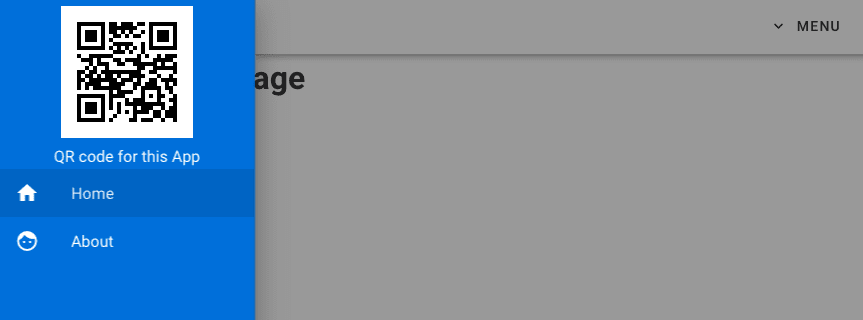
At browser, you should see following navigation drawer.
3. for more detail
Please refer User Guide.
Also Github issues is available. Any questions, suggestions, request, and reports are welcome!

Top comments (1)
Unfortunatelly not working after installation - errors and security warnings with QR-code part