
This is the fourth post in my series about building RockOn. Get the full background starting here.
In my previous posts I discussed all the work that went into seeding my database and building a search interface - now we've arrived at the point where a user is finally entering information about a particular ascent. Let's say our user has just climbed the iconic Exum Ridge in Grand Teton National Park. Here's the form they'd see after selecting that climb:

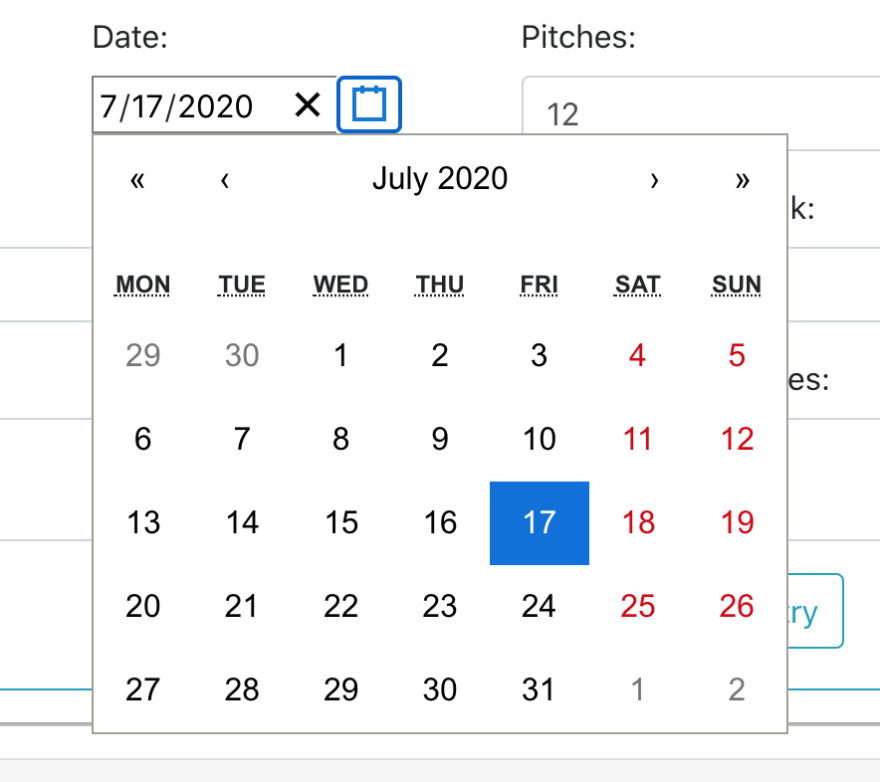
Let's walk through this. The first thing the user selects is the date, which can be selected from a dropdown calendar. I used the react-date-picker component for this which was easy to set up and integrate, once I got the date formatting correct (I highly recommend using moment for handling dates in Javascript).
The next field, pitches, or how many rope lengths long a climb is, is autofilled from the route data. This field is modifiable by the user in the event that they have combined pitches and want to record the actual number that they climbed, or if the data from Mountain Project is incorrect. The 'Style' and 'Outcome' fields have dropdown menus to choose from, and the last four fields are just text fields for the user to type their notes into.
So for my eight fields, how many handleChange functions did I need for handling user input? On first glance, it might seem like each field requires its own function. But in my case, I just needed two. All the fields have the same structure, except for the date picker component which was easiest to handle with its own dedicated function. Before getting into the code, a quick review of controlled forms.
From the official React documentation:
In a controlled component, form data is handled by a React component. The alternative is uncontrolled components, where form data is handled by the DOM itself.
What this means in practice is that when the user enters input in a controlled form, React state is updated. That state then controls the value of the form. In this way a single source of truth is retained, managed by state.
To actually code this, there are three parts to consider: state, the handleChange function, and the form field itself. To begin, I set the state of all the fields. In my class based component, that looks like this:
  state = {
    error: false,
    fields: {
      pitches: this.props.climb.pitches || 0,
      start_date: new Date(),
      style: '',
      outcome: '',
      partners: '',
      beta: '',
      rack: '',
      notes: '',
    }
  };
where the error state is used to display error messages on a failed form submittal.
My form fields all look essentially the same, where name denotes what the field is for and corresponds to the correct key in state, value is controlled by the corresponding state, and all of the onChange functions are the same and pass event as the argument. Here's the form field for partners (using Bootstrap React components):
<Form.Control
    type="text"
    name="partners"
    onChange={event => this.handleChange(event)}
    value={this.state.fields.partners}
/>
onChange is written as a callback here, but onChange={this.handleChange} would do the same thing.
By formatting all of my fields with the same structure, I was able to use one handleChange function for (almost all) of my fields. The event itself contained all the information I needed to update the appropriate state!
  handleChange = e => {
    const newFields = { ...this.state.fields, [e.target.name]: e.target.value };
    this.setState({ fields: newFields });
  };
So in the case of updating the partners field, the spread operator will first populate my newFields object with all of the existing key/value pairs in state.fields. Because of the order, whatever [e.target.name] evaluates to will override any key that comes before it in the object. In the case of partners, [e.target.field] evaluates to just that, partners, with whatever the user has typed (e.target.value) as the new value, and resets whatever was previously the value of partners.
It's important to remember that in Javascript, object keys are always strings. To save some typing, Javascript automatically converts keys to strings, like in my original state object. I haven't bothered to put quotes around the keys, (fields: rather than "fields":) but Javascript is reading the keys as strings anyways. In the case of e.target.value, I want the key to be whatever that evaluates to, not the string "e.target.value". The brackets tell Javascript to do just that.
The only field that didn't follow this format was the date. That component supplied the new date as the argument to its onChange function rather than the event, so I chose to write a separate handleDateChange function and handle that case.
By having all of my form fields follow the same structure, I saved myself a lot of repeat code. Another place where I implemented the same tactic was building my dropdown menus for the 'Style' and 'Outcome' fields. All my options needed to be wrapped in <option> tags, and I also had multiple 'Outcome' lists depending on the type of climb that was being recorded. To save some typing, I simply created arrays of 'Style' and 'Outcome' choices, and then mapped those values into a new array of <option> tags that I used in the form itself:
  createOptions = (array) => {
    return array.map(e => <option value={e} key={e}>{e}</option>)
  }
By setting the value of each option this way, I was able to use the same handleChange function described above.
On form submittal, all of the information I need to send to my back end is already saved in state and formatted correctly. Once I post successfully, I clear most of my form values using state, except for the date to allow easy entry of another climb on the same day!
Now that a user has some data entered, what actually happens with that data? Next week I'll dive into the graphs and logbook entries I use to give users an easy way to view and manipulate their own data.
Thanks for reading!

Top comments (0)