Measuring elapsed time is crucial for understanding the performance of a program or a specific piece of code. It allows developers to identify bottlenecks, optimize code, and improve the overall efficiency of a program.
In addition, measuring elapsed time can help developers compare different algorithms or implementations to determine which one is faster and more efficient. This information is important in ensuring that a program is running as intended and that it can handle the workload it is expected to handle.
The purpose of this article is to provide a comprehensive guide on measuring elapsed time in Python. Being able to measure and analyze the time taken by a program to execute can help developers identify performance bottlenecks and optimize code accordingly.
This article will cover different techniques for measuring elapsed time, including built-in modules, external libraries, and custom implementations. It aims to provide readers with a thorough understanding of the different approaches available and their pros and cons.

Time Measurement Techniques for Execution Time in Python
Python provides several modules for measuring the elapsed time of programs. The most commonly used modules for this purpose are the time, datetime, cProfile, and timeit modules.
The time module provides functions for working with time at the system level. The datetime module provides classes for working with date and time data at a higher level. The cProfile module is used to profile Python code, which involves measuring the elapsed time and identifying bottlenecks in the code. The timeit module is used specifically for measuring the elapsed time of small code snippets.
In this article, we will discuss each of these modules in detail and explain how to use them for measuring elapsed time in Python.

Using the datetime Module to Execute Time in Python
The datetime module in Python is a built-in module that provides classes and functions for manipulating dates, times, and timestamps. It allows you to work with dates, times, time intervals, and perform various operations on them.
The datetime module includes several classes, such as datetime, date, time, timedelta, and tzinfo, which provide functionality to handle different aspects of date and time calculations.
To execute time-related operations in Python using the datetime module, you can follow these steps:
Import the datetime module:
import datetime
Get the current date and time:
current_datetime = datetime.datetime.now()
Extract specific components of the date and time:
year = current_datetime.year
month = current_datetime.month
day = current_datetime.day
hour = current_datetime.hour
minute = current_datetime.minute
second = current_datetime.second
Format the date and time as a string:
formatted_datetime = current_datetime.strftime("%Y-%m-%d %H:%M:%S")
Here, "%Y-%m-%d %H:%M:%S" represents the format string specifying the desired format.

Perform time calculations:
python
future_datetime = current_datetime + datetime.timedelta(days=7)
This example adds 7 days to the current date and time, resulting in a future date and time. By using these steps, you can execute various time-related operations in Python using the datetime module.

## Using the time Module to Execute Time in Python
Python's time module provides a simple way to measure the elapsed time of a program or a specific piece of code. The time module includes a function called time() that returns the number of seconds since the epoch. We can use this function to mark the start and end time of our code and then calculate the difference between the two to measure the elapsed time. Here's an example:
python
import time
start_time = time.time()
Your code here
end_time = time.time()
execution_time = end_time - start_time
print(f"Execution time: {execution_time} seconds")
In this example, we import the time module and call the time() function to set start_time. After running our code, we call the time() function again to set end_time. We then calculate the difference between the two to get the elapsed time and print it out. Using the time module is a quick and easy way to get a rough estimate of the elapsed time of your code.

Here are more code snippets that demonstrate how to use the time module to measure the elapsed time of Python code:

Example 1: Using time.time()
python
import time
start_time = time.time()
Code to be measured for execution time
for i in range(1000000):
pass
end_time = time.time()
print("Execution time using time.time(): {:.6f} seconds".format(end_time - start_time))
Example 2: Using time.perf_counter()
python
import time
start_time = time.perf_counter()
Code to be measured for execution time
for i in range(1000000):
pass
end_time = time.perf_counter()
print("Execution time using time.perf_counter(): {:.6f} seconds".format(end_time - start_time))
Example 3: Using time.process_time()
python
import time
start_time = time.process_time()
Code to be measured for execution time
for i in range(1000000):
pass
end_time = time.process_time()
print("Execution time using time.process_time(): {:.6f} seconds".format(end_time - start_time))
## Using the cProfile Module to Execute Time in Python
The cProfile module in Python is a built-in module that provides a performance profiling tool for Python programs. It allows you to measure and analyze the elapsed time and performance of different parts of your code.

With cProfile, you can identify the most time-consuming functions or methods in your program and pinpoint areas that can be optimized for better performance. It provides detailed information on the number of times a function is called, the time spent in each function, and the percentage of overall execution time attributed to each function.

Using the cProfile module involves the following steps:

Import the cProfile module:
python
import cProfile
Define a function or a script that you want to profile. For example:

Example 1: Profiling a Function with Arguments
python
import cProfile
def multiply(a, b):
return a * b
Profile the execution time of the multiply function with arguments
cProfile.run('multiply(5, 7)')
In this example, we have a function called multiply that takes two arguments and returns their product. By using cProfile.run(), we profile the execution time of the multiply(5, 7) function call. The profiling results will provide information on the function's execution time.

Example 2: Profiling a Script
python
import cProfile
Define a script to profile
def main():
total_sum = 0
for i in range(1, 10000001):
total_sum += i
print(total_sum)
Profile the execution time of the script
cProfile.run('main()')
Here, we define a script with a main() function that calculates the sum of numbers from 1 to 10 million. By using cProfile.run(), we profile the execution time of the entire script. The profiling results will show the time taken by each function call within the script, including the main() function.

Example 3: Profiling a Specific Code Section
python
import cProfile
def perform_calculation():
result = 0
for i in range(1000000):
result += i
def main():
# Profile the execution time of a specific code section
cProfile.runctx('perform_calculation()', globals(), locals())
Execute the main function
main()
In this example, we have a perform_calculation() function that performs a calculation in a loop. Inside the main() function, we use cProfile.runctx() to profile the execution time of the perform_calculation() code section. The globals() and locals() functions are used to provide the necessary context for the profiling.

All these examples utilize the cProfile module to measure the elapsed time of specific code segments. The profiling results provide information about the number of calls, total time, per-call time, and cumulative time for each function or code section being profiled. This information helps in understanding the performance characteristics of your code and identifying areas that may require optimization or improvement.

## Using the timeit Module to Execute Time in Python
In Python, the timeit module provides a simple way to measure the elapsed time of small bits of code. It has a number of advantages over other time measurement methods such as using the time module or measuring the wall-clock time.

The timeit module measures the CPU time of the code, which is the time taken by the processor to execute the code. This is a more accurate representation of the actual time taken by the code to execute as it eliminates the time taken by other processes running on the system.

The module also runs the code multiple times and takes an average of the time taken to reduce the impact of any fluctuations in the CPU load. The timeit module can be used in two ways: as a command-line interface or as a module.

The timeit module provides a simple way to measure the elapsed time of small bits of Python code. Here are some examples of how to use it:
python
import timeit
Measure the execution time of a function
def my_function():
return sum(range(100))
print(timeit.timeit(my_function, number=100000))
Measure the execution time of a simple statement
print(timeit.timeit('sum(range(100))', number=100000))
Measure the execution time of a more complex statement
print(timeit.timeit('sorted([random.random() for _ in range(1000)])', setup='import random', number=1000))
In the first example, we measure the elapsed time of a function called my_function by using the timeit.timeit() function. We pass the function itself as the first argument and the number of times we want to execute it as the number parameter.
The second example shows how to measure the elapsed time of a simple statement. We pass the statement itself as a string to the timeit.timeit() function.
Finally, in the last example, we measure the elapsed time of a more complex statement that requires a setup step to import the random module. We pass the setup code as a string to the setup parameter, and the actual statement as a string to the timeit.timeit() function.
## Tips for Accurate Time Measurements
When measuring elapsed time in Python, it's important to keep in mind that the accuracy of your measurements can be affected by various factors. Here are some tips to ensure you get accurate time measurements:
- Run your code multiple times and compute the average execution time. This helps account for any outliers or variations in execution time.
- Use the timeit module for accurate and reliable timing of small code snippets.
- Avoid measuring time including I/O operations such as reading or writing files.
- Disable garbage collection if it's not required for your code execution.
- Use the perf_counter() function instead of time() for measuring smaller time intervals.
By following these tips, you can obtain more accurate time measurements and make better-informed decisions to optimize your code's performance.
## Learning Python with an online Python compiler
Learning a new programming language might be intimidating if you're just starting out. Lightly IDE, however, makes learning Python simple and convenient for everybody. [Lightly IDE](https://www.lightly-dev.com/) was made so that even complete novices may get started writing code.
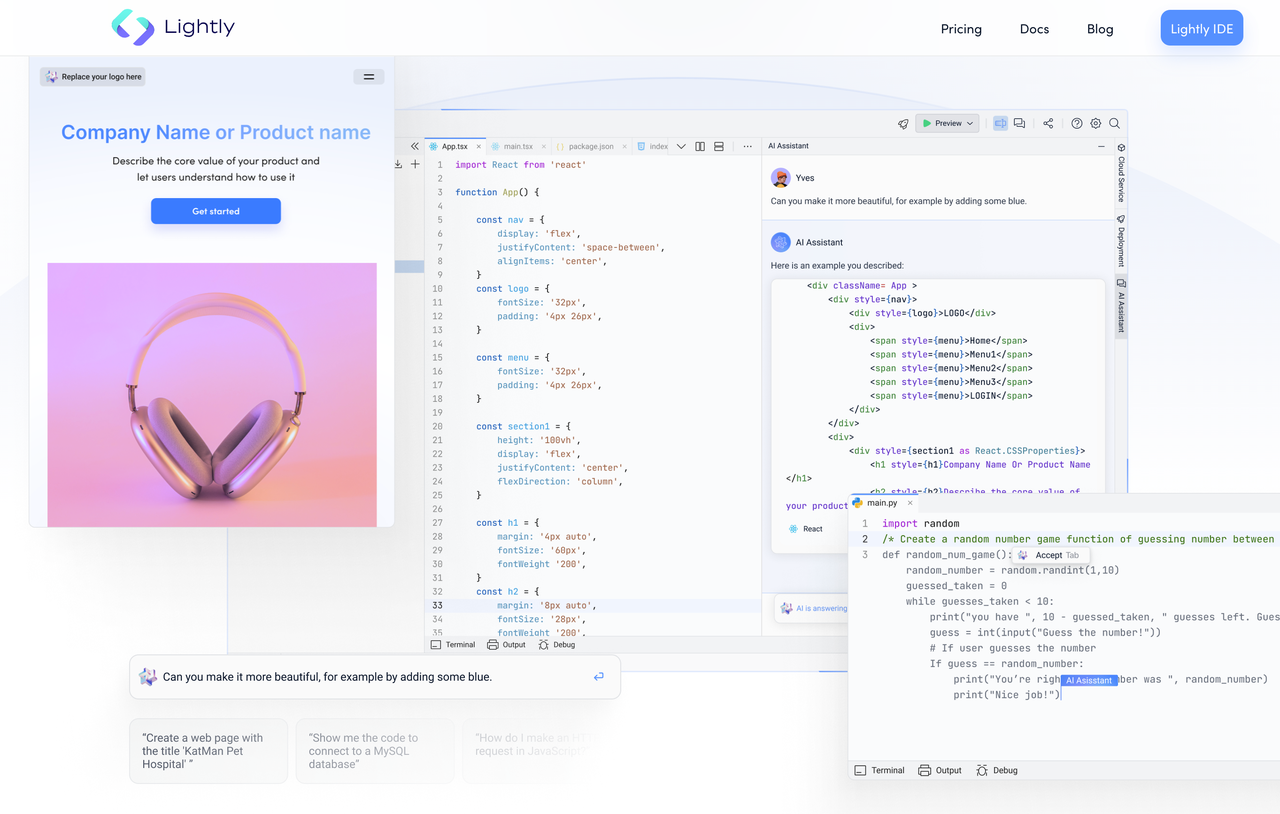
Lightly IDE's intuitive design is one of its many strong points. If you've never written any code before, don't worry; the interface is straightforward. You may quickly get started with Python programming with our [online Python compiler](https://www.lightly-dev.com/python/) only a few clicks.
The best part of Lightly IDE is that it is cloud-based, so your code and projects are always accessible from any device with an internet connection. You can keep studying and coding regardless of where you are at any given moment.
Lightly IDE is a great place to start if you're interested in learning Python. Learn and collaborate with other learners and developers on your projects and receive comments on your code now.
Read more: [How to Measure Elapsed Time in Python](https://www.lightly-dev.com/blog/python-time-elapsed/)

Top comments (0)