
You read the title right! I tried something other than Android this time :P
I have always been wanting to learn web development. If you know my background, you probably know I first learned HTML, CSS, and really basic Javascript at first. If not, consider reading this article to know more about my journey:
But just learning that wasn't enough to make better websites. Technically we can make functional websites with them. But it isn't intuitive. Using just HTML and CSS to make a good-looking website is a headache because files become too long to manage. At least that was the case for me :(
Sure, you can use tools like Tailwind CSS, but neither was I aware of such tools nor did I knew there are frameworks like React, Angular, Vue, etc. which can make the process of building websites easy.
It was obvious that I left web dev back then and that was when I turned to Android. I have been doing Android dev for more than 2 years now. And I recently realized - staying in a single domain while the tech world progresses will slow your progress.
I am not saying you should learn everything that comes out each day. But having a gist of other things won't be harming you. I have tried both things- sticking to a single tech and also trying different things. And I bet you, trying new things teaches more than repeating what you know again and again!
For a long time, I wanted to try out web dev again, more because websites work on any device, and just knowing Android was limiting me to the devices I can make apps for.
The Hashnode Bootcamp's Day 5 task was a perfect moment I could try a new thing and write about it. And here I am writing about using Next.js for two really basic things I needed to work on. Here are the projects:
Birthday Wish Generator
GitHub Repo:
 gouravkhunger
/
nextjs-birthday-wish
gouravkhunger
/
nextjs-birthday-wish
This is a minimal Next.js app where you can create birthday wishes and share the link to anyone :)
Happy Birthday Wisher
Check out the Live Website.
This is a simple Next.js project where you can generate a birthday wish for someone.
Just enter their name, press Go and share them the generated link :)
Don't forget to
Images

Local Setup
First, clone this repository:
git clone https://github.com/gouravkhunger/nextjs-birthday-wisher
Install the dependencies:
npm install
Then, run the development server:
npm run dev
Open http://localhost:3000 with your browser to see the result.
You can start editing the page by modifying pages/index.js. The page auto-updates as you edit the file.
Contributing
In order to make a hassle-free environment, please make sure to read the Contribution Guidelines and follow all the steps mentioned there
Are we missing any of your favorite features, which you think you can add to it
All contributions are welcome.
Learn More
To learn more about Next.js, take…
One of my friend's birthdays is near and I wanted to do something special for them. And looking at the Next.js, I quickly thought to make a simple page with some confetti popping in the background, and their name on the front.
I quickly made the project with:
npx create-next-app nextjs-birthday-wish
But this thought struck my mind: Since I am gonna deploy it to Vercel anyway, I can make a home page where anyone can enter the name of the person they want to send a wish, and then copy the generated link to be sent.
Also, I could make it open source just to increase the number of reports on my profile so that I can flex on the count.
I quickly created two pages, along with their CSS modules. Here are the screenshots:
Home Page

Birthday Wish

I completed the project in 3 hours, took so long because I had to test 7 different confetti libraries that work with Next.js 😂. Finally used [confetti-js](https://www.npmjs.com/package/confetti-js).
I also spent some time on CSS and the routing stuff- because I don't know CSS that well, but I am improving day by day. The CSS design of this blog is done by me!
But I think I did a pretty decent job. And it was fun trying next js for the first time, it's a great framework on top of React, so if you are learning Next.js you are learning concepts of React too. So it is a win-win case.
S̶t̶r̶i̶k̶e̶d̶ ̶T̶e̶x̶t̶ ̶G̶e̶n̶e̶r̶a̶t̶o̶r̶
(The title for this section is generated with this tool 😂)
GitHub repo:
gouravkhunger
/
nextjs-strikeit
A simple site to get a striked through version of text.
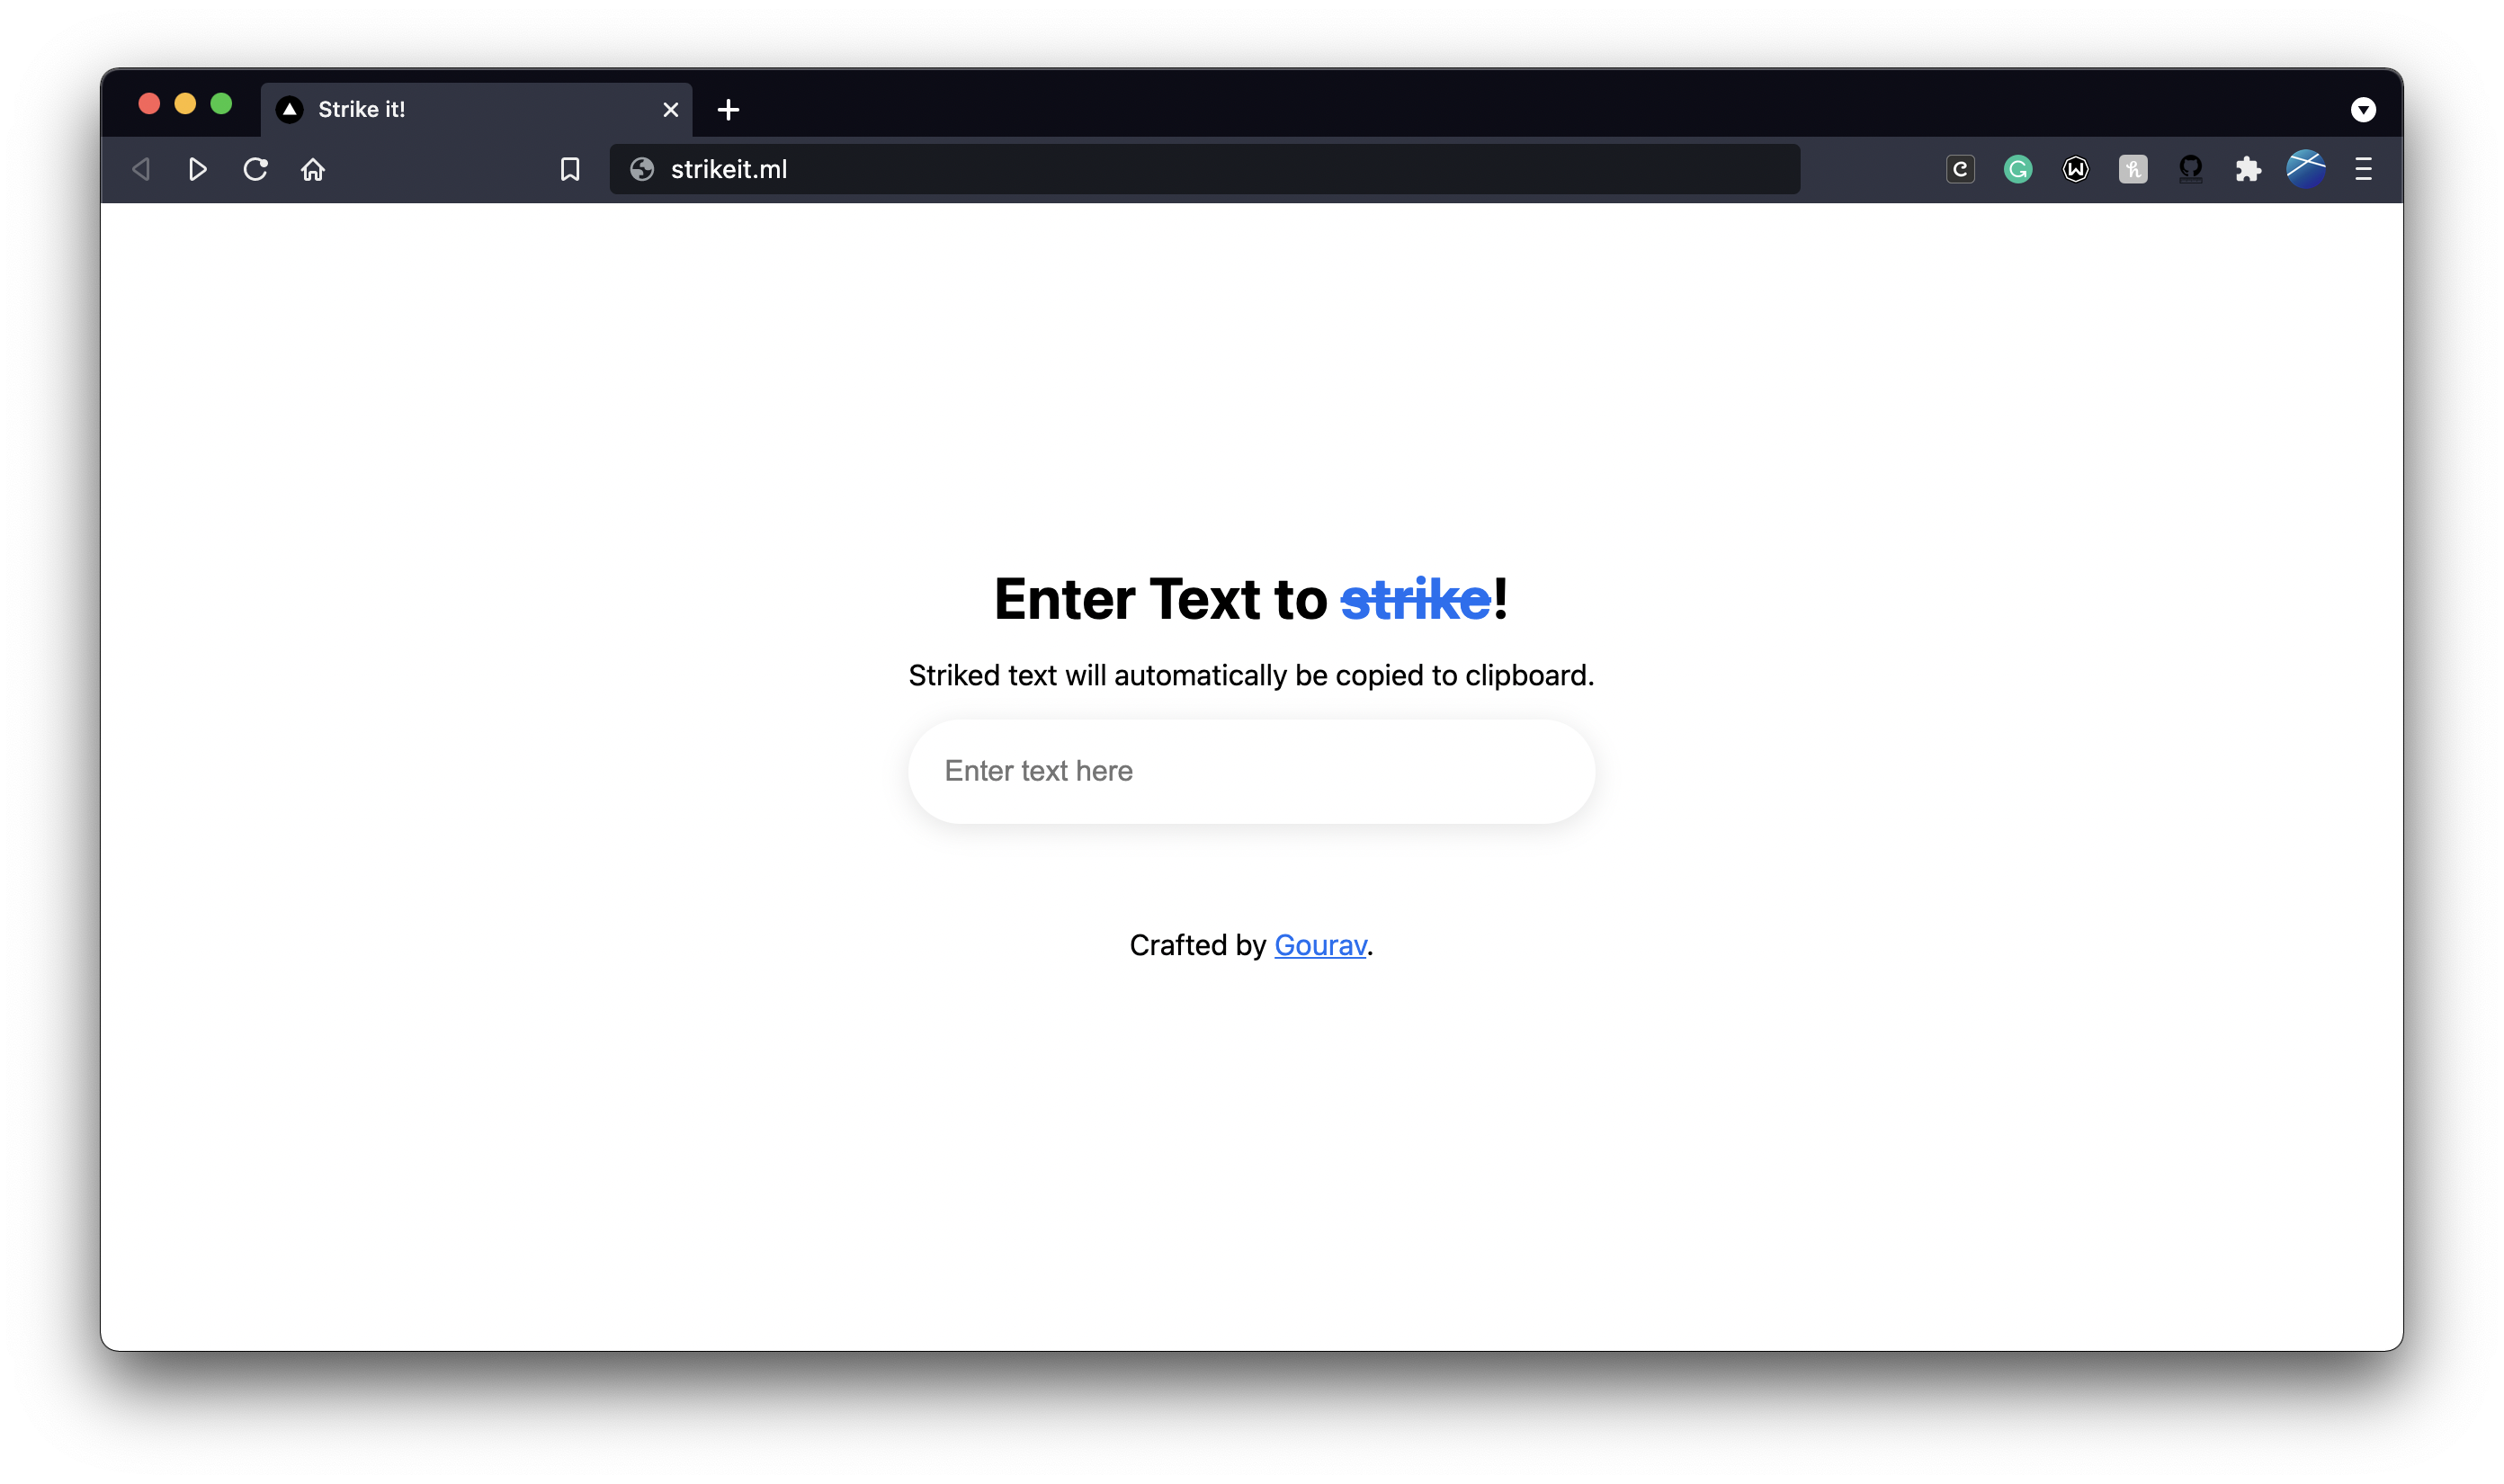
StrikeIt
Check out the Live Website
This is a simple Next.js site to quickly get the striked through version of text copied to your keyboard.
Don't forget to
Images
Local Setup
First, clone this repository:
git clone https://github.com/gouravkhunger/nextjs-strikeit
cd into the folder and then, run the development server:
# download dependencies
npm i
npm run dev
# or
yarn dev
Open http://localhost:3000 with your browser to see the result.
You can start editing the page by modifying pages/index.js. The page auto-updates as you edit the file.
Learn More
To learn more about Next.js, take a look at the following resources:
- Next.js Documentation - learn about Next.js features and API.
- Learn Next.js - an interactive Next.js tutorial.
You can check out the Next.js GitHub repository - your feedback and contributions are welcome!
Credits
License
MIT License
Copyright (c) 2021 Gourav KhungerHere are the images:
Home Page

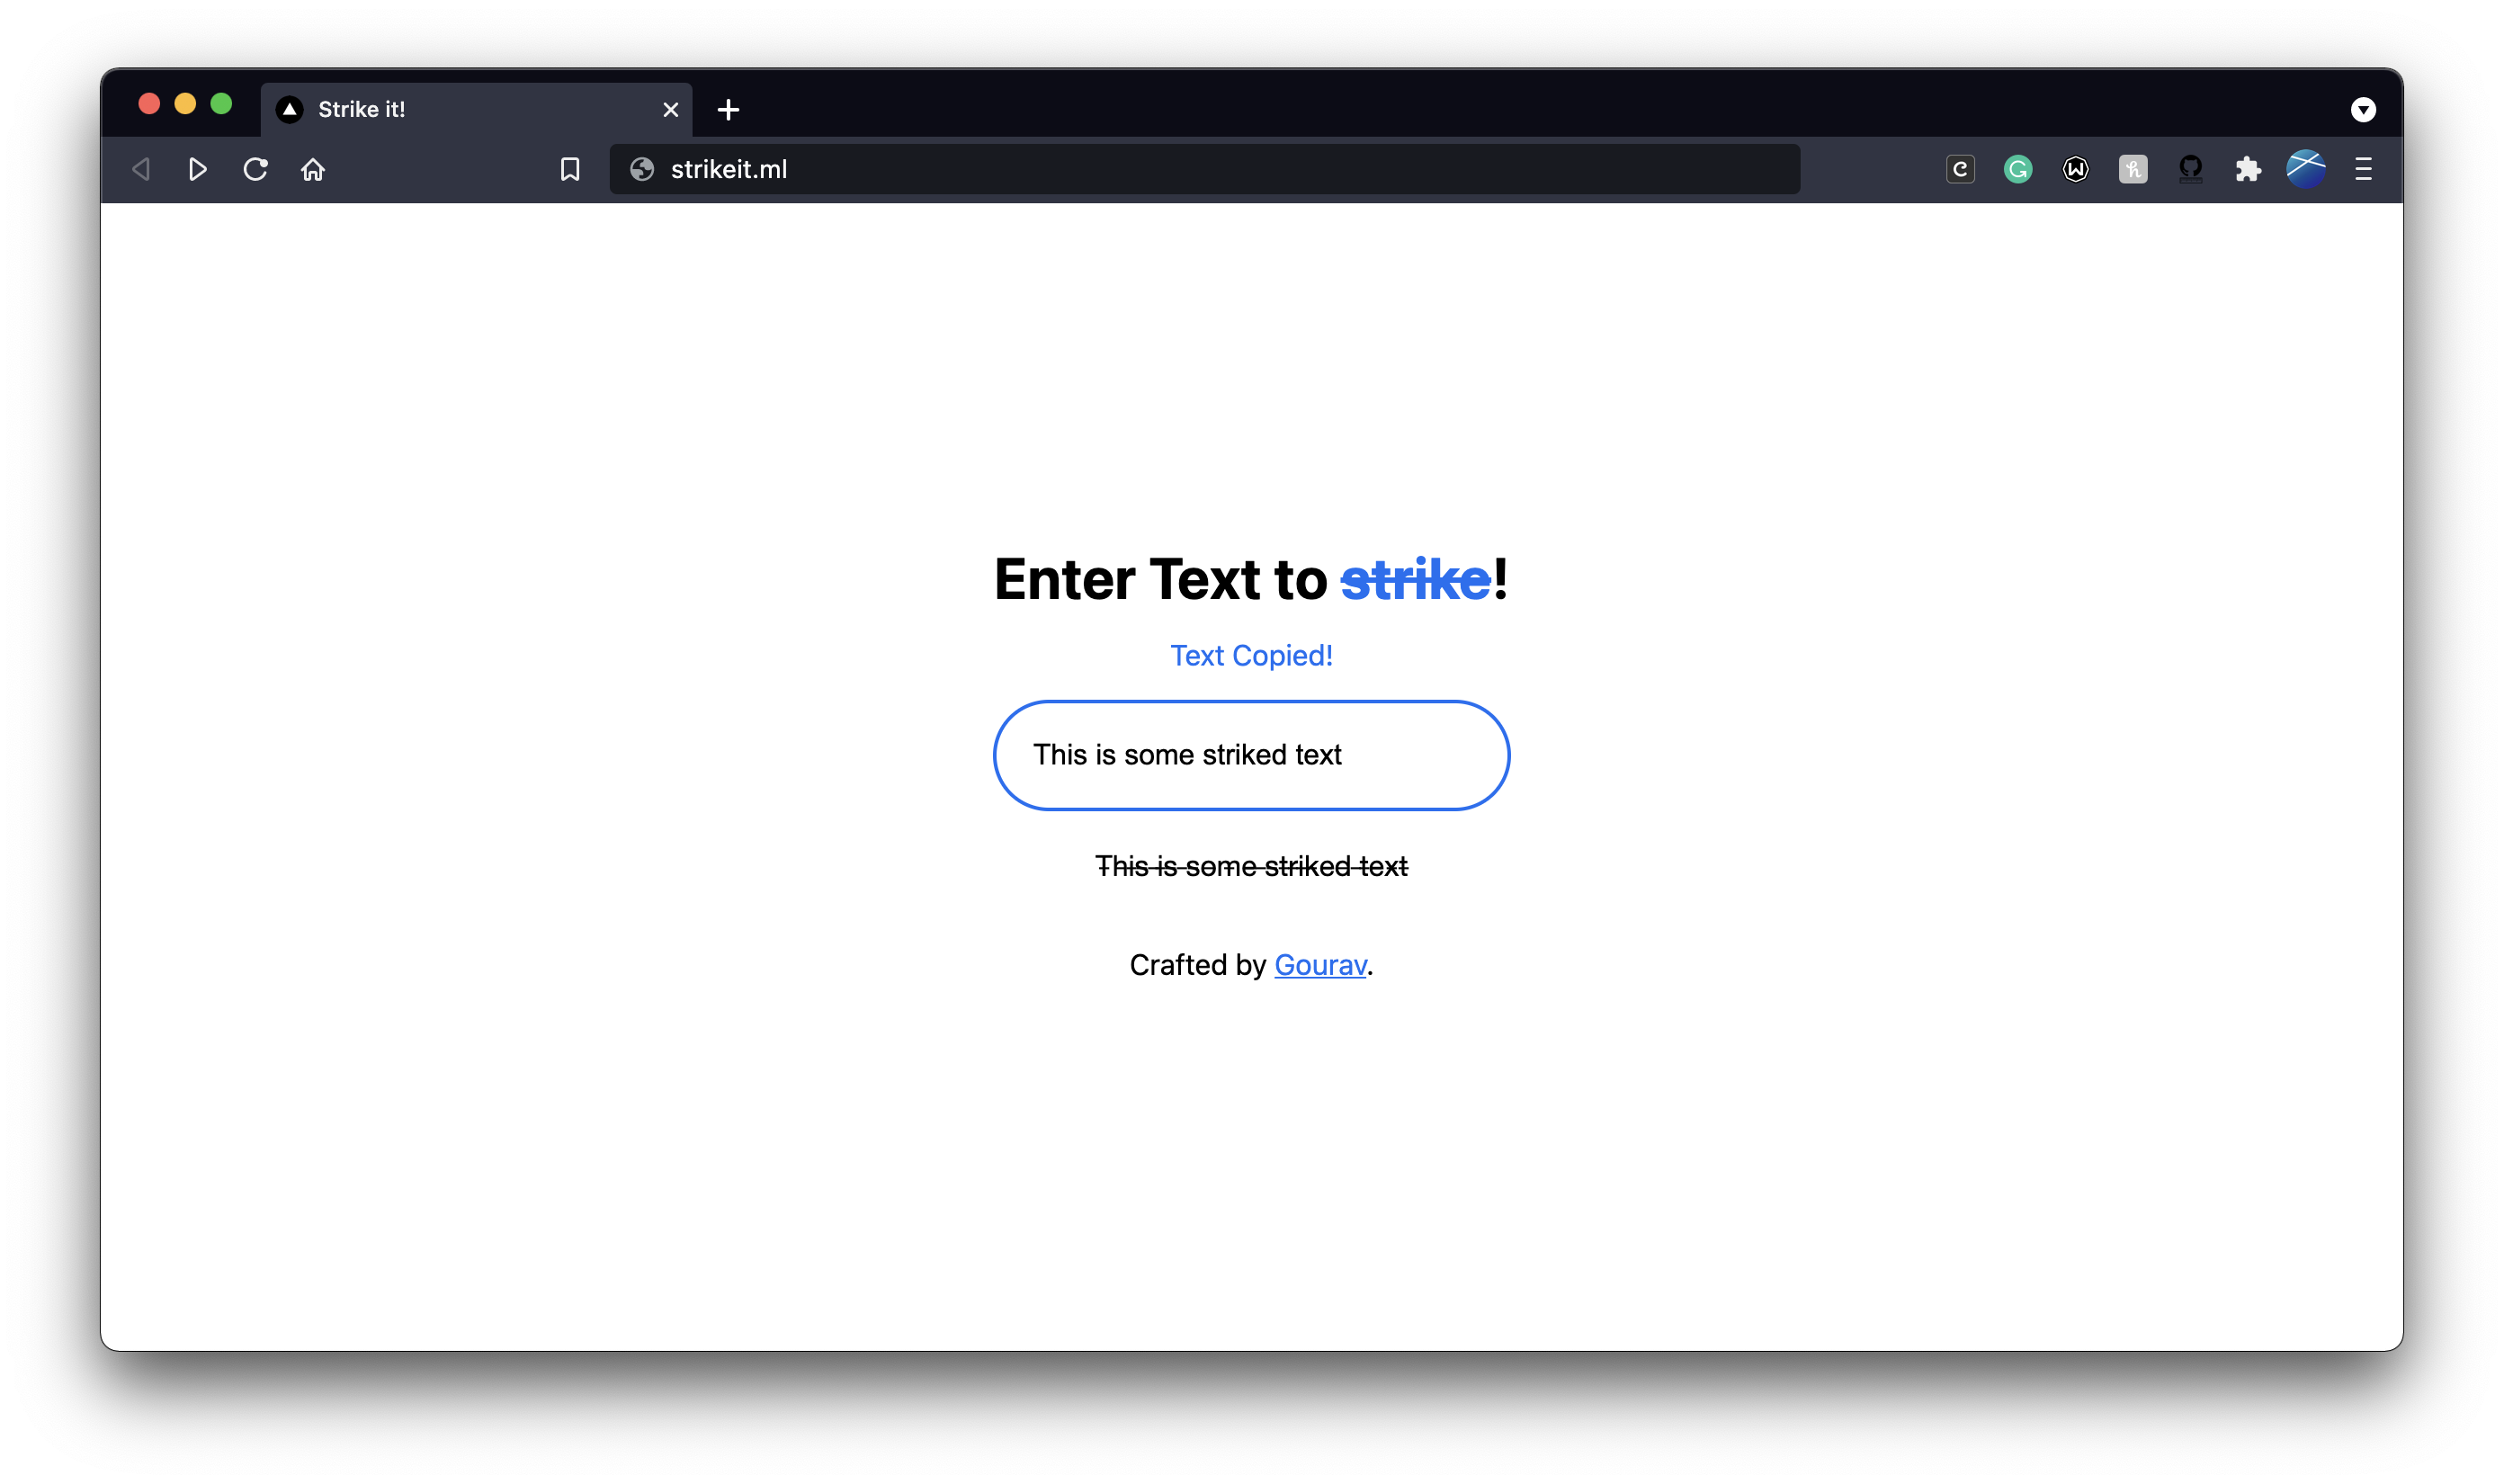
Preview of striked text

I needed this generator because I use Google Calendar to stay focused and plan the work I have for a day.
I don't clutter my day with huge time boxes because that doesn't work for me and I need the flexibility to carry out my tasks.
What I do is: I copy a template of three events for each day the day before it, and put the things I need to carry out in their respective category.

This works well for me. But actually, the text in google calendar events cannot be striked through once it is completed- as you can do for tasks rather than events.
I could have used many of the text formatting tools available online to cut my text and strike to check them off. But I generally forget random website names and the same would be the case with many 😂. Also, most free tools have ads and trackers, which isn't convenient.
So, why not try to build this thing with Next.js? The thought of increasing repo count on GitHub profile still came 😜.
I again quickly made a new Next.js project, deleted the unnecessary blurb that comes by default then copied from the last project added the text box.
This time I faced a new difficulty- to display the striked text preview in a paragraph below the input box. I could set an event listener when the input box's text changed, but didn't know what to do to get a reference of the paragraph below it, as we can't do the traditional document.getElementById() in Next.js apps.
With some research, I learned we can use useRef to maintain a ref of elements, and it worked! I learned how this snippet gives you striked version of the text and then implemented it when input occurs.
I learned how easy it is to copy something to the device clipboard using Next.js. This piece of snippet does the work:
navigator.clipboard.writeText("This will be copied!")
It took me ~4 hours for this project because I wanted to make it responsive and I was struggling with the input box width for different screens, at the end made it work well with some hit and trial 😆
Final Words
I hope you liked the article, consider commenting to let me know what you think!
It was my first experience with Next.js and I must admit it was really good. Though I got many errors and go to learn a lot in the meantime, it was worth it!
Do check out the projects on GitHub and star them. And since you are going to star them, why not follow me there too? 😆
I post resourceful content on this blog, consider subscribing to the newsletter by filling the form at the top of the article to get notified of the new content that I keep posting. Alternatively, join Hashnode and follow me!
Originally posted on genicsblog.com

Latest comments (0)