
This post presents a step-by-step guide on integrating Cloudinary & Xata to an HTML and CSS static e-commerce website and Deploying to Netlify. Stay on this guide!
Cloudinary allows you to upload millions of images and videos to a website or application without needing any third-party software. Xata is a serverless tool that will enable developers with no coding experience to build software and applications without managing multiple applications. Also, with Netlify, you can deploy your application live and show it to other developers for review without paying for a hosting company.
In this article, I created the basic structure of an e-commerce website using HTML and CSS, then integrated a Cloudinary solution for uploading files. I integrated Xata.io as a database solution for storing the data uploads and finally deployed it to Netlify. This article will guide you on how to carry these out quickly.
GitHub URL:
We completed this project on GitHub.
https://github.com/Ladyprowess/ecommerce-website-on-cloudinary
Prerequisite
- A Windows operating system
- A Xata account. Sign up here if you don’t already have an account
- A Cloudinary account. Signup here if you don’t have an account
- A VScode editor or any other editor like sublime or notepad. Building an Ecommerce Website with HTML and CSS
An e-commerce solution provides business owners with the leverage to advertise and sell their products online or over the internet.
Step 1: Download VScode on your Windows computer and launch.
Step 2: Create a new folder on your desktop where you will save all your project. Go to file and click on New File to start a new project.
Step 3: Start your <!DOCType.html> and save with index.html inside your created folder.

This is the HTML code I used for this project.
https://gist.github.com/Ladyprowess/7b014124d03ceb2854b94c50adc9e852
Step 4: For CSS, do the same thing by going to file and clicking on New File to start a new project.
Step 5: Start your CSS code and save it with style.css inside your created folder.
This is the CSS code I used for this project.
https://gist.github.com/Ladyprowess/ce8322ac5fceb59ec934644bda1d7df2
How to integrate Cloudinary into the Ecommerce website
Cloudinary is a SaaS technology company that provides an end-to-end video and image management solution for mobile applications and websites.
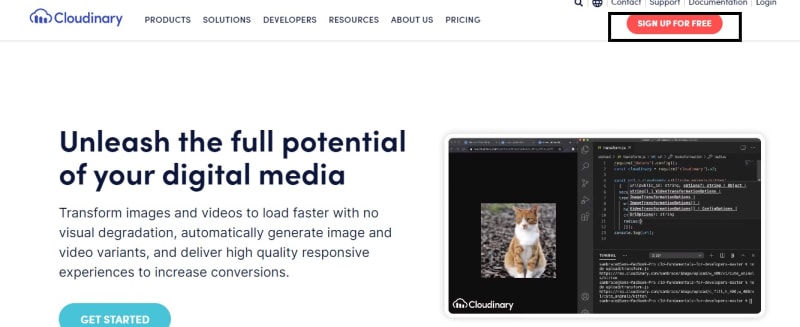
Step 1: Go to Cloudinary on your browser and SIGN UP FOR FREE. You can sign up with Google, Github, or your Email.
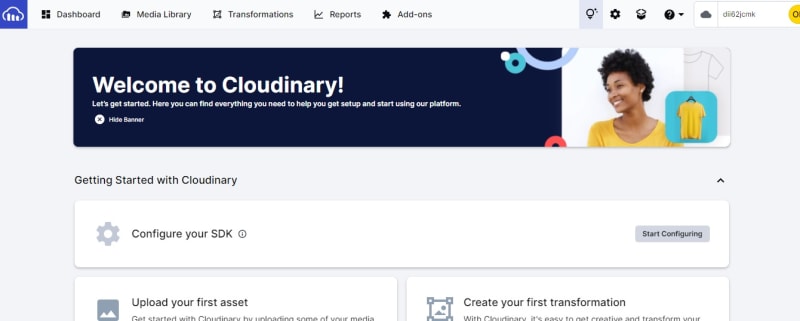
Step 2: Once you have signed in, the dashboard will appear like this:
Step 3: Create the HTML and CSS code to insert Cloudinary into the e-commerce website.
CSS code
.cloudinary-button {
display: flex;
float: left;
position: relative;
width: 100%;
height: 60%;
border: 3px solid red;

}
HTML code
<button id="upload_widget" class="cloudinary-button">Upload Product Image</button>
    <script src="https://upload-widget.cloudinary.com/global/all.js" type="text/javascript"></script>
After you have signed in to Cloudinary, click on dashboard in the menu option. The cloud name is available at the account details option. Copy it as you will need it in your HTML code.

Adding an upload preset
With upload presets, you can set up options for uploading assets in one place instead of doing it for each upload call. You can set up more than one upload preset and use each in different upload situations.
To get our upload preset, take the following steps:
- Go to Settings
Scroll to Upload Preset and Click on add upload preset.

Input the Upload preset name, change the Signing mode to Unsigned, and Click Save.

Copy the Upload preset name and paste it into your HTML code.
uploadPreset: 'lady_prowess'Lastly, save your HTML code and run it on your browser. Here is what your website should look like:

After you are done with this section, here is how our index.html file looks:
    <script type="text/javascript">
    var myWidget = cloudinary.createUploadWidget({
      cloudName: 'dii62jcmk', // replace with your cloud name
      uploadPreset: 'lady_prowess'}, (error, result) => { //replace with your upload preset
        if (!error && result && result.event === "success") {
          console.log('Done! Here is the image info: ', result.info);
        }
      }
    )

    document.getElementById("upload_widget").addEventListener("click", function(){
        myWidget.open();
      }, false);

    </script>
Here is the link to the HTML code:
https://gist.github.com/Ladyprowess/7f2fe13b731f6a2273f0d0949f7502fa
How to integrate Xata.io into the Ecommerce website
Xata.io is a serverless database for Jamstack apps that combines the power of a traditional database, making it easier to manage, consume, and store data.
Step 1: Go to https://xata.io/ and click start building for free you will; have the option to signup with Google, Github, or your Email.
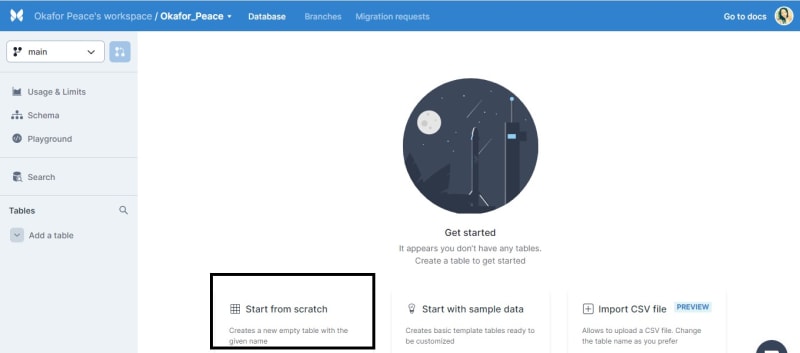
Step 2: From the dashboard, click start from scratch
Step 3: Type the table name and click Add Table.

Step 4: Click the plus sign (+) and add a String; name your string “label”
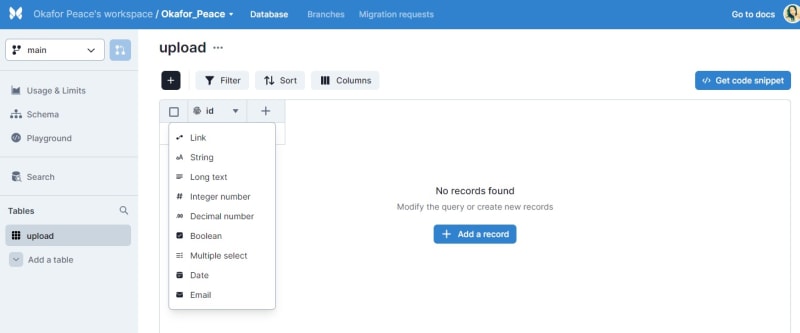
Step 5: Click the plus sign (+) again and add a Boolean; name your boolean “done”

Step 6: Click the Add record and name the label “upload” and “create record”.

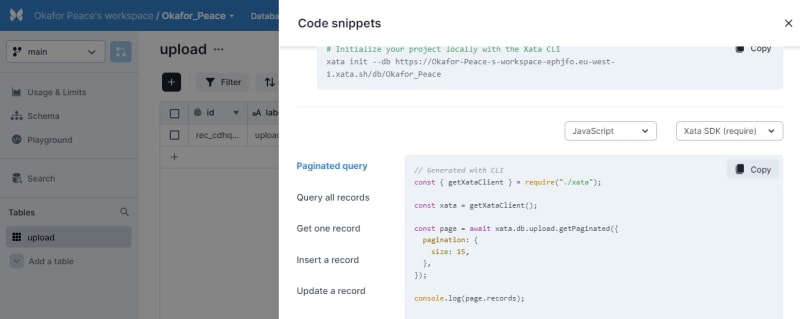
Step 7: Click on Get code snippet, copy the Javascript code snippet and paste it into your HTML code. Then save your HTML code.
// Generated with CLI
    const { getXataClient } = require("./xata");

    const xata = getXataClient();

    const page = await xata.db.upload.getPaginated({
      pagination: {
        size: 15,
      },
    });

    console.log(page.records);
Watch this video to learn how to create data on Xata using Next.js
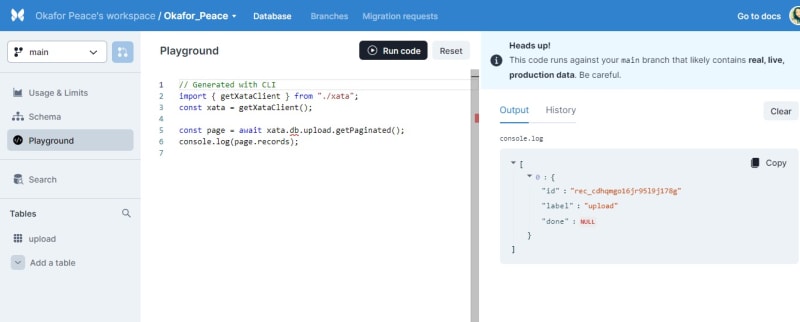
Go to the playground tab and run the generated code. You will get a response indicating the setup of your database, meaning it works.
When you are done with this section, here is how our index.html file looks.
https://gist.github.com/Ladyprowess/7b014124d03ceb2854b94c50adc9e852
How to deploy the Ecommerce website in Netlify
Netlify is a cloud computing company for developers that serve as a web hosting and automation platform to improve productivity.
To create a free Netlify account, visit this page and sign up for free.

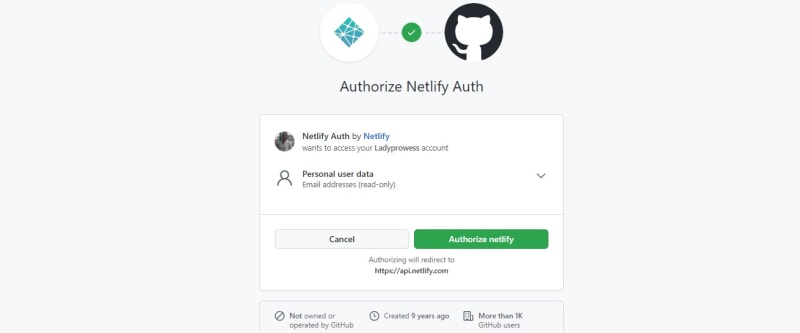
Step 1: Connect Netlify to your GitHub account
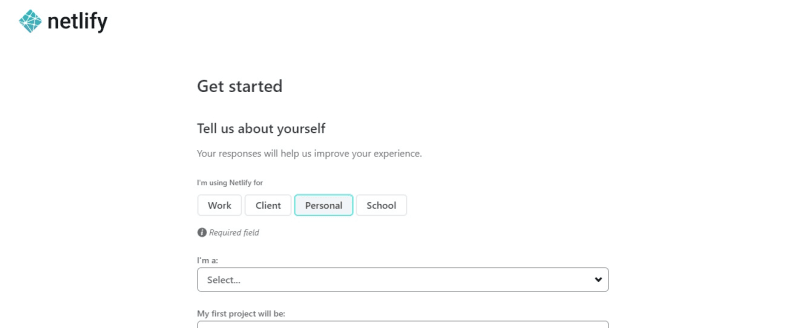
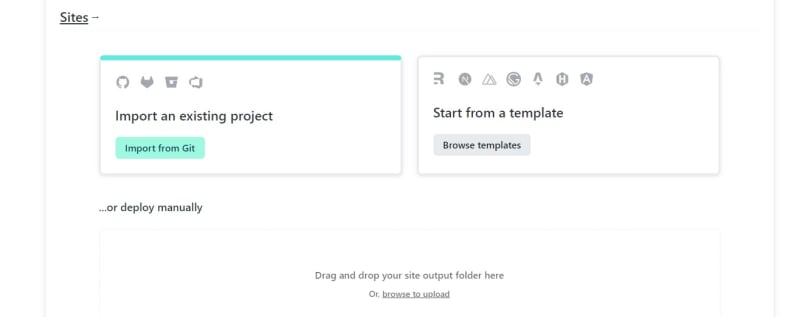
Step 2: A new page will appear for you to Get started. Fill in the details.
Step 3: Deploy your first application. You can choose to import from GIT or import MANUALLY. However, I imported them manually since the codes were already on my local computer.
Step 4: It’ll show published once it has been deployed by netlify. Click on the link to view your website.

End Point: https://quiet-fudge-28b95d.netlify.app/
How to test if your Cloudinary Integration Works
Step 1: Go to your Netlify link.
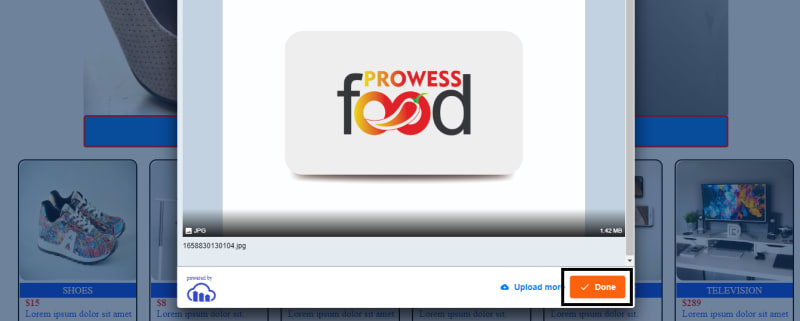
Step 2: Click the Upload Product Image. You will get a pop-up showing you to upload an image from any folder of your choice.

Step 3: After uploading the image, click Done
Step 4: After uploading the image, the transformation in your Cloudinary dashboard will indicate the number of images uploaded.
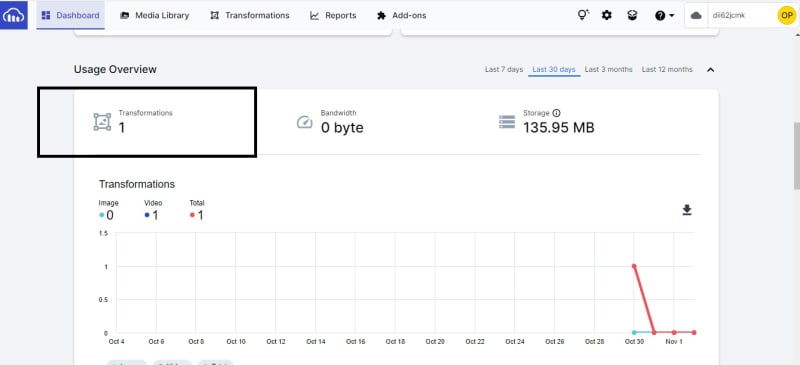
Also, you can visit the Media Library to see the image that has been uploaded.
Conclusion
This article is of immense benefit to developers of an e-commerce website. A Cloud platform for storing databases offers various benefits, including flexibility, dependability, security, and affordability, delivering a sturdy base on which to construct cutting-edge applications for business use. In particular, they can rapidly adjust to shifting workloads and demands without adding to the burden of work for teams already working at total capacity.

Top comments (0)