
I am learning to become a software developer mainly because I want to develop tools small business's can use to make their lives a little... well.... easier. While email is a foundation of great communication with your clients it can be daunting to phrase and write the same email several times. My first ever react project aimed to make this a bit easier! If you have read any of my posts you know that Dog Grooming and software to make it easier is the focus of my journey so be prepared to see it again.
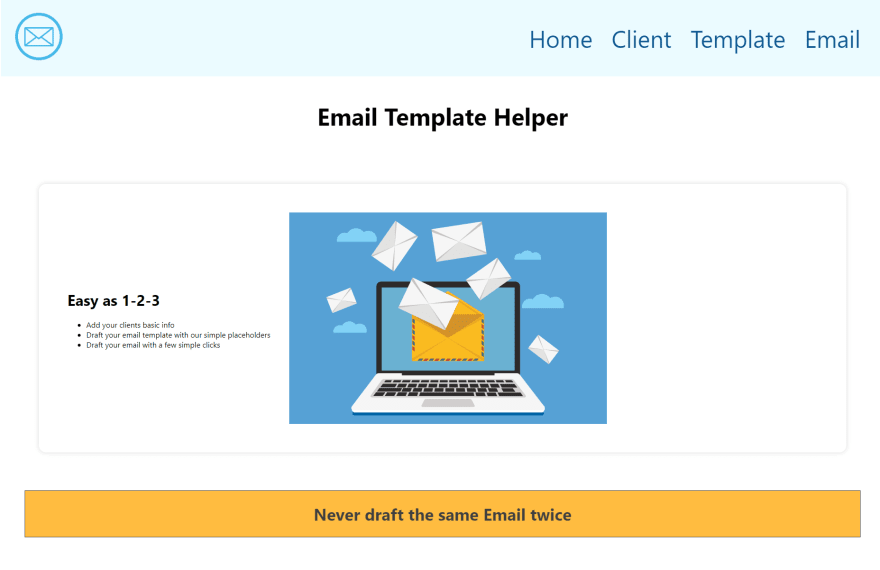
The Email Template Helper was designed to take the reptation out of repetitious emailing. It was a fun project to learn the basics of React. I practiced using React Router to make it a one-page HTML site with a few different client routes. The idea is to add clients, email templates and then render out a email that can be copied into your email program. Write it once and send it many times, clean simple and effective.

Add a few clients with their basic info which could be expanded to many fields. This was a little crash course for me on input fields and state; oh boy lots to wrap your head around here the first time. After a little practice it becomes easier and the data is sent to a back end in this case a JSON server. A quick render of the current clients below and it is off to step 2.
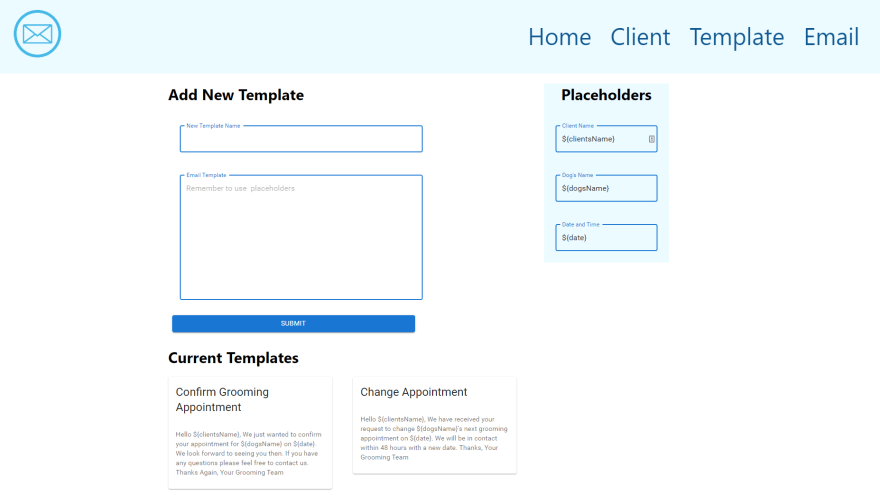
Next, we need to draft the email template so we can reuse it. It works by giving it a name and then using some (rather ugly) placeholders to craft the perfect message. These placeholders are very utilitarian and I would have loved to deep dived an idea to make them more elegant, but time is always a factor!

Finally, we have a few pull downs to help pick the client, date / time and the template that we want to use. Once they are all filled out the email renders below, ready to copy and paste.
So what is my main takeaway from all this... Styling is hard, really hard.
I spent considerable time trying to practice three CSS styling methods to get an idea of what made the most sense to me. Searching this topic online yielding a real split decision of what is best. I used some "inline" styles on the different React component pages right in the JSX. Next up was the "Styled Components" which I mainly used on the Home Page. Lastly, I used Material UI for the input forms and boxes.
Each of these had there strengths and drawbacks in my limited opinion, based on newbie knowledge. In my mind the styled components made the most sense but was difficult to jump into. Things got wrapped in semantic self created tags that I could style from the ground up; but therein lied its own challenge. Sometimes these technologies are like ordering off of a 40 page menu at a restaurant too many choices; at least for a novice. The library had these tags prepped and ready to go and most importantly the media queries to make it all responsive are included. That is one reason if I were to do this project over an gain with the same knowledge I would have done it all in Material UI.

All in all I feel like I achieved something here and there is many more additions I plan on adding as I continue learning React. Search fields on each of the pages as the content grows. A copy button so you do not have to highlight CTRL + v. Mostly I want to really focus on the styling and implementing an API call to a google account to send the main (pro version ???). Thanks keeping up with the journey.

Top comments (0)