To install Jenkins on a MacOS system, you can follow these steps:
Go to the latest Jenkins release from the Jenkins website: https://www.jenkins.io/download/
Select Download Jenkins 2.375.1 LTS for: macOS
it will redirect into https://www.jenkins.io/download/lts/macos/. Now follow the instruction

- Open terminal. Before install Jenkins using homebrew you must have install Homebrew in your local machine.
To install Homebrew, Follow the instruction.
Go to https://brew.sh/
Open terminal and Run the command
/bin/bash -c "$(curl -fsSL https://raw.githubusercontent.com/Homebrew/install/HEAD/install.sh)"
- Once the installation is complete, run the following command to verify that Homebrew is installed and working correctly:
brew doctor
If there are any issues reported by the
brew doctorcommand, follow the instructions provided to resolve them.To update Homebrew to the latest version, run the following command:
brew update
- You can now use Homebrew to install and manage software packages on your MacOS system. For example, to install the wget package, you can run the following command:
brew install wget
- After successfully install Homebrew , Run this commands to Install the latest LTS version:
brew install jenkins-lts
- If you want to Install a specific LTS version Run this command.
brew install jenkins-lts@YOUR_VERSION
- Next things to do to start the Jenkins service and for that Run:
brew services start jenkins-lts
- For restart the Jenkins service:
brew services restart jenkins-lts
- For update the Jenkins version Run:
brew upgrade jenkins-lts
-
After Run
brew services start jenkins-ltsit will successfully start Jenkins. Go to Chrome or any browser and type 'http://localhost:8080/login?from=%2F'.

Copy the file server. Open terminal and Run
cat /Users/daraz/.jenkins/secrets/initialAdminPassword

Copy that output and paste in Administration password. and click on Continue button

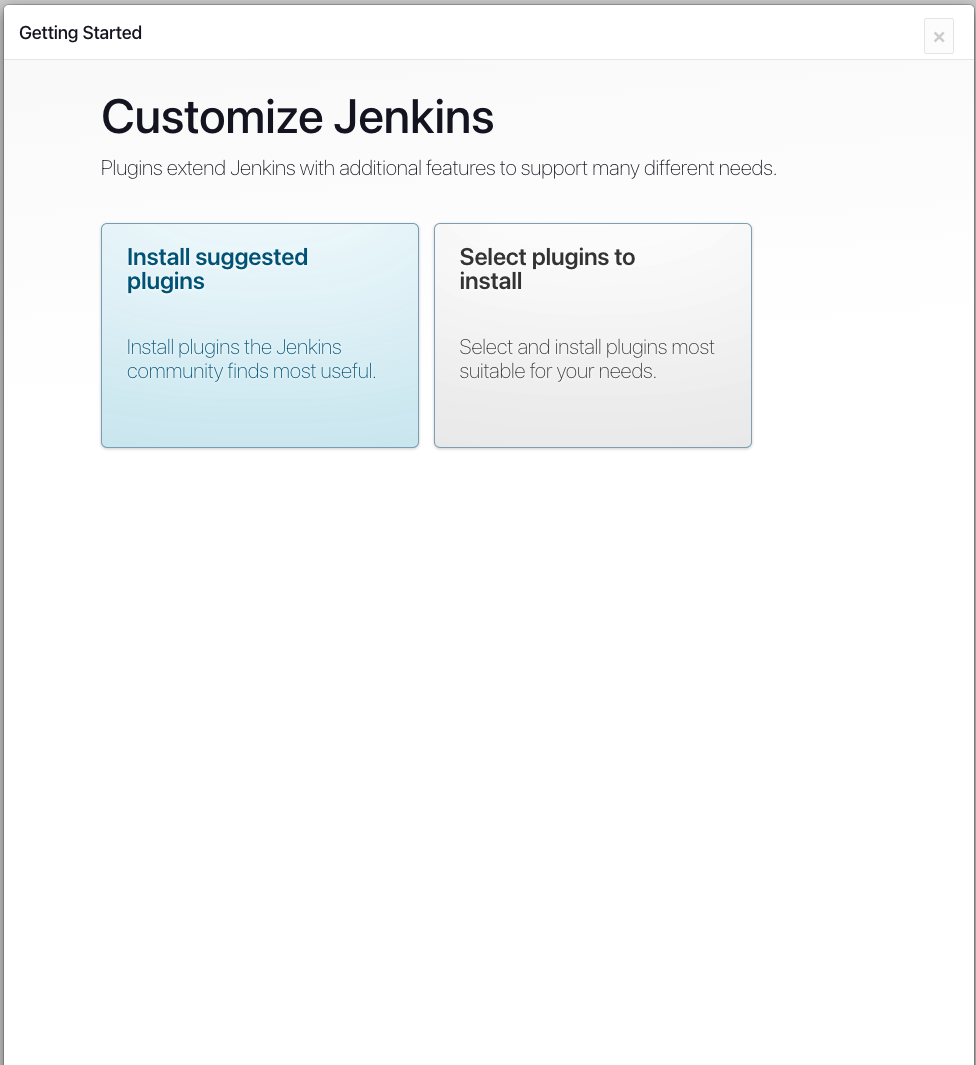
- After that select Install suggest plugging in Customized Jenkins Screen. Select it and it will install necessary plugin.

- After finished installation it will redirect into Admin User screen where you need to create credential by input user name, password, email and click on Save and continue. Set the default local host, again click Save and continue. Now you good to go for start jenkins.


How to add GitHub Credentials in Jenkins
To add Jenkins credentials using a username, follow these steps:
In Jenkins, go to the "Credentials" page, which is located in the "Security" section of the Jenkins settings.
Click the "Add Credentials" button to open the "Add Credentials" form.
In the "Kind" dropdown, select the "Username and Password" option.
In the "Username" field, enter the username that you want to use.
In the "Password" field, enter the password associated with the username.
In the "ID" field, enter a unique ID for the credentials. This ID will be used to reference the credentials in your Jenkins jobs.
Click the "OK" button to save the credentials.
Now you can use the username and password in your Jenkins jobs by referencing the ID of the credentials that you just added. For example, you might use the credentials to authenticate with a remote server or to log in to a web application as part of a Jenkins build.


Create a freestyle in Jenkins
To create a freestyle project in Jenkins, follow these steps:
In Jenkins, go to the "New Item" page and give your project a name.
Select the "Freestyle project" option in the "Kind" dropdown and click the "OK" button.
In the "General" section of the project configuration, you can specify the source code repository for the project and the branch that you want to build. For my project i set GIT from source code management. Set my Github repository URL. Set credential which i already create from manage credentials. Specifier my brunch as 'Main'. Click on Apply than click on Save.
Then Go to "Build" section, and click on build. It will build successfully
Save the project configuration and build the project.


Create Jenkins Pipeline Using Jenkinsfile in GitHub Project
To create a pipeline in Jenkins, follow these steps:
In Jenkins, go to the "New Item" page and give your pipeline a name.
Select the "Pipeline" option in the "Kind" dropdown and click the "OK" button.
In the "Pipeline" section of the project configuration, select the "Pipeline script" option in the "Definition" dropdown.
In the "Script" field, configure GITHUB project URL. And Set Pipeline script from SCM from Pipeline definition section.
Select SCM as None to GIT. Again Set the repository URl, set credential, set brunch as main

Set up Docker plugin in Jenkins
If you need to Run dockerfile in Jenkins it should throw a error called "Docker not found". To resolve this error you need to install Docker inside Jenkins.
For that follow those steps:
Select Manage Jenkins in the menu on the left side of the Jenkins dashboard.
Click Manage Plugins in the Manage Jenkins window.
Select the Available tab in the Plugin Manager window.
Type Docker in the search field, and select the box next to the Docker plugin that appears in the search results.
Click the Download now and install after restart button.
When all the necessary plugin components download, select the box at the bottom of the screen to restart Jenkins.
link - https://phoenixnap.com/kb/how-to-configure-docker-in-jenkins
Configure Docker Build Agent in Jenkins
Select the Manage Nodes and Clouds item in the System Configuration section.
Click Configure Clouds in the menu on the left side.
Expand the Add a new cloud list and select Docker.
Provide the name and URI for the Docker host in the relevant fields. Enable the host by selecting the box.
Select the Expose DOCKER_HOST box.
Click the Docker Agent templates button to open additional configuration options.
Provide the label for identifying the host, and enable the agent by selecting the Enabled option.
Name the Docker template and provide the path to the Docker image.
Specify the home folder for the Jenkins user you created.
Choose Connect with SSH from the list in the Connect method section.Additional SSH configuration options appear.
Select Use configured SSH credentials in the SSH key section. Provide the credentials you set up for the image in the field that appears below.
Select Non verifying Verification Strategy in the Host Key Verification Strategy section.
Click Save when you finish configuring the host.
link - https://phoenixnap.com/kb/how-to-configure-docker-in-jenkins

Top comments (1)
youtube video - youtube.com/watch?v=PaDSrkyx5wQ