This post was initially shared on my blog. Read the post testing in spring boot with JUnit for beginners
Shipping our product without testing is like selling a car without turning on the engine. We have to run a few tests again and again while the development of the product and if those tests are not automated, we will have a hard time testing our application.
I have written a post on the importance of writing tests against your codebase.
This post is in continuation of the last post we shared related to Spring boot in which we shared on how to write Rest APIs in Spring Boot.. Please go through that post if you want to learn on how to create rest APIs using Spring Boot.
In this post, we are going to discuss how we can test our spring boot application from start to end without any mocking.
First of all, we have to add the test libraries to the pom.xml, so that maven can install them for us.
Here is the code to add testing libraries to pom.xml
        ...
        </dependency>
        <dependency>
            <groupId>org.springframework.boot</groupId>
            <artifactId>spring-boot-starter-test</artifactId>
        </dependency>
        <dependency>
        ...
Using separate config for testing purposes
We don't want to add the data to the same database as of the production one. So, we will start by creating a separate configuration for handling the test cases. Also, its always a good practice to have separate configurations anyway.
Create a new resource file, src/main/resources/application-test.properties and add the following data to it.
Note: We will have to create the database in our local system to make it work.
Now that we have a separate configuration file, we have to export it as an App configuration so that we can use it in the tests itself.
Add the following code to the file, src/main/java/io/singh1114/springboottut/AppConfigurationTest.java
Writing Controller test for Spring Boot API.
Now since we are going to test the application from end to end, let's create a controller test.
Add the following code to src/test/java/io/singh1114/springboottut/SchoolControllerTest.java
Let's go through the file and understand this.
@ActiveProfiles, is used to let the framework know that we are going to use the given profile. As we have already declared the test Profile in the Configuration file, we can use it here directly.
@RunWith and @SpringBootTest is used to start a simple server to carry out the tests using the SpringBootFramework.
Running on a random port
With SpringBootTest.WebEnvironment.RANDOM_PORT we are telling the framework to launch the application on a Random PORT.
Removing any change made to the database after test completion.
@Transactional will help us to clean the database once tests are completed. We don't want to keep adding stuff to the database and want to clean it after every test run.
Creating the API endpoint
    @LocalServerPort
    private int port;

    private String createURLWithPort(String uri) {
        return "http://localhost:" + port + uri;
    }
These are used to create the URL for a given endpoint to hit.
Creating the School Object
    @Autowired
    private SchoolRepository repository;
    ...
        School testSchool = new School(1, "First Location", "Mr. Ranvir", "California");
        repository.save(testSchool);
    ...
This code is used to create the object in the database.
Sending the request and getting the response
    TestRestTemplate restTemplate = new TestRestTemplate();

    HttpHeaders headers = new HttpHeaders();
    ...
        HttpEntity<String> entity = new HttpEntity<String>(null, headers);

        ResponseEntity<String> response = restTemplate.exchange(
                createURLWithPort("/schools"),
                HttpMethod.GET, entity, String.class);
    ...
Checking if the response is equal to the object created
JSONAssert.assertEquals(expected, response.getBody(), false);
Here we are checking if the body of the response is equal to the expected response.
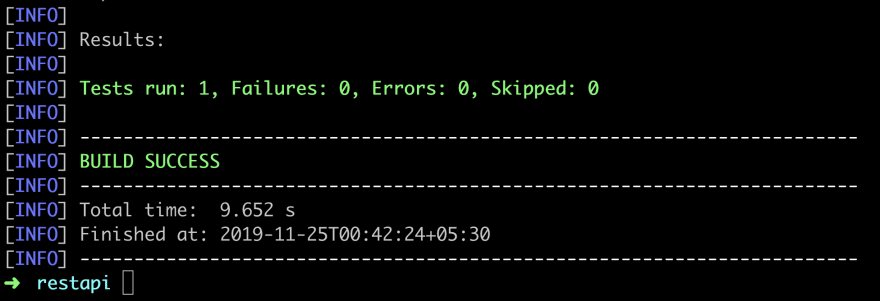
Run the tests
Use can use the following command to run the tests.
mvn test
I hope you liked the post. Please share your views in the comment section below.


Latest comments (2)
good explanation..
Thanks, @niketazad for liking this. I hope it helped you. Share it with your friends as well.