Objective: In this article, you will use the Angular template syntax to bind view content to properties of your component class.
Pre-requisite Prior to completing this article, you should have already installed all pre-requisite tooling including: Visual Studio Code, Node Package Manager (NPM), Node, Angular CLI.
Setup
- On your local machine, open Visual Studio Code.
- Go to the File menu and select the Open Folder option.
- Create a new project for this exercise and select this folder.
- Create a new project command: ng new angular-medium
- Create a new project: open terminal by Ctrl + backtic(`) key then run ng new angular-medium command
Add Properties to the AppComponent Class
- Within the app folder, open the app.component.ts file.
- Within the AppComponent class, add a new property of type number named count with a value of 2

3.Within the AppComponent class, add a new property of type boolean named indicator with a value of true:

4.Within the AppComponent class, add a new property of type string[] named nameList with the following values:
- Bipon
- Arif
- Mahfuz
5.Within the AppComponent class, add a new property of type string named title with a value of Template Binding

Add the Forms Module
- Within the app folder, open the app.module.ts file.
- Add an import statement to the top of your file that imports the FormsModule module from the @angular/forms package:
import {FormsModule} from '@angular/forms';
3.Update the NgModule decorator by adding the FormsModule module to the values in the import array property of the NgModule decorator:

Use the Angular Template Syntax
- Within the app/views folder, open the app.component.html file.
- Delete the existing HTML content.
- Add a new h2 element to the HTML content:
<h2></h2>
4.Within the h2 element, add a binding to the title property of the component class:

5.Add a new form element to the HTML content:

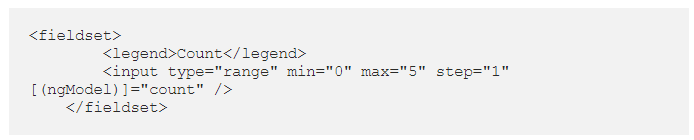
6.Within the form element, add a new fieldset element:

7.Within the fieldset element, add a new legend element with the content Indicator:

8.Within the fieldset element, add a new input element with the type checkbox:

9.Update the checkbox input element to bind it’s model to the indicator property:
<input type="checkbox" [(ngModel)]="indicator" />
10.Within the form element, add another new fieldset element:
11.Within the ol element, add a li element:
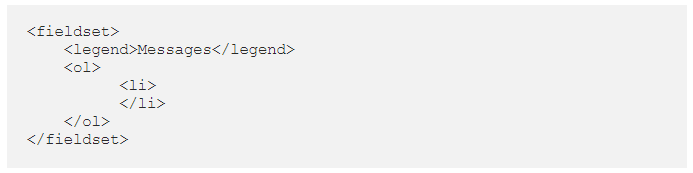
12.Update the li element to use the ngFor looping syntax to create a for loop over the nameList property using a name variable for each item:
<li *ngFor="let name of nameList"></li>
13.Update the content of the li element by binding it to the name variable within the loop:

14.Also added few fieldset element. Finally your HTML content in app.component.html should now look like this:

Output

Reference
Also more
Template Syntax

Oldest comments (0)