
So, whether for inclusion reasons (see various discussions about the use of master as a primary branch name) or just because you fancy a change, you'll find lots of people sharing Git commands on how to change the master branch name. But I want to target those people, like me, who favour the GUI over the command line (yes, yes, we do exist!).
Changing the branch name in Github
The issue here is that Github doesn’t give you a rename option. Instead, we need to create a new repo, a duplicate of the master, make it the new, default branch and then remote master. Thankfully, it’s not too difficult.
- On your repo’s main Github page, click on the branches dropdown and create a new branch. I’m calling mine
main.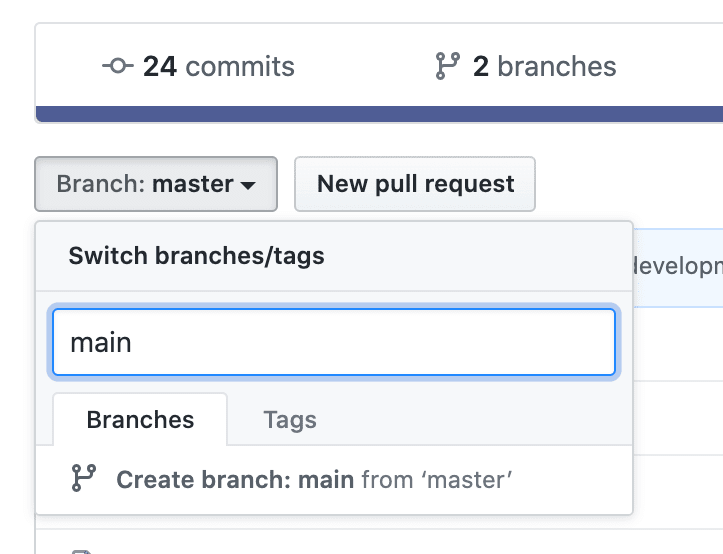
- This will copy your
masterrepo to it. - Now click on the branches link near the top.

- Click on “Change Default Branch”.

- On the next screen, change the default branch from “master” to the one you previously created and then press “Update”.

- You’ll be given a warning that you need to click through.
- Now, click back on that “Branches” link at the top again.
- The final thing to do is to remove your old
masterbranch – just press thetrash/binicon next to it to do this.
And that’s it. Your master branch has now been replaced.
What about Github Desktop?
Good call – for your changes to be reflected in Github’s desktop app, you need to do something. Maybe.
Click on Fetch Origin to force the desktop app to update the repo. Now, this works but you’ll also your old master branch still present…
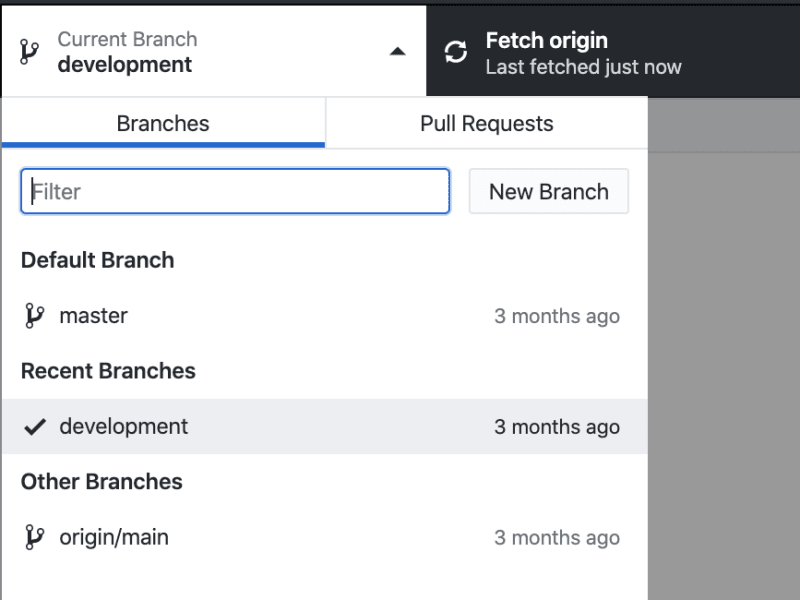
Personally, I’ve found it easiest just to delete it and re-clone the repo.

Oldest comments (0)