addEventListener is an easy way to start making our page interactive. In this article, we will learn how to addEventListener and what you should know. You can follow this article with your favorite code editor or on stackblitz. You can use this template that I crated on stackblitz.
Introduction
Events happen all the time in the browser. When we call addEventListener on a target, we are telling the browser that "Hey, from now on when that event is triggered by this target, I want to do something". Later when the event is triggered by the target, browser will run our instruction with the latest information from that event.
How to add event listener
We can add event listener on DOM elements (The things you see on the page). Let's create an element in HTML and select it with JavaScript first.
index.html
<body>
  <div>hello</div>
</body>
main.js
const div = document.querySelector('div');
console.log(div);
Open stackblitz console

If you want to use the browser console, you need to select an element with devtools(press F12 to open) and switch to the console tab as shown below.

We need to do this step every time we refresh the page. By the way, pressing Ctrl + S to save the file will auto refresh the page.
Now we have an element, we can add event listener on it. addEventListener is a function available on DOM elements. In other words, we have an object that has a method addEventListener, we can use it like this div.addEventListener(). addEventListener first parameter is a string represents the event type we want to listen. The second parameter is a callback function which is the instruction for browser to do when the event is triggered.
main.js
div.addEventListener('click', () => {
  console.log('Yay!');
});
Each time we click on the element, the callback function will be run.

addEventListener accept a third parameter to configure its behavior. For example, we can make a event listener that will only be run once like this.
main.js
// configure this event listener with { once: true }
div.addEventListener(
  'click',
  () => {
    console.log('Yay!');
  },
  {
    once: true,
  }
);
Now no matter how hard you press, The callback function will only be run once.

We can add many event listeners on the same element.
main.js
// add different event listeners to a div
div.addEventListener('click', () => console.log('click'));
div.addEventListener('mousemove', () => console.log('mousemove'));
div.addEventListener('mouseover', () => console.log('mouseover'));
div.addEventListener('mouseout', () => console.log('mouseout'));

We can add many event listeners of the same event type.
main.js
// add three 'click' event listeners to a div
div.addEventListener('click', () => console.log('a'));
div.addEventListener('click', () => console.log('b'));
div.addEventListener('click', () => console.log('c'));
Whenever click event is triggered, callback functions are run in the order we add them.

Event information
Our callback functions are actually called with one argument, an object which contains the information of the event. If we need to use those information, we should make our function accept a parameter, otherwise we can omit it.
main.js
// provide a callback that accepts a parameter
div.addEventListener('click', (e) => console.log(e));
You can briefly read what it logs.
Event propagation
When we click on an element, it is not only one click event trigged by the element. There are actually three phrases occur during a click action that can trigger many more click events than you expected.
1.Capturing phrase
The event is being propagated through the target's ancestor objects. This process starts with the Window, then Document, then the HTMLHtmlElement, and so on through the elements until the target's parent is reached.
2.At target
The event has arrived at the event's target. Event listeners registered for this phase are called at this time. If Event.bubbles is false, processing the event is finished after this phase is complete.
3.Bubbling phrase
The event is propagating back up through the target's ancestors in reverse order, starting with the parent, and eventually reaching the containing Window. This is known as bubbling, and occurs only if Event.bubbles is true.
To simply put, the target that we click on might not be the element that we add listener on, it can also be one of the element's descendant because of bubbling. One thing to remember is that events are not created by the addEventListener. What it does is that we want to listen to a small part of all events that happening behind the scene.
Let's see some examples.
index.html
<div class="a">
  a
  <div class="b">
    b
    <div class="c">
     c
    </div>
  </div>
</div>
Add some CSS for visualization.
styles.css
div {
  padding: 16px;
  margin: 8px;
  border: 1px solid;
}
Add a click event listener on a element.
main.js
const a = document.querySelector('.a');
const b = document.querySelector('.b');
const c = document.querySelector('.c');

a.addEventListener('click', () => {
  console.log('click');
});
We can see that click on a or b or c, all trigger the click event on a. Clicking outside of a doesn't trigger the click event, which is quite reasonable.

Let's add a click event listener on c element which is a descendant of a.
main.js
c.addEventListener('click', () => {
  console.log('c');
});
In modern browsers, by default, all event handlers are registered for the bubbling phase. That's why we see 'c' -> 'a' instead of 'a' -> 'c' when we click on c element.

We can configure addEventListener to register event handlers for capturing phrase. We can provide a third argument to addEventListener. It can be a boolean value true or an object that has capture: true. This doesn't mean that the event handlers will only be run in the capturing phrase. It is saying that run the event handlers during capturing phrase whenever possible.
main.js
a.addEventListener(
  'click',
  () => {
    console.log('a');
  },
  true // a boolean
);

c.addEventListener(
  'click',
  () => {
    console.log('c');
  },
  { capture: true } // an object
);
We click on c, it runs the a event handler first because it is registered for capturing phrase.

We can read eventPhrase from the event information to see during which phrase that the event handler is triggered. Capturing phrase is 1. At target is 2. Bubbling phrase is 3.
main.js
// a will run in target phrase or capturing phrase if possible.
a.addEventListener(
  'click',
  (e) => {
    console.log('a', e.eventPhase);
  },
  true
);

// b will run in target phrase or bubbling phrase if possible.
b.addEventListener('click', (e) => {
  console.log('b', e.eventPhase);
});

// c will run in target phrase or capturing phrase if possible.
c.addEventListener(
  'click',
  (e) => {
    console.log('c', e.eventPhase);
  },
  { capture: true }
);

Some events don't bubble. For example, focus and blur.
All JavaScript events go through the capturing and target phases. Whether an event enters the bubbling phase can be checked by the read-only bubbles property.
Sometimes we don't want this event propagation behavior. We can prevent it by calling e.stopPropagation() or e.stopImmediatePropagation() on the event object.
e.stopPropagation() stops event from propagating to other elements.
main.js
a.addEventListener(
  'click',
  (e) => {
    e.stopPropagation(); // stops propagating
    console.log('a');
  },
  true // capture
);

b.addEventListener('click', (e) => {
  console.log('b');
});

c.addEventListener('click', (e) => {
  console.log('c1');
});

c.addEventListener('click', (e) => {
  console.log('c2');
});

c.addEventListener('click', (e) => {
  console.log('c3');
});
Click on a or b or c all trigger the event handler on a first. We call e.stopPropagation() in the event handler, so event handlers on b and c will not run because event propagation is stopped.

e.stopImmediatePropagation() does what e.stopPropagation() does but also stops other event handlers on the target element. Let's see an example with e.stopPropagation() first and then replace it with e.stopImmediatePropagation() next.
main.js
a.addEventListener(
  'click',
  (e) => {
    console.log('a');
  },
  true // capture
);

b.addEventListener('click', (e) => {
  console.log('b');
});

c.addEventListener('click', (e) => {
  console.log('c1');
  e.stopPropagation(); // stops propagation here
});

c.addEventListener('click', (e) => {
  console.log('c2');
});

c.addEventListener('click', (e) => {
  console.log('c3');
});
Click on c, the event handlers on a run first because it captures, the event reach the target c and all c event handlers are called. b event handler doesn't run because event doesn't bubble to it by calling e.stopPropagation() in one of the c event handlers

Let's simply replace e.stopPropagation() in the example with e.stopImmediatePropagation()
c.addEventListener('click', (e) => {
  console.log('c1');
  // e.stopPropagation(); change this
  e.stopImmediatePropagation(); // to this
});
This time only one event handler of c that is before e.stopImmediatePropagation() is called, others are stopped. So e.stopImmediatePropagation() not only stops the event propagation, it also stops the rest of the event handlers of the target from running.

Event delegation
Event delegation is a pattern that utilizes event propagation. We know that event can propagate to ancestor elements. If we have 1000 list items that behave in a similar way, we can add event listeners on their common ancestor rather than add event listeners on each item.
Let's see how it works with examples.
styles.css
div {
  margin: 4px;
  padding: 4px;
  border: 1px solid;
}
main.js
function createItems() {
  // make items HTML
  const divsHTML = Array.from({ length: 10 })
    .map((a, index) => {
      return `<div class="item">${index}</div>`;
    })
    .join('');

  // wrap items in an element and add them to body
  document.body.innerHTML = `
    <div class="list">
      ${divsHTML}
    </div>`;
}

createItems();
Add event listener to each item. When each item are clicked, doSomething(item) will be called with the item.
main.js
function doSomething(item) {
  console.log('do something with this item', item);
}

const items = document.querySelectorAll('.item');
items.forEach((item) => {
  item.addEventListener('click', () => {
    doSomething(item);
  });
});
When we click on each item, doSomething() is called with the item that was clicked.

Let's use event delegation to add a event listener on items' common ancestor .list, so we can add only one event listener instead of 10.
main.js
function doSomething(item) {
  console.log('do something with this item', item);
}

const list = document.querySelector('.list');
list.addEventListener('click', (e) => {
  // We can tell which element trigger the event by accessing `e.target`
  doSomething(e.target);
});
This would work, but it has a problem. doSomething expect to be called with an item. In this example, we call doSomething() with e.target, but e.target doesn't guarantee to be the item. It can be anything that can trigger the event handler. It can be the .list element itself or other elements inside .list.
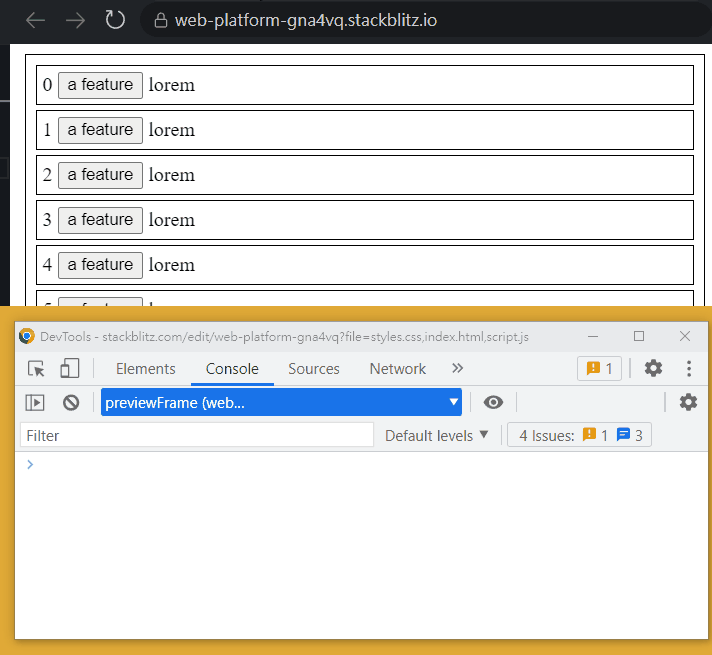
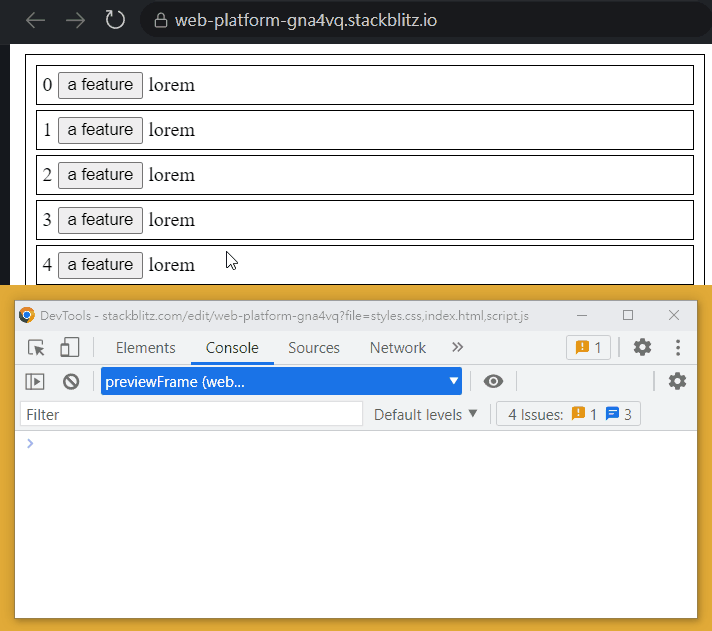
Update the createItems function
function createItems() {
  const divsHTML = Array.from({ length: 10 })
    .map((a, index) => {
      return `
      <div class="item">
        ${index}
        <button>a feature</button> // add a button here
      </div>`;
    })
    .join('');

  document.body.innerHTML = `
    <div class="list">
      ${divsHTML}
    </div>`;
}
When we click on the .list itself, an item, and a button inside the item, They all trigger the event handler on .list. But the e.target are different. This means that we can't simply pass e.target without any check to a function that expects an item. That would break our app.

Luckily, there are two methods we can call on an element to check if we get the correct target, element.matches() and element.closest(). Their parameter is the same as element.querySelector(). element.matches(selector) will return true if it matches the selector.
main.js
list.addEventListener('click', (e) => {
  // if e.target does not match .item
  // we don't want to run the rest of the code
  if (!e.target.matches('.item')) return;

  doSomething(e.target);
});
Now only click on '.item' will trigger the event listener on .list.

Clicking on .list and the button doesn't trigger the event handler, since they are not relevant to doSomething(item). This is what we want. What if we have other elements inside an .item but clicking on them should be consider clicking on the item.
Update createItems function again
function createItems() {
// ...
<div class="item">
${index}
<button>a feature</button>
<span>lorem</span> // add this line
</div>`;
// ...
}
```
Let's say we have some description about the item. So clicking on them can be perceived as clicking on the item. But `span` doesn't match `.item`, the event handler won't run.
styles.css
```css
/* making all descendants inside item non clickable */
.item * {
pointer-events: none;
}
/* we can use this on an element inside .item to revert the above declaration. */
.pointer-events-auto {
pointer-events: auto;
}
```
Add the class to the button inside `createItems` function.
main.js
```js
<button class="pointer-events-auto">a feature</button>
```
Now clicking on the `span` element can trigger the event handler on `.list` that runs doSomething(item). In fact, we are not clicking on the span, we are clicking the `.item`. The span is not clickable because of the CSS rule we set.

Let's try another solution with `element.closest()`. First, remove the CSS we did.
`element.closest(selector)` will return the closest element that matches the selector, including the element itself. This means if we click on any element inside `.item` or `.item` itself, `e.target.closest('.item')` will return the `.item` element.
main.js
```js
list.addEventListener('click', (e) => {
// find the closest item element from e.target
const item = e.target.closest('.item');
// if we don't have an item
// we don't want to run rest of the code
if (!item) return;
doSomething(item);
});
```
Now clicking on every element in `.item` works. But clicking the button shouldn't trigger the doSomething(item), because we have other things for it to do.
We can use `element.matches()` and `element.closest()` together.
main.js
```js
function createItems() {
//...
// add a class to button so we can filter this element with its selector more precisely
<button class="item-feature-btn">a feature</button>
//...
}
list.addEventListener('click', (e) => {
// we don't want this handler to run when it is clicked on the button
if (e.target.matches('.item-feature-btn')) return;
const item = e.target.closest('.item');
if (!item) return;
doSomething(item);
});
// do something when the button is clicked
list.addEventListener('click', (e) => {
if (!e.target.matches('.item-feature-btn')) return;
console.log('handle button click');
});
```
Events are handled properly.

We can also stop the propagation on button. But in this scenario we use event delegation one the same target. We'll need to consider the order of `addEventListener` and call `e.stopImmediatePropagation()` at the right place. It will be much simpler to do so when we `addEventListener` directly on the button and call `e.stopPropagation()`.
---
## Wrap up
`addEventListener` is easy to use, but it has a lot of detail that we should be aware of. I hope this article can help you start using `addEventListener` with confidence and be able to identify the problem when something doesn't work as expected.

Top comments (0)