Hello, I'm Maneshwar. I'm working on FreeDevTools online currently building **one place for all dev tools, cheat codes, and TLDRs* — a free, open-source hub where developers can quickly find and use tools without any hassle of searching all over the internet.
Why Do You Need a Bundler?
Modern web development often involves multiple JavaScript files, dependencies from npm, and the need for efficient performance.
A bundler helps by:
- Combining multiple JS files into one
- Reducing load times
- Allowing the use of modern JS features (import/export, ES6+)
- Simplifying dependency management
In this guide, we'll set up a basic, no-frame
work JavaScript bundler using Esbuild—one of the fast JS bundlers available.
No Webpack complexity, just pure bundling goodness! 😎
Step 1: Setup Your Project
First, create a new folder and initialize an npm project:
mkdir my-bundler-setup && cd my-bundler-setup
npm init -y
Now, install Esbuild as a development dependency:
npm install esbuild --save-dev
Step 2: Create JavaScript Files
We’ll create two JS files: file.js (main file) and file2.js (module file).
file2.js - A Simple Module
export function getMessage() {
  return "Hello from bundled file2.js to dev.to!";
}
file.js - Main Script
import { getMessage } from "./file2.js";

function runDemo() {
  console.log("Executing bundled script...");
  document.getElementById("output").textContent = getMessage();
}

// Expose function to the browser
window.runDemo = runDemo;
Step 3: Create an HTML File
Create an index.html file to load our bundled script:
<!DOCTYPE html>
<html lang="en">
  <head>
    <meta charset="UTF-8" />
    <meta name="viewport" content="width=device-width, initial-scale=1.0" />
    <title>Esbuild Bundler Demo</title>
    <style>
      body {
        font-family: Arial, sans-serif;
        text-align: center;
        margin: 50px;
      }
      button {
        padding: 10px 20px;
        font-size: 16px;
        cursor: pointer;
      }
      #output {
        margin-top: 20px;
        font-weight: bold;
        color: #007bff;
      }
    </style>
  </head>
  <body>
    <h1>Esbuild Bundler Demo</h1>
    <p>Check the console for logs from the bundled script.</p>
    <button onclick="runDemo()">Run Bundled Code</button>
    <p id="output"></p>

    <script src="http://localhost:3000/bundle.js"></script>
  </body>
</html>
Step 4: Bundle Everything with Esbuild
Now, let’s configure Esbuild to bundle our scripts into a single bundle.js file.
Add a Build Script to package.json
Modify your package.json to add a build script:
"scripts": {
  "build": "esbuild file.js --bundle --outfile=bundle.js"
}
Now, run the build command:
npm run build
Expected output:
Awesome! 🚀 We now have a bundled JavaScript file (bundle.js) that combines both file.js and file2.js.
🌍 Step 5: Serve the Project Locally
To serve the project locally, install serve, a lightweight static server:
npm install -g serve
Run the server:
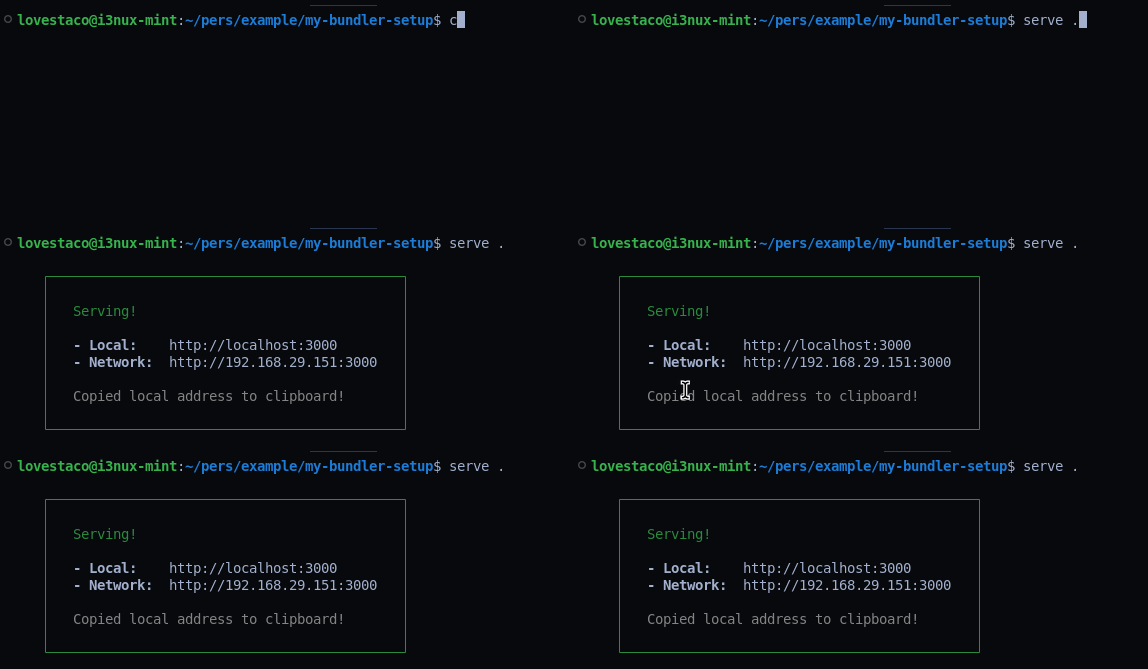
serve .
You should see an output like this:
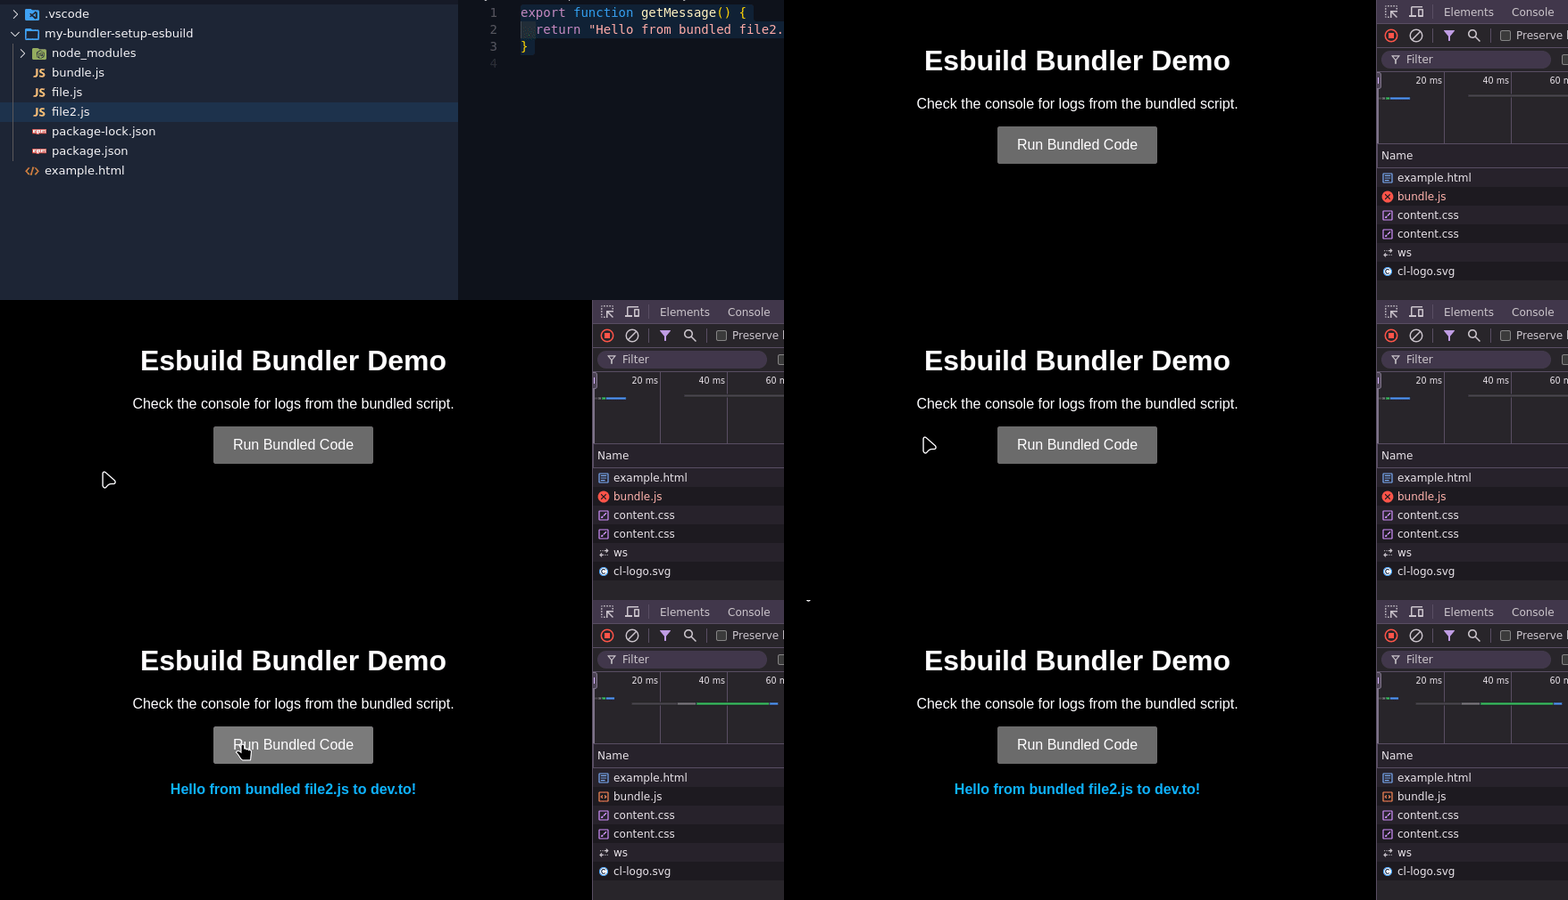
Now, open http://localhost:3000 in your browser.
Click the Run Bundled Code button and check the output!
🎯 Where Can This Be Used?
This simple bundler setup can be useful for:
- Small web projects needing modular JavaScript
- Quick prototyping without Webpack complexity and npm publishing
- Lightweight projects where frameworks aren’t required
- Experimenting with modern JavaScript features in the browser
- Educational purposes (learning ES6 modules, bundling, serving static files)
Wrapping Up
This is just the beginning—Esbuild can do much more! Stay tuned for future optimizations like minification, live-reloading, and more. 🚀
💡 What do you think? Would you use Esbuild for quick bundling? or a much faster one Rsbuild? Drop a comment below! 🎯
I’ve been building FreeDevTools.
A collection of UI/UX-focused tools crafted to simplify workflows, save time, and reduce friction in searching tools/materials.
Any feedback or contributors are welcome!
It’s online, open-source, and ready for anyone to use.
👉 Check it out: FreeDevTools
⭐ Star it on GitHub: freedevtools
Let’s make it even better together.


Top comments (4)
Nice article! My favorite bundler is
bunbuild, because it's so fast!Thanks :)
Yeah, I've heard about that, will try it.
Extra points for the memes.
Thanks hehe :)