Hi!
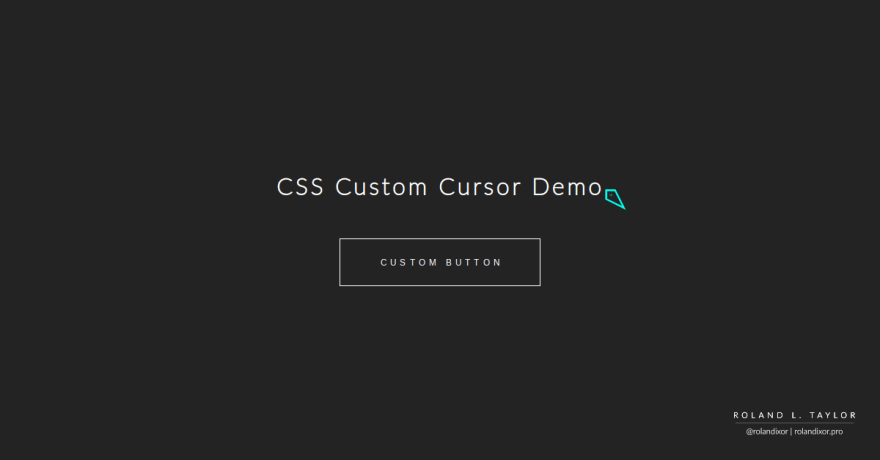
In this quick tutorial, I'll show you how you can create custom cursors with just images and a few lines of CSS code.
The Cursors:
We need at least one custom cursor image. You can literally use any image in a format the browser supports. For example, I've used the SVG format.
I've got three images:
- default.svg
- pointer.svg
- text.svg
These will replace the following states:
- Default.
- Pointer.
- Text.
The HTML code:
For this example, I have chosen three places to use my custom cursors:
- The body:
- A heading:
- A button:
In the HTML code, you can add the following:
   <body>
      <h1>CSS Custom Cursor Demo<h1>
      <button>Custom Button</button>
   </body>
NB: The text within the tags can be literally anything.
The CSS Code:
The CSS code is where everything really happens. We only need one property for each element, as follows:
body {
   cursor: url('default.svg'), auto;
}

h1 {
   cursor: url('text.svg'), text;
}

button {
   cursor: url('pointer.svg'), pointer;
}
And that's it! Check out a recorded demo of this tutorial in action below:


Top comments (13)
Great job on a purposeful and easily navigated design! I was especially fascinated by the work you did on the cinema app.
One small tip, if I may: consider using a different style for hovered buttons on the About page. The colours are somewhat similar so it may be difficult for some readers. Otherwise, I think it's coming along nicely!
Are you complimenting yourself?
This comment accidentally got posted on the wrong article lol
Oh... I see...
Custom cursors are not my cup of tea but nice tutorial!
They're not mine either, honestly, but glad to make the knowledge available for anyone who may need it. They can be useful for accessibility.
You're welcome!
Really short worthwhile and thanks for writing this blog :)
You're welcome! Thanks for your feedback!
Really nice that cool thanks you 😁
You're welcome! Thanks for the comment!
You're welcome! Glad to know it was helpful!
BTW, link up your portfolio (if you're okay with sharing). I'd love to see it!
can we add animations as well?