
So, you’re into space and technology, like myself, and you decided to write an International Space Station (ISS) tracker. How would you do that, and what would you have to keep in mind? In this post I will guide you through and teach you how to write a very simple ISS tracker using Google Maps.
Set Up
Let's look at what we have so far: the ISS coordinates API, and a Google Maps key.
The Google Maps key is easy to obtain, and Google gives you $300 worth of credits which is definitely more than enough to play with this project.
Now, there is something interesting about the ISS coordinates API. It gives us “iss_position”, which is latitude and longitude, but the values don’t change unless we refresh the browser page. Keep on reading to learn how to go about this.
As always, let’s start with creating a new React app:
create-react-app iss-tracker
And once the app is created, then let’s run
npm start
Now would be a good idea to remove all of the fluff-stuff the app comes with, like the spinning ReactJS logo and useless text. Basically, what your page should currently have is a title, if one is desired, and the App.js file should look like is this:
We need to start thinking about how to add a map to our page. First, let’s create a component for the map (create a new .js file and call it Map.js) and add <Map/> component to our App.js, which now should look like this:
We are now done with App.js file and will be only working with Map.js from now on. Map should be a class, as we will need state to save latitude and longitude, and the set-up should be the following:
To make things extremely easy for this tutorial, we will be using a Google Map React npm package. It is a component that was written over a small set of Google Maps API, and is perfect for our little project. Head over here
to read the documentation and learn more about the usage of this package.
Let’s go ahead and install Google Map React by running the following command in your terminal:
npm install --save google-map-react
The next thing you have to do is import it in your Map.js file, like so:
This package is very easy to use, and most of it is copy-paste, so I suggest you structure your state exactly the same way as in the documentation, as this is how this Google Maps component requires it.
Get Coordinates
Now that we have everything set up, let’s go back to our issue of getting coordinates. First, let’s write a function to fetch latitude and longitude and save them into state. I like to define my constant variables for URLs at the top of the file, and then using variable names in fetch instead of having the whole URL there:
As we were taught, we fetch in componentDidMount():
By printing out data in the console, we can see that we are getting all of the necessary information that we need, so let’s save the latitude and longitude in the state.
We are successfully saving coordinates into the state, but what should we do to get new coordinates every certain amount of time? You may have already guessed it, but setInterval() is the perfect guy for this job! Let’s see it in action. While we are at it, we can also refactor and restructure the code a little bit, as we will have to use componentWillUnmount() to clear the interval.
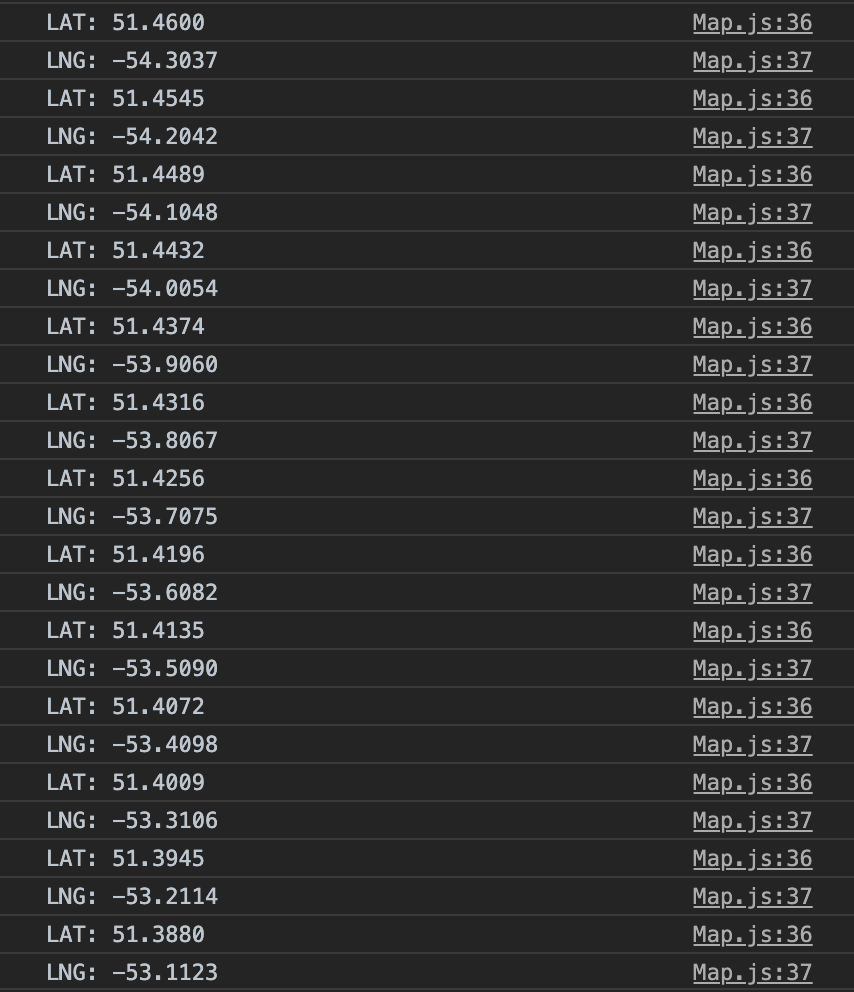
By printing out latitude and longitude in the console we can observe a beautiful stream of coordinates that are printed every 3 seconds. Of course, we can adjust how often we get new data by changing the milliseconds number in setInterval() function.
Show It Off!
Now, the fun part! We can finally put the map on the page and see the tracker move along the path of ISS in real time. Isn’t this exciting? As previously mentioned, this npm package is very easy to use, so let’s go ahead and add the map. Prior to this you should have already obtained a Google Maps key; and always remember to hide your keys in the .env file and add the file to .gitignore so no one else can use it.
All we have left to do is add our little ISS symbol and see it move! Just like in the documentation, let’s create a small component that is our icon and define it on top of the file; as well as define a variable img that is our ISS icon. The icon can be downloaded here.
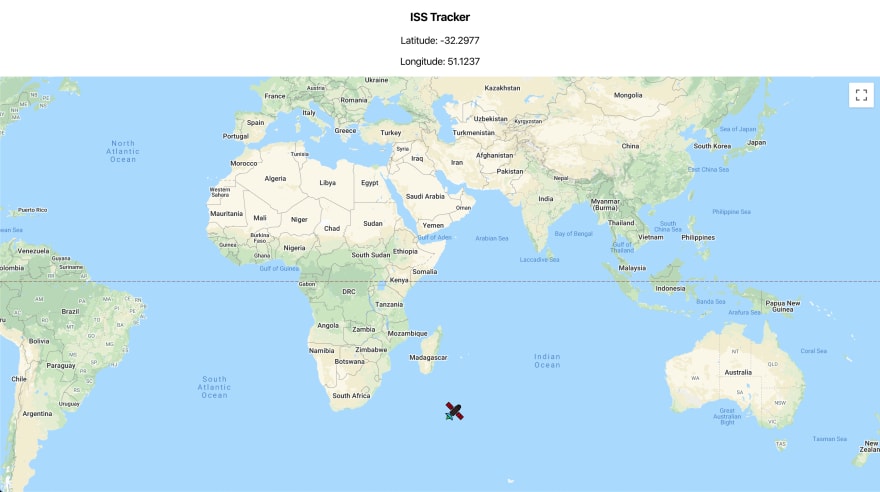
Finally, let’s add the SpaceStation component to the map! For fun we can also add latitude and longitude on top of the page to see the numbers change as the ISS travels:
And we are done!
To see the code for this tutorial, click here.

Top comments (1)
Nice tutorial...using the knowledge in my little space react app..thanks.