Your company(Hagital Consulting) needs to ensure that backups are in place for all Azure file shares. This is because it’s Staffs often modifyfiles within the file share, file versioning is also important. To test functionality, you are tasked with taking a snapshot of a file share and restoring it to your Windows machine.
SOLUTION STEPS
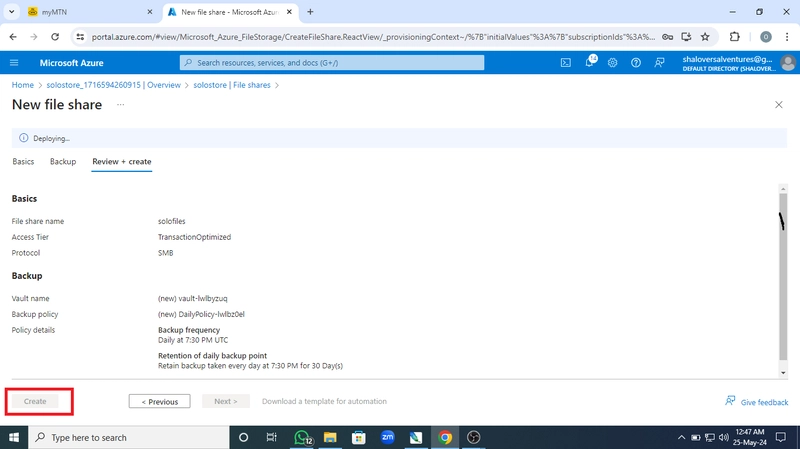
• Create a Storage Account and File Share

• Storage account name: Enter in a globally unique name
• Location: Set to the same location as the existing resource group
• Performance: Standard
• Click Review + create and then Create.
• Once the storage account has been deployed successfully, click Go to resource.

• Click on File shares in the left side menu.

• Click on + File share.

• Name the fileshare.
• Click on Review + create and then Create.
• Connect to your VM

• Once connected, minimize any open windows, click on the magnifying glass to search for Windows Firewall and open Windows Firewall.

• In the Windows Firewall window, click on Turn Windows Firewall on or off.
• Turn the Firewall state to Off. Click Apply and then Ok.

• Search for Windows PowerShell on your windows VM. Right-click on it, and click on Run as administrator.
• Back in the Azure portal, open your storage account and then click on File shares on the left menu.
• Select your file share, and click Connect.

• In the side window that opens, click on Show Script and copy the PowerShell script to your clipboard.

• Paste the PowerShell script in the Windows VM PowerShell session to connect the file share.
• After a moment, you should get a message that the credential was added successfully.

Take a Snapshot and Restore Data
• Click in File Explorer at the bottom of the Windows VM.
• Click on This PC and open your fileshare.
• Right-click in the fileshare window and click on New > Text Document. Name this document.
• Open the newly created document and type any words in there
• Click on File > Save.
• Return to the Azure Portal and close the Connect side window.
• Click on Browse in the left side menu and verify that you can see the test.txt file.
Add Snapshots.
• Click on Add Snapshot and give it a name in the Comment Window before clicking OK.
• In the Windows VM, add some random text to the test document that you created. Click on File > Save.
• Return to the Azure Portal.
• Locate the Snapshot and select to open in up.
• Select the ellipsis on the right-hand side of the test.txt file.
• Select Restore
• Click on Overwrite original file and then OK.
• Open the test.txt file and you should see that it has reverted to its original text.

Top comments (0)