As a Spring Boot developer, you’ve likely faced the challenge of adding sleek, modern styling to your web application. Enter Tailwind CSS—a utility-first CSS framework that has taken the development world by storm. Known for its flexibility and efficiency, Tailwind CSS allows you to build custom designs directly in your markup, without ever leaving your HTML. But how do you seamlessly integrate Tailwind CSS into your Spring Boot project while keeping your production build lean and optimized? In this article, we’ll walk you through the steps to set up Tailwind CSS in your Spring Boot application, ensuring that only the styles you actually use make it into your final build. Let’s dive in!
Getting Started & Prerequisites
You will need to have Node and NPM installed. To verify that they are installed you can run the following commands.
node -v # v20.2.0
npm -v # 9.8.1
Setting Up a Spring Boot Project with Tailwind CSS
Create a new Spring Boot project using the Spring Initializr. We'll choose the following options:
- Project:
Gradle Project - Language:
Java - Spring Boot:
Latest version - Dependencies:
Web, Java Template Engine, and Spring Boot DevTools
Once we have our project set up, we'll need to create a new folder called node in the src/main directory. This is where we'll be doing our Tailwind CSS setup and development.
Inside the node folder, we'll need to initialize a new npm project by running the following command in the terminal:
npm init
package.json file should get created as below
{
  "name": "node",
  "version": "1.0.0",
  "description": "Spring Authorization server UI ",
  "main": "index.js",
  "scripts": {},
  "author": "SanJaisy",
  "license": "ISC",
}
Installing and Configuring Tailwind CSS CLI in a Node Project
To begin, we need to install the Tailwind CSS CLI in the node directory. Run the following command:
npm install tailwindcss @tailwindcss/cli
The dependencies should get updated as below
  "dependencies": {
    "@tailwindcss/cli": "^4.0.7",
    "tailwindcss": "^4.0.7"
  }
Configuring the Build Script
Once the dependencies are installed, add the following scripts to package.json to generate a minified CSS file from all the JTE templates:
{
"name": "node",
"version": "1.0.0",
"description": "Spring Authorization server UI ",
"main": "index.js",
"scripts": {
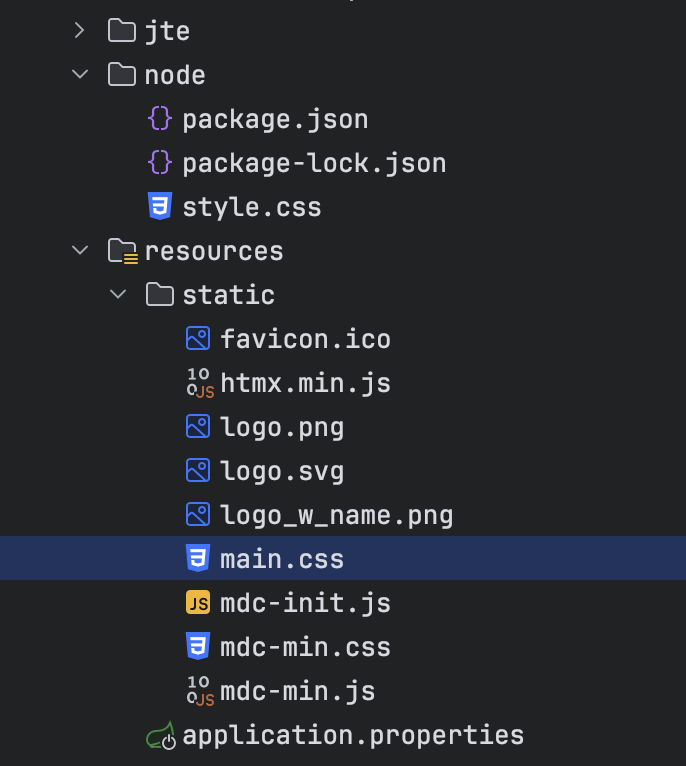
"build": "npx @tailwindcss/cli -i ./style.css -o ../resources/static/main.css --minify",
"watch": "npx @tailwindcss/cli --watch -i ./style.css -o ../resources/static/main.css --minify"
},
"author": "SanJaisy",
"license": "ISC",
"dependencies": {
"@tailwindcss/cli": "^4.0.14",
"tailwindcss": "^4.0.14"
}
}
If we now run the npm run build command we can see the main.css file is created with all the JTE css.
With version 4 we don't need tailwind.config file, just we need to make sure we include below in our style files
@import "tailwindcss";
@source "../jte/**";
@source "../jte/**"; this is the directory where all my JTE templates are present.
Make sure to include main.css file in the index.jte
<!DOCTYPE html>
<html lang="en">
<head>
    <meta charset="UTF-8">
    <meta name="viewport" content="width=device-width, initial-scale=1.0">
    <link rel="stylesheet" href="./main.css">
</head>
<body class="bg-gray-100">
${content}
</body>
</html>

Top comments (0)