
INSTALLATION OF XAMPP SERVER
Introduction
XAMPP is one of the widely used cross-platform web servers, which helps developers to create and test their programs on a local webserver. It was developed by the Apache Friends, and its native source code can be revised or modified by the audience. It consists of Apache HTTP Server, MariaDB, and interpreter for the different programming languages like PHP and Perl.
What is XAMPP?
XAMPP is one of the widely used cross-platform web servers, which helps developers to create and test their programs on a local webserver. It was developed by the Apache Friends, and its native source code can be revised or modified by the audience. It consists of Apache HTTP Server, MariaDB, and interpreter for the different programming languages like PHP and Perl. XAMPP helps a local host or server to test its website and clients via computers and laptops before releasing it to the main server.
How to Install XAMPP for Windows
Step 1
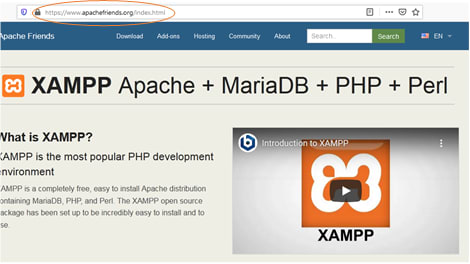
Open the XAMPP website. Go to https://www.apachefriends.org/index.html in your computer's web browser.
• Click on the Download Button. The next page asks to either log in and start the download or download it directly.
STEP 2
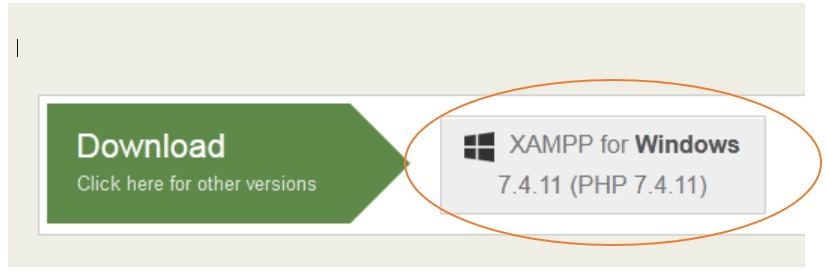
Click XAMPP for Windows. It's a grey button near the bottom of the page. Depending on your browser, you may first have to select a save location or verify the download.
STEP 3
Double-click the downloaded file. This file should be named something like xampp-windows-x64-7.2.11-0-VC15-installer, and you'll find it in the default downloads location (e.g., the "Downloads" folder or the desktop)

STEP 4
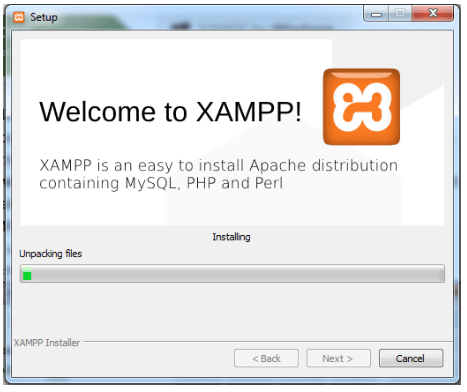
Click Yes when prompted. This will open the XAMPP setup window.
• You may have to click OK on a warning if you have User Account Control (UAC) activated on your computer.
STEP 5
Click Next. It's at the bottom of the setup window.

STEP 6
Select aspects of XAMPP to install. Review the list of XAMPP attributes on the left side of the window; if you see an attribute that you don't want to install as part of XAMPP, uncheck its box.
• By default, all attributes are included in your XAMPP installation.
• Click Next. It's at the bottom of the window.

STEP 7
Select an installation location. Click the folder-shaped icon to the right of the current installation destination, then click a folder on your computer.
• If you have the UAC activated on your computer, avoid installing XAMPP in your hard drive's folder (e.g., OS (C:)).
• You can select a folder (e.g., Desktop) and then click Make New Folder to create a new folder and select it as the installation destination.
• Click OK. Doing so confirms your selected folder as your XAMPP installation location.
• Click Next. You'll find it at the bottom of the page.

STEP 8
Select the Language and Click on Next

STEP 9
Uncheck the "Learn more about Bitnami" box, then click Next. The "Learn more about Bitnami" box is in the middle of the page.

STEP 10
Begin installing XAMPP. Click Next at the bottom of the window to do so. XAMPP will begin installing its files into the folder that you selected.

STEP 11
Click Finish when prompted. It's at the bottom of the XAMPP window. Doing so will close the window and open the XAMPP Control Panel, which is where you'll access your servers.

STEP 12
Start XAMPP from its installation point. If you need to open the XAMPP Control Panel in the future, you can do so by opening the folder in which you installed XAMPP, right-clicking the orange-and-white xampp-control icon, clicking Run as administrator, and clicking Yes when prompted.
• When you do this, you'll see red X marks to the left of each server type (e.g., "Apache"). Clicking one of these will prompt you to click Yes if you want to install the server type's software on your computer.
• Counterintuitively, double-clicking the xampp_start icon doesn't start XAMPP.


Oldest comments (0)