This is the second article of our series : Blog Website to Flutter News Application.
In the last article we have configured our jekyll blog website to serve all contents throw a single API endpoint.
As said already, at this stage we will assume that you have a fully hosted and functional jekyll project. Otherwise, you can clone this preconfigured repo. If you want to run it on your computer, you need to complete Jekyll installation.
Data modeling.
a. Create your flutter application.
So, obviousely, we need to create a new flutter application. Just run the
flutter create [project]
script (be sure to use a recent version of the flutter sdk).
b. Create & Generate Models for Jekyll Posts API.
There are many ways to communicate with a Restful API in Flutter.
First we need to create the models classes representation of our json objects. In order to speed up this part, we will use the json_to_model package which allows to generate model classes from JSON files. So all we need is to follow the installation instructions and create a jsons directory at the Flutter project root.
This directory will contain 5 files:
- 📃 blog.json :
{
    "homepage": "",
    "version": "",
    "name": "",
    "description": "",
    "logo": "",
    "last_update": "@datetime",
    "expired": false,
    "favicon": "",
    "url": "",
    "disqus": "",
    "email": "",
    "paginate": "",
    "posts": "$[]article"
}
- 📃 article.json :
{
    "id": "",
    "slug": "",
    "url": "",
    "title": "",
    "date": "",
    "image": "",
    "featured": false,
    "premium": false,
    "sticky": false,
    "author": "$author",
    "read_time": "",
    "date_iso": "@datetime",
    "date_fr": "$date_article",
    "date_en": "$date_article",
    "category_main": "",
    "categories": [""],
    "tags": [""],
    "next": "$article_related",
    "previous": "$article_related",
    "comments": "",
    "summary": "",
    "content": ""
}
- 📃 article-related.json :
{
    "id": "",
    "slug": "",
    "url": "",
    "title": "",
    "image": "",
    "author": "$author",
    "read_time": "",
    "date_fr": "",
    "date_en": "",
    "category_main": "",
    "tags": [""],
    "type": "@enum:post"
}
- 📃 author.json :
{
    "name": "",
    "avatar": "",
    "display_name": "",
    "gravatar": "",
    "email": "",
    "site": "",
    "twitter": "",
    "social": "",
    "instagram": "",
    "bio": ""
}
- 📃 date-article.json :
{
    "day": "",
    "month": "",
    "year": "",
    "complete": ""
}
After this, execute the command flutter pub run json_to_model. A directory named models with all models classes will be created. The most useful part of each classes, is the fromJson method generated which we will use to convert JSON to model object.
This is an example of the method body for the article model :
factory Article.fromJson(Map<String,dynamic> json) => Article(
    id: json['id'].toString(),
    slug: json['slug'].toString(),
    url: json['url'].toString(),
    title: json['title'].toString(),
    date: json['date'].toString(),
    image: json['image'].toString(),
    featured: json['featured'] as bool,
    premium: json['premium'] as bool,
    sticky: json['sticky'] as bool,
    author: Author.fromJson(json['author'] as Map<String, dynamic>),
    readTime: json['read_time'].toString(),
    dateIso: DateTime.parse(json['date_iso'] as String),
    dateFr: DateArticle.fromJson(json['date_fr'] as Map<String, dynamic>),
    dateEn: DateArticle.fromJson(json['date_en'] as Map<String, dynamic>),
    categoryMain: json['category_main'].toString(),
    categories: (json['categories'] as List? ?? []).map((e) => e as String).toList(),
    tags: (json['tags'] as List? ?? []).map((e) => e as String).toList(),
    next: ArticleRelated.fromJson(json['next'] as Map<String, dynamic>),
    previous: ArticleRelated.fromJson(json['previous'] as Map<String, dynamic>),
    comments: json['comments'].toString(),
    summary: json['summary'].toString(),
    content: json['content'].toString()
  );
c. Setup basic UI layout.
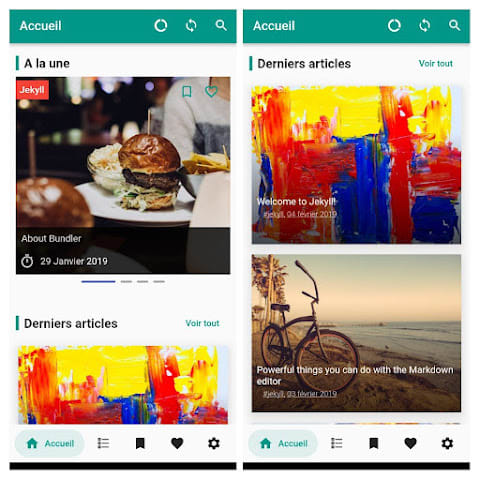
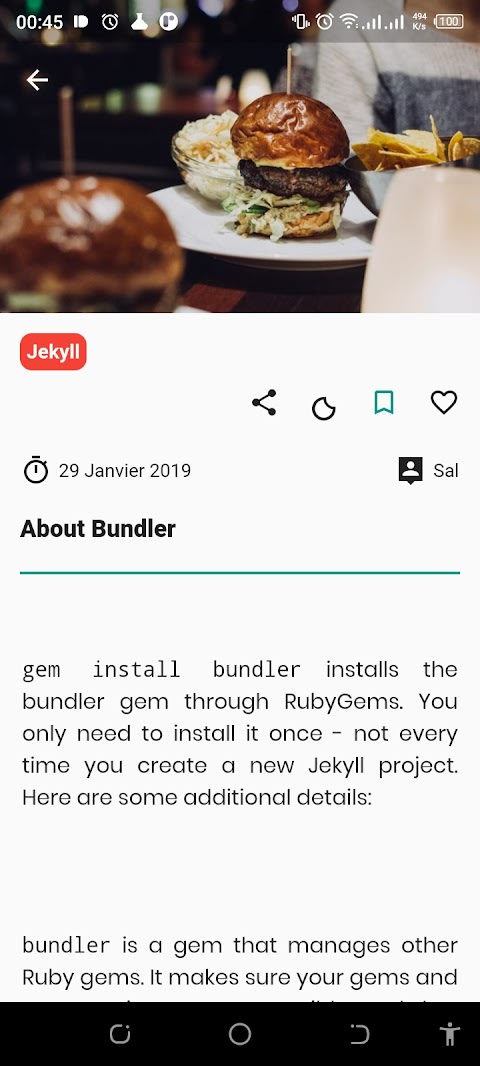
At this stage, we only created some interfaces and used fake data to make them look attractive :
- Splash screen : first application page which appears until application loaded successfully.
- Home page : Divided into two parts (featured posts and others posts sorted by most recent).
- All articles subdivided by category.

- Favorited, To Read Later articles and Settings pages.

- Article Page.
- Search Page.

No fear, I will provide my code implementation of these different pages and features at the end of the article. You will be free to modify and adapt it according to your needs.
Our app UI layout is ready. So let's rock it ! We need to make it communicate with our Jekyll Posts API endpoint.
d. Add Jekyll JSON API integration.
We have our models; so let's them operate with the API.
Let's explain how our application works. After launching the app, we send a GET request to our blog posts API endpoint. Next, we parse our response body to a blog object that contains all of our posts. Then we display the content to the user. This is simple.
In Flutter we need the http package to perform this operation.
 var request = await http.get(
    Uri.parse("https://myawesomejekyllblog.com/api"),
    headers: {"Accept": "Application/json"},
 );

 Blog blog = Blog.fromJson(jsonDecode(request.body));

 List<Article> myPosts = blog.posts;
It was simple wasn't it? With these three lines, and no network or data parsing error, we have all the contents of our blog.
Now that we have our data, we need a bridge that allows us to pass this data to our widgets. It must also, depending on the states of the data (the image of the article is loaded, this article is in the favourites, etc.) or the events (click on an article, the user is no longer connected to a network , ...) perform specific actions (consult the content of an article, reload the rest of the articles in the list, ...).
This in Flutter is called state management. The next chapter in our series will try to cover this great area (with a specific plugin, Riverpod).
In the meantime, you can clone the Jekyll blog, and the Flutter project if you want to dig into the code a bit.
So, what's your thoughts at this step ?

Oldest comments (0)