
Cascading Style Sheets(CSS) is an independent language used to describe the presentation of web applications, this involves concepts like colors, fonts and the full control of layouts of HTML elements.
- This extends to different screens where these web applications are presented (mobile devices, tablets, even printers)
- CSS can also be used alongside any XML-centric markup language
- HTML alone provides half the power to control the content and structure, the remaining half is reserved for the look and feel and that is where styling comes in handy
In this article, you will be introduced to pseudo-elements in the cascading style sheets and practical examples of how they are used along with the compatibility.
What are pseudo-elements in CSS?
A CSS pseudo-element is a keyword added to a CSS selector that lets you style a specific part of the selected HTML element. They are usually denoted by two colons for example, ::first-line.
Pseudo-elements syntax
The general syntax for CSS pseudo-elements looks like this:
selector::pseudo-element {
  property: value;
}
It looks just like normal styling statements but with the colons to indicate the specific part of the elements contained in the selector, which you want to style.

Pseudo-elements in CSS
There are currently seven pseudo-elements in CSS, they are:
There are other ones, but they are considered experimental technology so in this post, the focus will be on the main seven pseudo-elements.
Working demo
In this post, you will be introduced to each of these pseudo-elements in a simple demo folder. To follow along you will need:
- A code editor, Visual Studio Code is recommended
- A live server to serve your HTML code, you can download one in VS Code. First, go to the extensions tab, a search bar will be shown alongside a list of favorite extensions and search for “live server” (it has almost 5 million downloads)
Now, create a folder, call it pseudo, and open it with VS Code. Create two files:
- index.html: this is where our HTML code for content goes
- main.css: this is where the styling will take place
Copy this starter code below into your index.html file:
<!DOCTYPE html>
<html lang=”en”>
 <head>
  <meta charset=”UTF-8">
  <meta name=”viewport” content=”width=device-width, initial-scale=1.0">
  <meta http-equiv=”X-UA-Compatible” content=”ie=edge”>
  <title>Document</title>
  <link rel=”stylesheet” type=”text/css” href=”main.css”>
 </head>
 <body>
  <p>hello world!</p>
 </body>
</html>
The code in bold fonts shows that we have linked the content to a stylesheet, in your case main.css. Next, copy this test style into the main.css file to test it out:
p{
color: aqua;
}
If you click the ‘Go Live’ button at the footer of the VS Code application, you will be redirected to your default browser where a live remote server hosting the webpage has been fired up for you.

::after (:after)
The ::after creates a pseudo-element that represents the last child of a selected HTML element. It is used to add styling to this particular element in collaboration with the CSS content property. The syntax looks something like this:
selector::after {
  content: "value";
}
Copy the code below into your index.html file:
<!DOCTYPE html>
<html lang=”en”>
 <head>
  <meta charset=”UTF-8">
  <meta name=”viewport” content=”width=device-width, initial-scale=1.0">
  <meta http-equiv=”X-UA-Compatible” content=”ie=edge”>
  <title>Document</title>
  <link rel=”stylesheet” type=”text/css” href=”main.css”>
 </head>
 <body>
  <p class=”one”>This is my very first paragraph.
   This is my very first paragraph.
   This is my very first paragraph.
   This is my very first paragraph.</p>
  <p class=”three”>This is my second paragraph.</p>
  <p class=”two”>This is my last but not the least paragraph</p>
 </body>
</html>
Now in your main.css file copy the code below:
.one::after {
 content: “ — 1”;
 color: blue;
}
.two::after {
 content: “ — 2”;
 color: red;
}
This simply adds the strings before the selected elements, in this case, the class pointing to various paragraphs and updates their colors too.
::before (:before)
The ::before creates a pseudo-element that represents the first child of a selected HTML element. It is inline by default and it is used to add styling to this particular element in collaboration with the CSS content property. The syntax looks something like this:
selector::before {
  content: "value";
}
Your index.html file will stay in tact, but in your main.css file copy the code below:
.one::before {
content: “1--”;
color: blue;
}
.two::before {
content: “2--”;
color: red;
}
This simply adds the strings before the selected elements, in this case the class pointing to various paragraphs and updates their colors too.
::first-letter (:first-letter)
The ::first-letter creates a pseudo-element that represents the first letter of the first line of a block element as long it is not coming after an image or a table.
selector::first-letter {
  property: value;
}
It is, however, important to realize that the first letter of an element can be tricky to spot. Things like punctuations can be logically counted as first letters. Some languages have digraphs that are always capitalized together, like the IJ in Dutch. In these cases, both letters of the digraph should be matched by the ::first-letter pseudo-element.
The ::before pseudo-element in conjunction with the content property can create the first element too, so keep these in mind while debugging your CSS.
Copy the styling code below in your main.css file to see the ::first-letter in action:
p::first-letter {
 color: red;
 font-size: 130%;
}
::first-line (:first-line)
The ::first-line creates a pseudo-element that represents the first line of a block element. Just like the first letter, the first line is also dependent on a few factors like the width of the element, the width of the document and the font size of the element. The syntax of the :first-line pseudo-element looks like this:
selector::first-line {
  property: value;
}
Copy the styles below into your main.css file:
p {
font-size: 130%;
}
p::first-line {
color: red;
font-size: 130%;
}
The first paragraph style will enlarge the font of the paragraphs in order to get a line out of the given string.

::marker
The ::marker pseudo-element selects the marker box of a list item, which typically contains a bullet or number, it is used on lists items and the summary element. The syntax looks like this:
selector ::marker {
  property: value;
}
Add this list items code below to your index.html file:
<ul>
 <li>One</li>
 <li>Two</li>
 <li>Three</li>
</ul>
Copy the ::marker styles below to the main.css file to see it in action:
ul li::marker {
  color: blue;
  font-size: 130%;
}
::placeholder
The ::placeholder pseudo-element points to the placeholder of input elements in your presentation, mostly found in forms. Most browsers, by default, apply a light gray color to placeholders. The syntax looks something like this:
selector ::placeholder {
  property: value;
}
Copy this input line into your index.html file:
<input placeholder="Type something here!">
Copy the styling below to the main.css file to see the changes:
input::placeholder {
  color: red;
  font-size: 1.2em;
  font-style: italic;
}
::selection
The ::selection pseudo-element applies to highlighted elements on the DOM. This is one of my favorite pseudo-elements, the syntax looks like this:
selector ::selection {
  property: value;
}
There are few properties that can be used on the ::selection pseudo-element, they are color, background-color, cursor, caret-color, outline, text-decoration, text-emphasis-color and text-shadow.
Copy the styling below into your main.css file:
p::selection {
 background-color: red;
}
If you check it out in your browser, it will look like this:

Browser compatibility
Here is some useful information you might want to know about the pseudo-elements in regards to browser support.
- Every popular browser except Safari and Opera fully support the ::after pseudo-element
- Every popular browser except Safari, Internet explorer 9 and Opera fully support the ::before pseudo-element
- The ::marker pseudo-element is supported only by Firefox browsers
- The ::first-letter pseudo-element is supported by all browsers except the Safari on IOS devices
- The ::first-line pseudo-element is fully supported by every browser, and on every screen size
- The ::placeholder pseudo-element is supported in all browsers except Internet Explorer
- The ::selection pseudo-element is supported by all web browsers
Conclusion
CSS is still an integral part of the modern web development process, it is vital that web developers take some time to learn the basics of CSS. Pseudo-elements in CSS will help you extend your knowledge and also give you more exciting options for your styling. Happy hacking!
Plug: LogRocket, a DVR for web apps
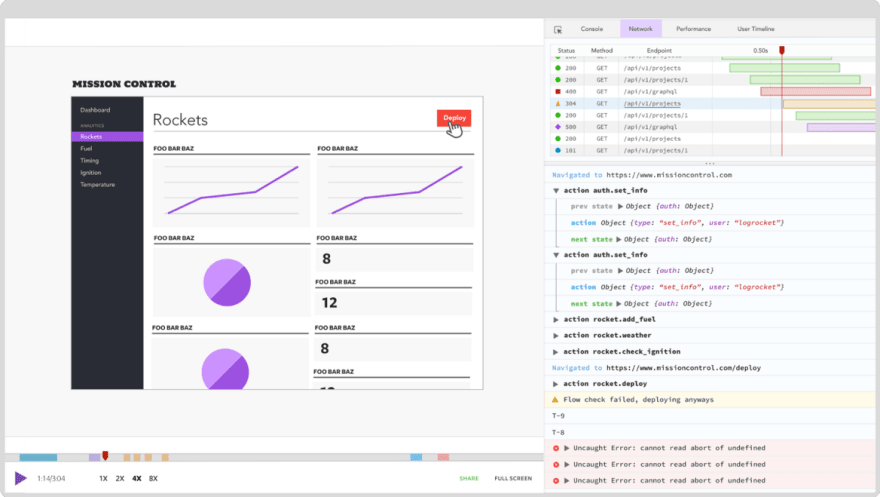
LogRocket is a frontend logging tool that lets you replay problems as if they happened in your own browser. Instead of guessing why errors happen, or asking users for screenshots and log dumps, LogRocket lets you replay the session to quickly understand what went wrong. It works perfectly with any app, regardless of framework, and has plugins to log additional context from Redux, Vuex, and @ngrx/store.
In addition to logging Redux actions and state, LogRocket records console logs, JavaScript errors, stacktraces, network requests/responses with headers + bodies, browser metadata, and custom logs. It also instruments the DOM to record the HTML and CSS on the page, recreating pixel-perfect videos of even the most complex single-page apps.
Try it for free.
The post A guide to CSS pseudo-elements appeared first on LogRocket Blog.

Top comments (0)