
Photo by Hello I'm Nik on Unsplash (Cropped)
I’ve been playing around with Ready which is a lovely and easy to use tool that allows you to create video games. Ready is aimed at the class room to teach kids about the basics of programming in a fun way, if you’ve seen Scratch, you’ll know what I’m talking about.
Ready is made using Unity and also has the ability to export your creations and build them on Unity. Naturally once you can build them in Unity, why not go all the way and deploy them to an iOS device?
I should point out that you can play your own creation on an iOS device if you have the Ready app installed. So this is only if you’re interested in customising the behaviour of your Ready game, or perhaps you’ve wanted to know how to build your Unity game for iOS.
This blog post assumes you have Ready, Unity and Xcode installed on the same computer.
I’ll be using the personal/private use iPhone developer license (free), but the instructions are the same if you’ve got a paid iPhone developer license. I’ve used Xcode 9.4.1 (9F2000)
Unity has a free tier, so long as your new game doesn’t exceed 10,000 US dollars in profit you won’t need to buy a license 😉! I’ve used Unity 2018.1.0f2. I’ve also installed Unity Remote 5 on m iOS device to allow for testing before we export the game to Xcode.
Make a game in Ready and export it
As you can see I’ve gone for a really basic animated Sprite with drag behaviour. The game was created for landscape mode. This will be important to know later on.
In Ready, click the Gear icon (game settings), then click the Export to Unity3D button.
- Create a new folder and select it as export target.
Playable in Unity
- Open Unity > click on
Openbutton (next toMy Accountlink) and click into your newly exported Ready game folder, then clickOpenbutton. You want to open the project where you can seeAssetsandProjectSettingsfolders. - In the Project window.
- Select the
Assetsfolder. - Double click on
ReadyPackageasset to decompress the data.
- Select the
- In the Import Unity Package dialogue, click the
Importbutton. This may take a while. - Back in the Project window.
- Select the
Scenesfolder. - Double click on the
PlayerSceneasset to load it.
- Select the
- In the Unity menu bar, click on
Ready>Recreate Project. - Click the
Playicon to test the build. - Click the
Playicon to stop playing.
Playable in Unity Remote
- In the Unity menu bar click on
File>Build Settings…. - Click on the
Add Open Scenesbuttons. - Select
iOSas your platform. - Click
Switch Platform. This may take a while. - Close pop up window
- Connect your iOS device to your Mac.
- In the Unity menu bar click on
Edit>Project Settings>Editor - In the
Unity Remotesection, select your connectedDevicefrom the drop down list - Start up the Unity Remote 5 on your iOS device
- Click the
Playicon to test the build on your iOS device. - Click the
Playicon to stop playing.
You will notice that the game looks skewed in portrait mode, if you tilt your iOS device into landscape mode you’ll see the game correct it’s scaling.
Playable on iOS
- In the Unity menubar click
File>Build Settings…. - Select the
iOSplatform. - Click the
Player Settingsbutton.- Set your Company name.
- Set your icon (pick from assets).
- Set
Default Orientationto eitherLandscape RightorLandscape Left.
- Click the
Buildbutton. - Pick target folder and click
Save. This will take a while - In
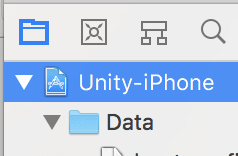
Findergo to the target folder and openUnity-iPhone.xcodeproj, this will launch Xcode. - In
Project navigator(left most icon [folder]) in picker, selectUnity-iPhone
- In the
Identitysection, update theBundle Identifierfield. Important: this must be a unique. - In the
Signingsection- check
Automatically manage signing - Select your
Teamfrom drop down list
- check
- Click on this icon to fix any warnings

- Make sure your device is connect and has been selected from the drop down list

- Unlock your iOS device and click
Playicon. This will take a while, you may also see warnings during compilation.
Marvel at your new iOS game!
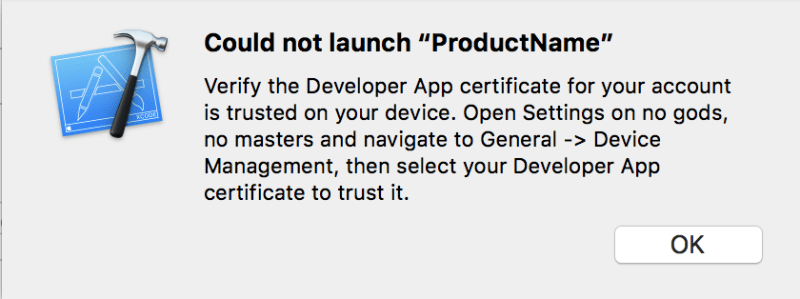
You may need to trust your personal certificate (they’re renewed every six days) if you see this pop up window whilst deploying the app to your iOS device.
In iOS 11 this setting can be found in Settings > General > Profile & Device Management . Select the DEVELOPER APP profile and trust the certificate.

Top comments (0)