
Working on Android has plenty of facets, one of them is gradle, configuring it can be hard sometimes but it is very rewarding, in most serious companies there are people specialized in the gradle build. So I want to learn more about gradle and challenge myself to create a simple Kotlin project using and then running in Android Studio to leverage the power of the IDE.
1. Install Kotlin
Use the installer of your choice, see the manual (brew, sdk, ports)
Using brew it would be
brew install kotlin
If the only things you want to do is to create a hello world, then you can just do this and run it using the terminal following the above documentation.
2. Install Gradle
This should not mess with your Android Studio projects because Android projects use a dynamic gradle online, that is why you can configure offline on Android Studio. If offline Android Studio peak your interest this article should help you (I have mixed experiences using offline, not a recommendation neither discourage, find your flavor).
Again use the installer of your choice for installing gradle, see the manual
With brew it will be
brew install gradle
You need to have Java before this, if you are coming from Android Studio this shouldn't be a problem.
3. Create a Gradle project
We are now gonna create a gradle project using the cli, there is some info on the Gradle and official Kotlin but I was confused, so I rather give you my own recipe based on those.
- Create the project
mkdir devDotTo
cd devDotTo
gradle init
That will trigger the interactive CLI, is literally reading what it says and following it, but since I'm clueless I got tons of mistake, so let me spare you the trial and error.
- Select Library (number 3 and enter)
- Select Kotlin (number 4 and enter)
- This last selection is the language used for the gradle files, so choose the one you are more comfortable. I'm used to Android, so I like groovy, and I won't change to the Kotlin extension until I deeply understand what am doing.
- The next 2 options are naming so you can type whatever suits you and your standards or just press enter twice.
This creates a template project with one default class and a default test, we will have to modify that a little on Android Studio.
4. Run it using Android Studio
- Open Android Studio and open the project, click on the directory and click on open

Let Android Studio do the thingy... blow some air on your computer if you need to cool it, xD Seriously, if you are used to Android projects, you can select the "Android" vision on the pane A.K.A. the left tab with the files
Open the file
Library.ktis gonna be the only file there. We are going to add the main method so we can configure our IDE to run it. There is a default method, if you remove it, make sure to remove it on test folders as well. Your file should look like this:
class Library {

    companion object {

        @JvmStatic
        fun main(args: Array<String>) {
            println("DEV DOT TO")
        }
    }

    fun someLibraryMethod(): Boolean {
        return true
    }
}
As you can see we have to add it inside the companion object.
- Now we are going to configure Android Studio to run it. Click on "Add Configuration" on the top bar

In the dialog that shows up, don't click the templates, click the plus button (you don't want to edit a template, you want to use a template to create a configuration). Select the Kotlin template:

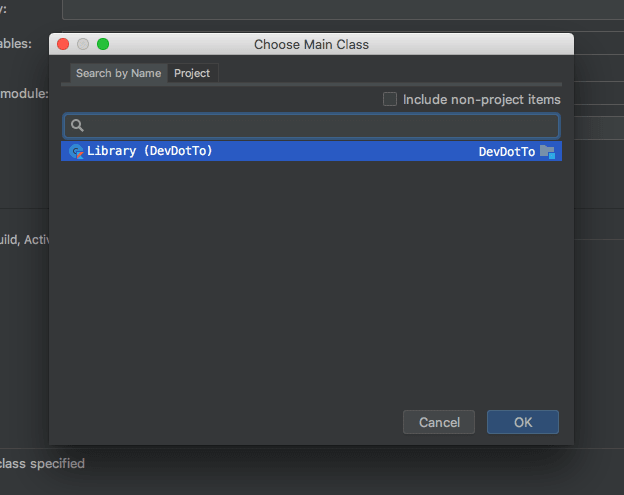
Now you have to select the Main class, if you press on the 3 dots, you will see it right away because it has the main method

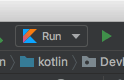
Now the only thing you have to do is save the configuration. The default name is "Unnamed" I like naming it "Run".
You can click on the run button or ctrl + r on Mac and in Windows shift+F10
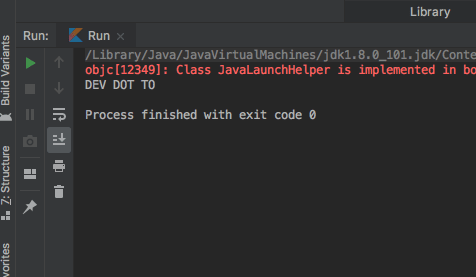
Hooray! We have our logs in the console

Oldest comments (0)