Looking for painless authentication in Laravel 12? Get ready to transform your user login experience without writing a single line of auth code.
Let me introduce you to Laravel 12's game-changing authentication option that will save you hours of development time. If you've been struggling with building robust authentication systems, this tutorial is exactly what you've been waiting for.
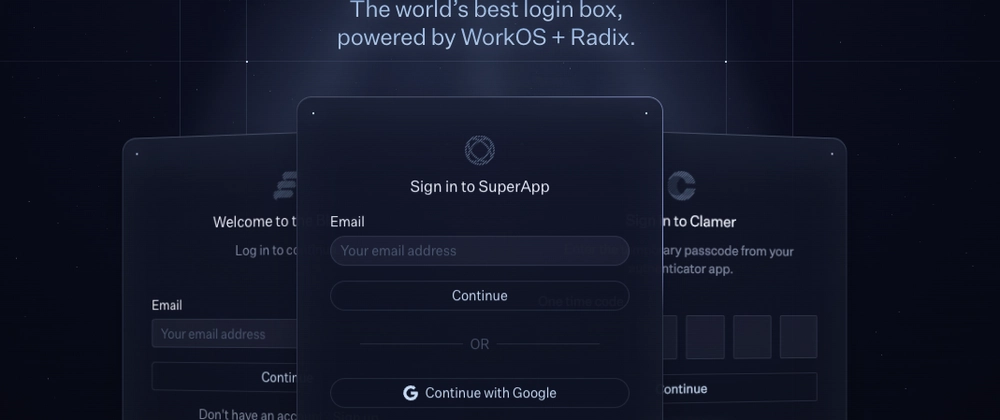
🚀 Introducing WorkOS AuthKit for Laravel 12
Laravel 12 brings a powerful new authentication solution through integration with WorkOS AuthKit. Unlike traditional authentication systems that require extensive configuration and maintenance, AuthKit provides a streamlined approach that handles everything from social logins to SSO with minimal setup.
WorkOS AuthKit offers an impressive array of authentication methods right out of the box:
- 🔐 Social authentication for Google, Microsoft, GitHub, and Apple
- 🔑 Passwordless authentication
- ✉️ Email-based magic authentication links
- 🔄 SSO (Single Sign-On) capabilities
The best part? WorkOS offers free authentication for applications with up to 1 million monthly active users! While this may change in the future, it's an incredible offering for developers looking to implement professional authentication without the hefty price tag.
💻 Setting Up Your Laravel 12 Project with AuthKit
Let's walk through the process of setting up a new Laravel 12 project with WorkOS AuthKit integration. I'll guide you step-by-step so you can follow along easily.
Step 1: Create a New Laravel Project
First, let's create a brand new Laravel 12 project with AuthKit integration:
laravel new authkit
When prompted, select the React starter kit and then choose the WorkOS option. Laravel will automatically set up the project structure for you.
By default, Laravel 12 configures SQLite as your database, but in this tutorial, we'll use MySQL instead. Many developers prefer MySQL for production applications, so it's good to know how to configure this.
Step 2: Configure Your Database
Open your .env file and update the database configuration:
DB_CONNECTION=mysql
DB_HOST=127.0.0.1
DB_PORT=3306
DB_DATABASE=laravel
DB_USERNAME=root
DB_PASSWORD=
After updating your database settings, run the migrations:
php artisan migrate
Step 3: Create a WorkOS Account
For AuthKit to function, you'll need to create a WorkOS account:
- Visit the WorkOS website
- Sign up using your Google account (or other preferred method)
- Once logged in, navigate to the API keys section
Step 4: Configure WorkOS in Your Laravel Application
In your Laravel project, open the .env file again and update the WorkOS configuration with the credentials from your WorkOS dashboard:
WORKOS_CLIENT_ID=your_client_id_here
WORKOS_API_KEY=your_api_key_here
WORKOS_REDIRECT_URL=http://localhost:8000/auth/authenticate
Step 5: Start Your Laravel Development Server
Let's start the development server to test our authentication:
php artisan serve
Your application should now be running at http://localhost:8000.
🔍 Testing the Authentication Flow
When you visit your application and click on the "Login" button, you might initially encounter an "Invalid redirect URL" error. This happens because we need to configure the redirect URL in the WorkOS dashboard.
Configuring Redirect URLs in WorkOS
- Go to your WorkOS dashboard
- Navigate to the "Redirect URLs" section
- Add
http://localhost:8000/auth/authenticateas a valid redirect URL - Save your changes
Now when you return to your application and try to log in, you should see the WorkOS authentication options, including Google, Microsoft, GitHub, and Apple.
⚙️ Optimizing Your Authentication Configuration
Laravel recommends disabling email and password authentication when using WorkOS AuthKit. Here's how to do that:
- Visit your WorkOS dashboard
- Go to the "Authentication" section
- Find "Email and Password" authentication
- Disable this option
- Save your changes
Session Timeout Configuration
For security best practices, you should also ensure your WorkOS session timeout matches your Laravel session configuration:
- In your Laravel
.envfile, note theSESSION_LIFETIMEvalue (typically 120 minutes) - In your WorkOS dashboard, go to the "Session" settings
- Set the "Inactivity Timeout" to match your Laravel configuration (120 minutes)
- Save your changes
🛠️ Understanding the Database Schema Differences
One important aspect to note is that when using WorkOS AuthKit, Laravel creates a different users table structure compared to the standard Laravel authentication.
Standard Laravel User Schema:
Schema::create('users', function (Blueprint $table) {
    $table->id();
    $table->string('name');
    $table->string('email')->unique();
    $table->timestamp('email_verified_at')->nullable();
    $table->string('password');
    $table->rememberToken();
    $table->timestamps();
});
WorkOS AuthKit User Schema:
Schema::create('users', function (Blueprint $table) {
    $table->id();
    $table->string('name');
    $table->string('email')->unique();
    $table->timestamp('email_verified_at')->nullable();
    $table->string('workos_id')->unique();
    $table->string('avatar')->nullable();
    $table->timestamps();
});
Notice the key differences:
- No password field in the WorkOS version (since authentication is handled externally)
- Addition of
workos_idfield to link users to their WorkOS identity - Addition of an
avatarfield for profile pictures
🌐 Real-World Benefits of Using WorkOS AuthKit
Implementing AuthKit in your Laravel applications offers several significant advantages:
- Reduced Development Time: Skip writing authentication logic from scratch
- Enhanced Security: Leverage enterprise-grade authentication protocols
- User Convenience: Offer multiple login options that users already trust
- Scalability: WorkOS handles the authentication infrastructure as your user base grows
- Future-Proofing: Easy integration of new authentication methods as they become available
For startups and established businesses alike, these benefits translate directly into faster time-to-market and improved user experiences.
🤔 When Should You Choose AuthKit Over Laravel Breeze or Jetstream?
While Laravel offers excellent built-in authentication packages like Breeze and Jetstream, AuthKit makes the most sense when:
- You need social authentication options without custom implementation
- Your application requires enterprise SSO capabilities
- You want to offer passwordless authentication
- You prefer offloading authentication infrastructure to a specialized service
For simpler applications where email/password authentication is sufficient, Breeze might be the better choice. But for applications where user experience and authentication options are critical, AuthKit provides significant advantages.
📈 Future-Proofing Your Authentication
As web applications continue to evolve, authentication requirements become increasingly complex. By implementing WorkOS AuthKit now, you're setting yourself up for an easier authentication journey:
- New authentication methods can be added with minimal changes
- Security updates are handled by WorkOS
- Compliance with authentication standards is maintained automatically
- User experience improvements come built-in
🔧 Troubleshooting Common Issues
When implementing AuthKit, you might encounter a few common issues:
"Invalid redirect URL" Error: Ensure your redirect URL in the WorkOS dashboard exactly matches your application's callback URL.
User Not Redirected After Login: Check that you've configured the homepage URL in the WorkOS dashboard correctly.
Missing User Data: If user information isn't being properly stored, verify that your database migrations have run correctly.
Session Timeouts Not Working: Ensure both Laravel and WorkOS session timeouts are aligned.
🚀 The Road Ahead for Laravel Authentication
Laravel continues to evolve its authentication ecosystem, and the integration with WorkOS represents a significant step forward in providing developers with enterprise-grade authentication options that remain simple to implement.
As Laravel and WorkOS continue to develop their offerings, we can expect even more authentication features and improvements in future updates.
🙋♂️ Ready to level up your Laravel authentication game?
If you've followed along, you now have a powerful, flexible authentication system that can grow with your application. No more struggling with authentication code or worrying about security vulnerabilities in your login system.
Raise your hand if you've implemented WorkOS AuthKit in your Laravel applications! I'd love to hear about your experiences, challenges, and successes.
For more Laravel tutorials and web development tips, check out my channels:
- YouTube: https://www.youtube.com/@dosenNgoding
- LinkedIn: https://www.linkedin.com/in/putra-prima-arhandi/
- GitHub: https://github.com/siubie/kaido-kit
Drop a comment below about what authentication challenges you're facing, or send me a DM if you need personalized guidance. Let's build secure, user-friendly applications together! 🚀

Top comments (0)